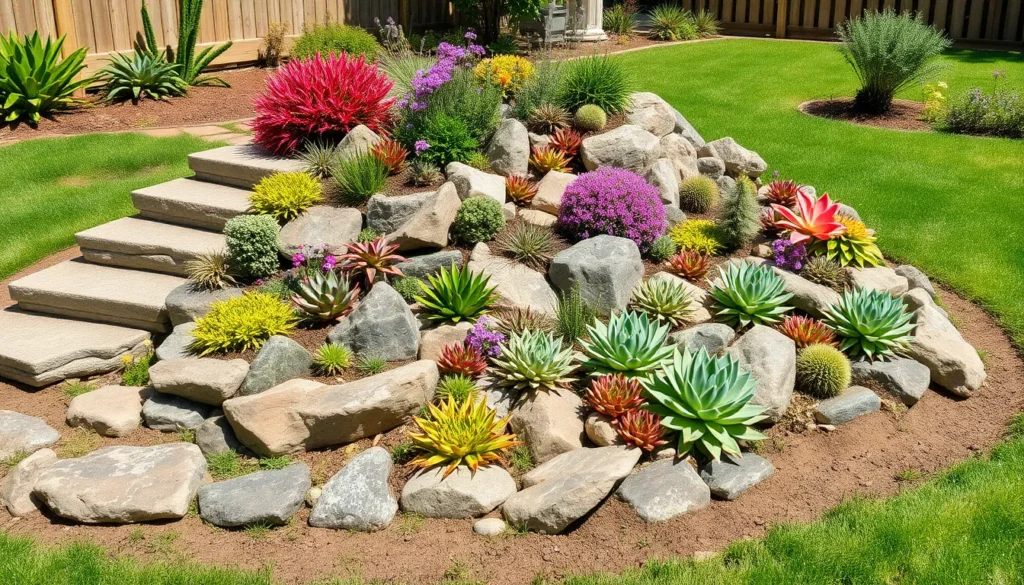
Rock gardens offer one of the most stunning yet low-maintenance ways to transform any outdoor space into a natural masterpiece. We’ve discovered that these drought-resistant landscapes don’t just save water and reduce upkeep – they create breathtaking focal points that work beautifully in small yards, steep slopes, and challenging areas where traditional gardens struggle.
Whether you’re dealing with poor soil conditions or simply want to add dramatic texture to your industry, rock gardens provide endless creative possibilities. We’ll show you how alpine plants, succulents, and carefully placed stones can work together to create year-round visual interest that actually improves with time.
The best part? You don’t need extensive gardening experience or a massive budget to build an impressive rock garden. With the right planning and our proven techniques, you can create a low-maintenance outdoor sanctuary that’ll be the envy of your neighborhood while supporting local wildlife and conserving water.
Choose the Perfect Location for Your DIY Rock Garden
Selecting the right spot determines your rock garden’s success and longevity. We’ll guide you through essential factors that ensure your garden thrives while minimizing future maintenance challenges.
Assess Sunlight and Drainage Requirements
Evaluate sun exposure patterns throughout the day to match your chosen plants with their light needs. Most alpine plants and succulents require 6-8 hours of direct sunlight daily, while some varieties like hostas and ferns flourish in partial shade conditions.
Test drainage quality by digging a 12-inch hole and filling it with water to observe absorption rates. Well-draining soil should absorb water within 4-6 hours, preventing root rot in drought-tolerant plants commonly used in rock gardens.
Monitor seasonal sunlight changes as nearby trees and structures cast different shadows throughout the year. Areas receiving morning sun but afternoon shade work well for plants sensitive to intense heat, while full sun locations support Mediterranean herbs and desert succulents.
Install drainage improvements in areas where water pools by adding gravel or creating raised beds. Poor drainage kills more rock garden plants than drought conditions, making this assessment crucial for long-term success.
Consider Slope and Natural Terrain Features
Work with existing slopes rather than fighting natural contours to create authentic-looking rock arrangements. Gentle slopes between 10-30 degrees provide excellent drainage while preventing soil erosion through strategic stone placement.
Identify natural rock outcroppings or existing stone features that can anchor your garden design. These permanent elements serve as focal points and reduce material costs while creating seamless transitions between your garden and surrounding industry.
Address steep terrain challenges by creating terraced levels using retaining stones or building cascading arrangements. Slopes exceeding 45 degrees require additional stabilization techniques like interlocking stones or professional grading.
Leverage low-lying areas for water-wise garden sections that collect natural runoff. These spots work perfectly for plants requiring slightly more moisture while maintaining the overall drought-resistant character of rock gardens.
Plan for Accessibility and Maintenance
Design pathways wide enough for comfortable movement and tool access, typically 18-24 inches between major rock groupings. Clear access routes prevent accidental plant damage during routine care and seasonal cleanups.
Position frequently maintained plants closer to main access points to simplify watering, pruning, and deadheading tasks. Place low-maintenance specimens like sedums and ornamental grasses in harder-to-reach areas.
Install irrigation access points near your chosen location if supplemental watering becomes necessary during establishment periods. Even drought-tolerant plants need consistent moisture for their first growing season.
Consider tool storage proximity by selecting locations within reasonable distance of sheds or garages. Heavy tools and materials for seasonal maintenance should have convenient access routes without crossing delicate planted areas.
Select the Right Rocks and Stones for Your Garden
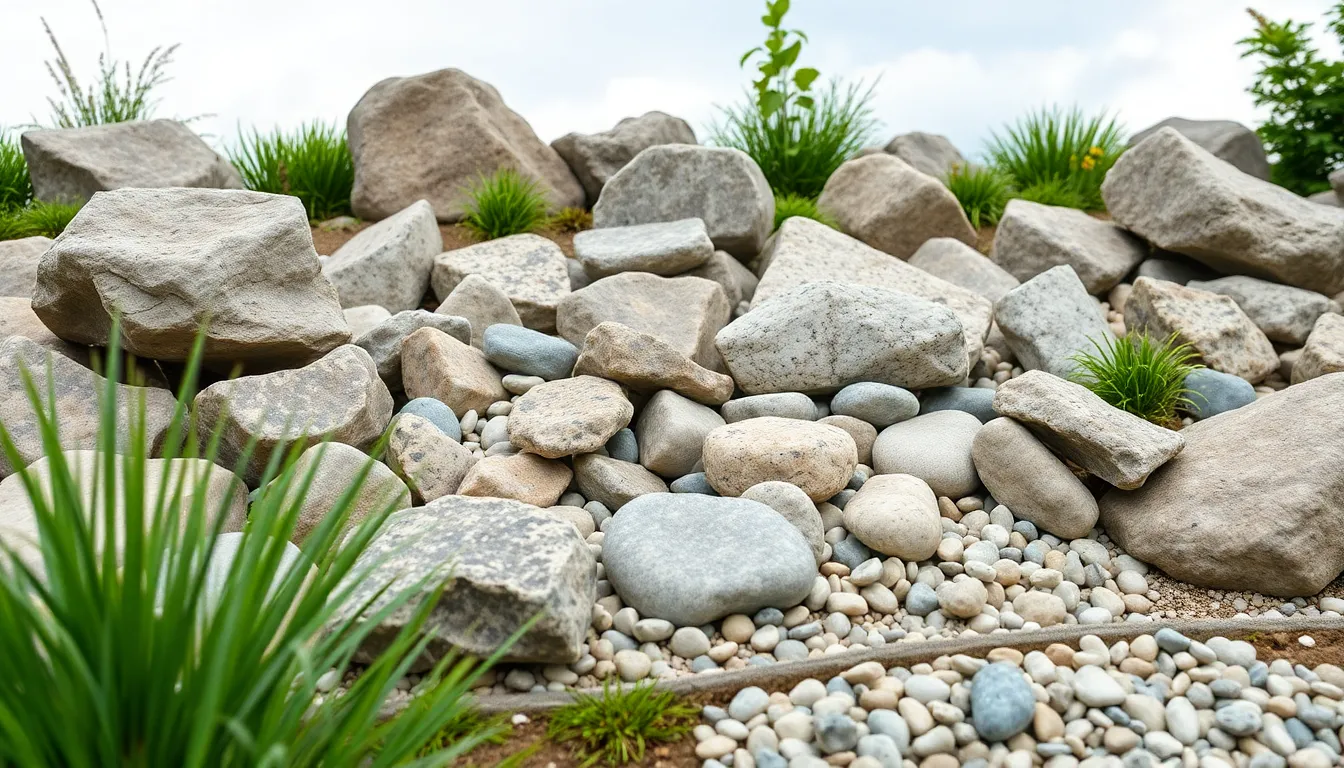
Choosing the right rocks and stones forms the foundation of any successful DIY rock garden project. We’ll guide you through selecting materials that create both visual appeal and practical functionality for your outdoor space.
Understanding Different Rock Types and Their Benefits
Limestone offers neutral coloring that complements virtually any garden design while providing excellent drainage properties. This sedimentary rock weathers naturally over time, developing character that enhances your garden’s mature appearance.
Granite delivers exceptional durability and creates striking focal points with its crystalline structure and varied color patterns. We recommend granite for high traffic areas since it withstands weather conditions and maintains its appearance for decades.
Basalt brings deep, dark tones that work particularly well in zen garden designs and modern industry themes. This volcanic rock provides excellent contrast against lighter colored plants and creates dramatic visual depth.
River rocks feature smooth, rounded surfaces that make them perfect for pathways and water features where safety matters. These naturally polished stones come in various sizes and create gentle transitions between different garden sections.
Sizing Your Rocks for Visual Impact and Functionality
Large boulders weighing 50 pounds or more serve as anchor points that define your garden’s structure and create immediate visual impact. Position these statement pieces first to establish your design’s framework before adding smaller elements.
Medium stones ranging from 10 to 50 pounds work perfectly for creating borders, retaining walls, and transitional areas between different garden zones. These versatile pieces fill gaps while maintaining proportional balance throughout your design.
Small pebbles measuring 1 to 3 inches provide finishing touches for pathways, mulching around plants, and creating textural contrast. Scatter these decorative elements strategically to tie together larger rock groupings and enhance visual flow.
Gravel pieces smaller than 1 inch excel at improving drainage, preventing weed growth, and creating clean lines between planted areas. This practical material comes in many colors and helps unify your entire rock garden composition.
Sourcing Affordable Rocks and Stone Materials
Local nurseries typically stock popular rock varieties at competitive prices while offering the advantage of seeing materials before purchasing. Many nurseries provide delivery services for bulk orders, saving you transportation costs and physical strain.
Stone quarries offer important savings when you need large quantities, with bulk pricing that can reduce costs by 30 to 50 percent compared to retail prices. Contact quarries directly to inquire about minimum order requirements and delivery options.
Online retailers provide extensive selection and convenient delivery to your doorstep, though shipping costs can add substantially to your total expense for heavy materials. Compare total delivered prices rather than just base costs when evaluating online options.
Construction sites sometimes have excess stone materials available at discounted rates, though you’ll need to arrange pickup and ensure the rocks suit your garden’s aesthetic goals.
Design Your Rock Garden Layout and Structure
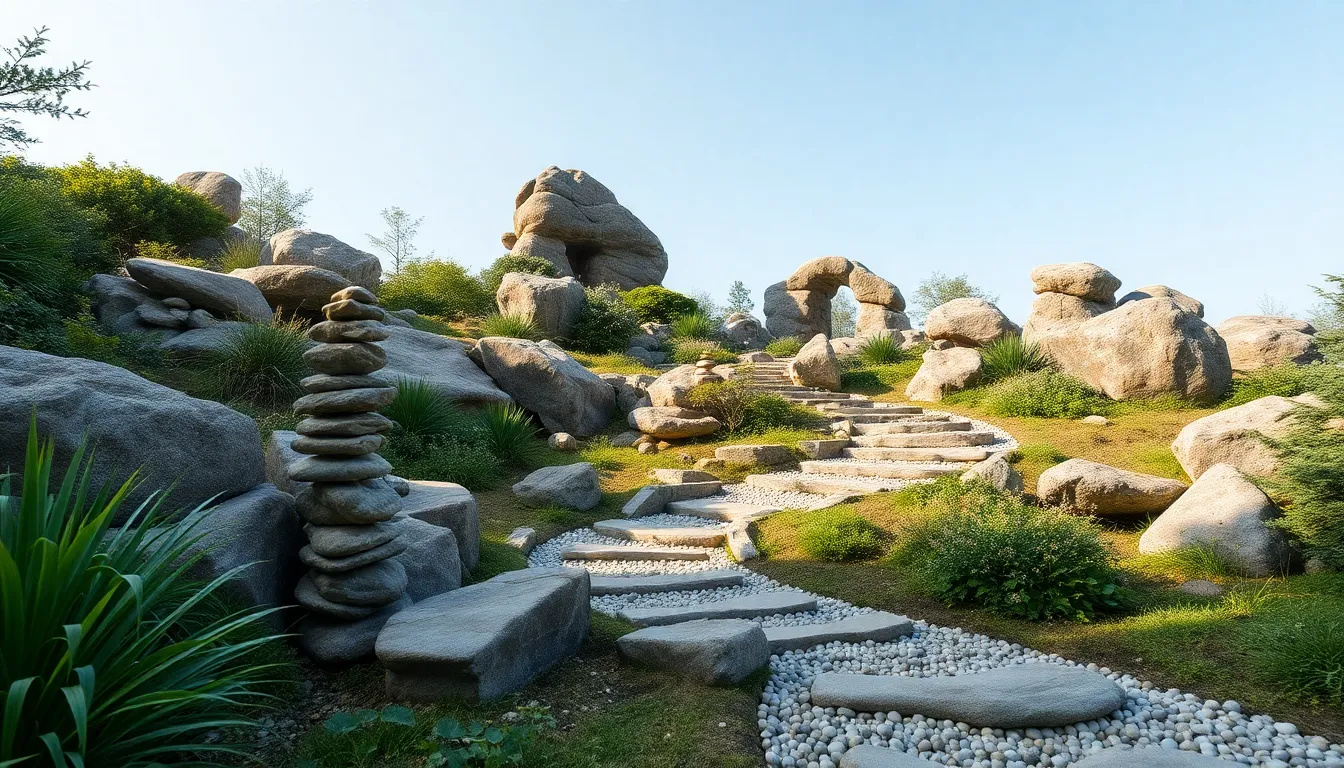
Now that we’ve selected our perfect rocks and stones, it’s time to transform our vision into reality through thoughtful design and strategic placement.
Create Natural-Looking Rock Arrangements
Stacked stones offer the most versatile approach to rock garden design. We can create Zen-like arrangements by building rows of carefully balanced stones that symbolize stability and creativity. These formations work particularly well as meditation focal points or natural room dividers within larger garden spaces.
Boulders serve as powerful anchor points that define our garden’s personality. We position these large statement pieces first, using them to establish the overall flow and create visual weight. Each boulder becomes a natural gathering spot where smaller plants and decorative elements can flourish around its base.
Natural rock steps provide both function and rustic charm in our design. We arrange flat stones in graduated sizes to create organic staircases that invite exploration. These stepped formations work especially well on slopes where we need to manage elevation changes while maintaining accessibility.
Plan Pathways and Walking Areas
Stepping stones create the backbone of our garden’s circulation system. We space these flat rocks 18-24 inches apart to accommodate comfortable walking while encouraging visitors to slow down and appreciate the surrounding plantings. The irregular spacing mimics natural movement patterns found in wild landscapes.
Pebble paths deliver a softer alternative to traditional hardscaping materials. We use rounded river rocks or crushed gravel to create flowing walkways that complement our larger stone features. These paths provide excellent drainage while producing a gentle crunching sound that adds sensory appeal to the garden experience.
Winding routes maximize exploration opportunities within our available space. We design curved pathways that disappear around boulders or plantings, creating mystery and encouraging visitors to discover hidden garden rooms. This approach makes even small rock gardens feel expansive and full of surprises.
Incorporate Varying Heights and Levels
Sloped rock gardens take advantage of natural inclines to create dramatic layered effects. We position larger rocks at the bottom to establish a strong foundation, then graduate to smaller stones as we move upward. This technique creates natural planting pockets where alpine plants and succulents can establish themselves between rock layers.
Tiered gardens allow us to maximize planting space while creating stunning visual depth. We build retaining walls using flat stones stacked without mortar, creating terraced levels that prevent erosion and provide distinct microclimates. Each tier becomes its own miniature network with exact growing conditions.
Raised mounds add sculptural interest to flat terrain where natural slopes don’t exist. We build these elevated features using a combination of soil and strategic rock placement, creating artificial hills that appear completely natural. These mounds provide excellent drainage for plants that prefer drier conditions while adding three-dimensional interest to our design.
Prepare the Ground and Install Proper Drainage
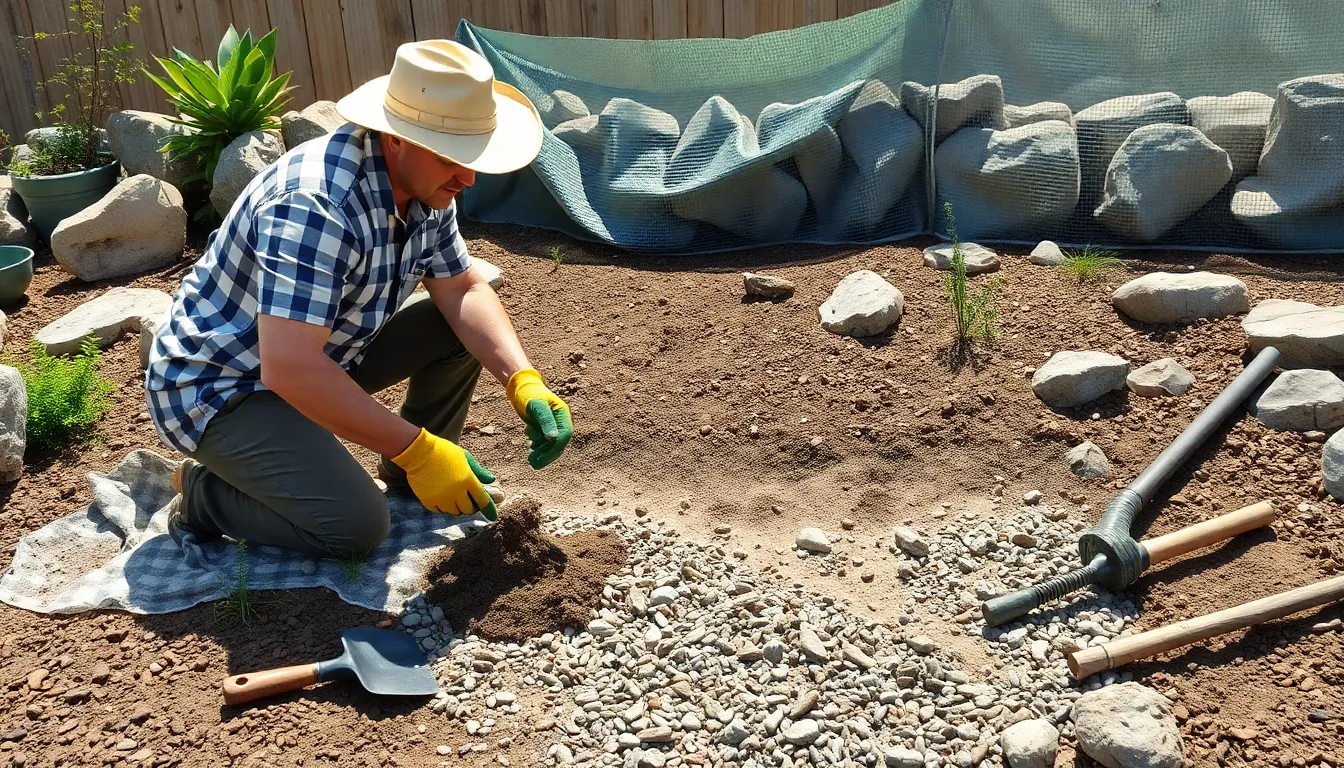
Now that we’ve designed our rock garden layout, it’s time to create the foundation that’ll ensure our plants thrive for years to come.
Remove Existing Vegetation and Debris
Clear all weeds and debris from your designated rock garden area to create a clean slate for construction. We need to eliminate competing vegetation that could steal nutrients from our carefully selected alpine plants and succulents. Pull larger weeds by hand and use a hoe or shovel to remove stubborn root systems that might regrow later.
Remove any fallen leaves, branches, or organic matter that could decompose and create drainage problems. These materials can form soggy pockets that harm rock garden plants requiring well-draining conditions. Rake the entire area thoroughly to collect smaller debris pieces that might interfere with our drainage layer installation.
Create a Drainage Layer with Gravel and Sand
Mix gravel and sand to create the crucial drainage foundation that prevents root rot in our rock garden plants. We’ll need approximately 3-4 inches of this drainage material spread evenly across the entire garden area. Use coarse gravel ranging from ¼ inch to ¾ inch mixed with coarse sand in a 3:1 ratio for optimal water movement.
Spread the gravel-sand mixture evenly using a rake, ensuring consistent depth throughout the garden bed. This drainage layer allows excess water to flow away from plant roots while maintaining the well-draining conditions that succulents and alpines absolutely require. Compact the layer lightly with a tamper or by walking on it to create a stable base for our rock placement.
Install Industry Fabric for Weed Prevention
Lay industry fabric directly over your prepared drainage layer to create an effective barrier against future weed growth. We recommend using heavy-duty woven fabric that allows water and air to pass through while blocking unwanted vegetation from sprouting through our gravel layer. Cut the fabric to fit your garden’s dimensions, overlapping seams by at least 6 inches for complete coverage.
Secure the industry fabric with industry pins or heavy rocks placed every 3-4 feet to prevent shifting during construction. This fabric prevents weeds from establishing themselves in our rock garden while maintaining the excellent drainage we’ve worked to create. Make sure to cut small X-shaped slits where we’ll later plant our chosen alpine species and succulents.
Plant Selection Strategies for Rock Gardens
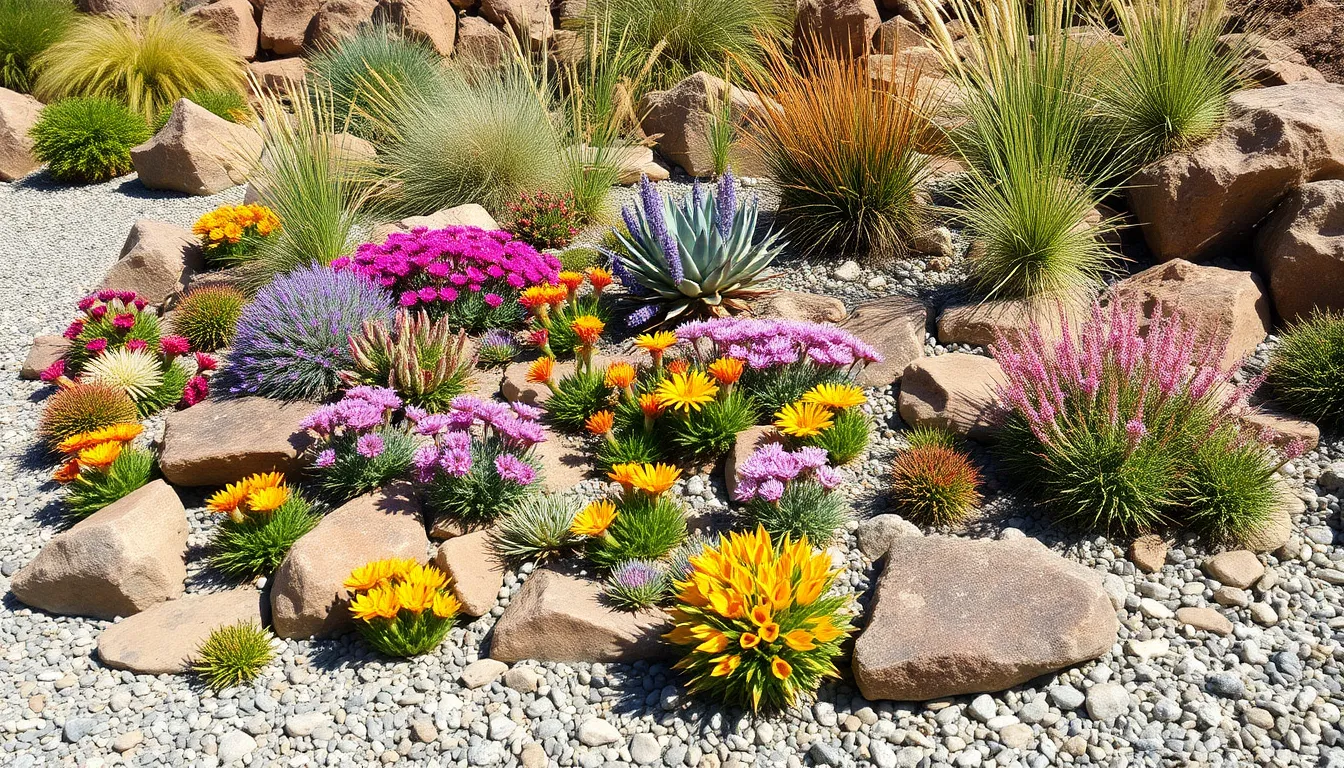
With your foundation properly prepared and drainage in place, we’re ready to focus on selecting the perfect plants that’ll transform your rock garden into a thriving network. Smart plant choices make the difference between a garden that struggles and one that flourishes with minimal care.
Choose Drought-Tolerant and Alpine Plants
Drought tolerant plants form the backbone of successful rock gardens because they naturally adapt to rocky conditions with minimal water requirements. Alpine plants like mountain pinks, alpine asters, and rock cress thrive in these environments since they’ve evolved to handle harsh mountain conditions. Succulents such as hens and chicks, stonecrop, and ice plants store water in their leaves, making them perfect for dry rocky spaces.
We recommend incorporating cacti varieties like prickly pear and barrel cacti for areas with intense sun exposure and excellent drainage. These plants create stunning focal points while requiring virtually no supplemental watering once established. Alpine flowers including alpine forget-me-nots, gentians, and saxifrages add delicate beauty while tolerating poor soil conditions that would challenge traditional garden plants.
Select Plants That Thrive in Rocky Conditions
Plants that excel in rocky terrain possess exact characteristics that help them navigate challenging growing conditions like poor soil and excellent drainage. Sedums represent one of the most reliable plant families for rock gardens, with varieties like ‘Dragon’s Blood’ and ‘Autumn Joy’ spreading naturally between stones while producing colorful foliage and flowers.
Thymes create fragrant carpets that release pleasant aromas when stepped on, making them ideal for pathways and crevices between rocks. Creeping phlox cascades beautifully over rock edges, producing masses of spring blooms in pink, purple, and white. We suggest adding ornamental grasses like blue fescue and fountain grass to provide texture contrast and movement in your rock garden design.
Rocky soil plants such as lavender, rosemary, and oregano serve dual purposes by thriving in well draining conditions while providing herbs for your kitchen. These Mediterranean plants naturally prefer rocky, alkaline soils and reward you with fragrant foliage and useful harvests.
Plan for Year-Round Color and Interest
Continuous visual appeal requires strategic timing of bloom periods throughout the growing season to maintain color from spring through fall. Spring bloomers like crocus, dwarf iris, and alpine primulas provide early season color when most other plants remain dormant. Summer performers including coreopsis, black-eyed Susan, and purple coneflower carry the garden through the hottest months.
Fall interest comes from plants like autumn-blooming sedums, ornamental grasses, and asters that provide late season color when most gardens begin to fade. We recommend incorporating evergreen plants such as dwarf conifers, bearberry, and wintergreen to maintain structure and color during winter months.
Plant combinations create the most effective year-round displays when you layer different bloom times and foliage colors throughout your rock garden. Mixing silver-leaved plants like dusty miller with burgundy-leaved coral bells provides constant color contrast even when flowers aren’t present. Adding plants with interesting seed heads, colorful bark, or persistent berries extends visual interest well into winter months.
Build Raised Beds and Planting Pockets
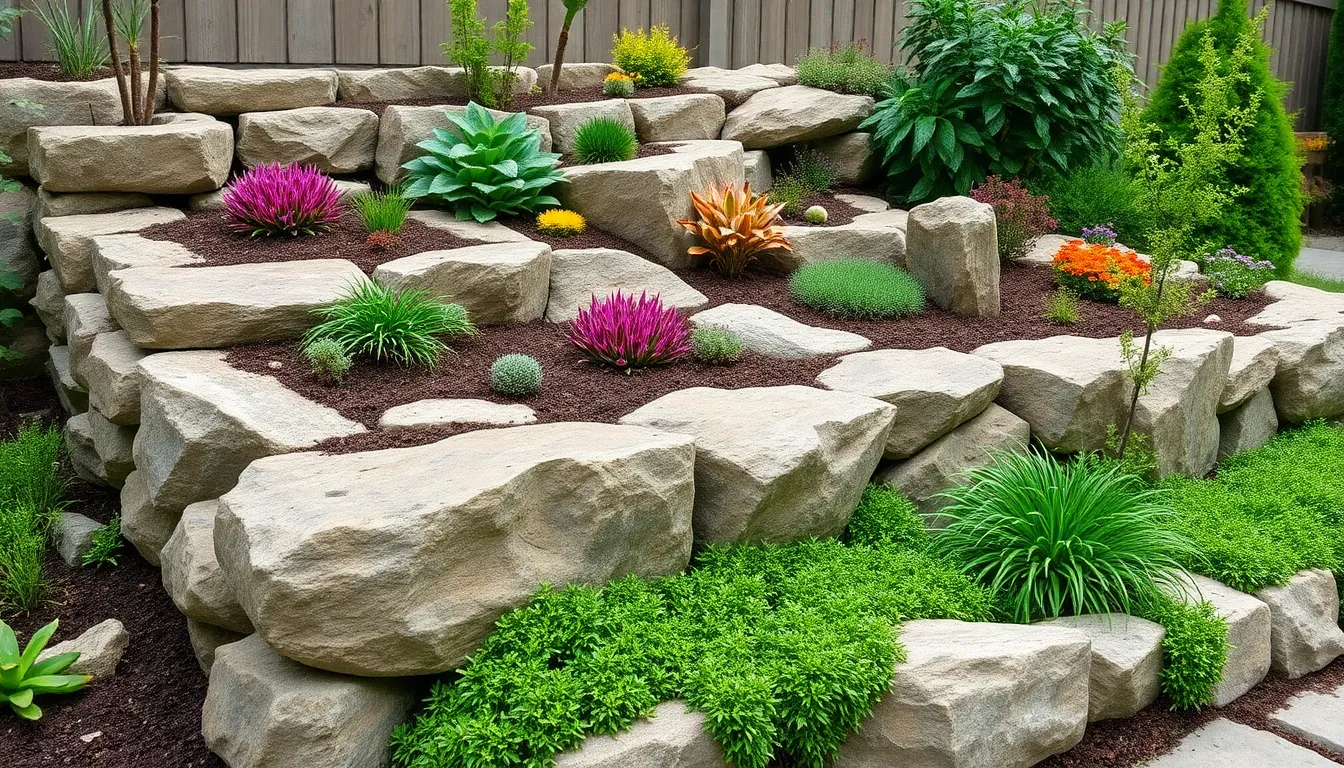
Raised rock gardens maximize your growing space while creating stunning vertical displays that draw the eye upward. These elevated structures work exceptionally well in small yards where ground space is limited.
Create Soil Pockets Between Rocks
Soil pockets offer an efficient way to establish planting areas within your rock garden’s framework. We position these small depressions strategically between larger stones to create natural growing spaces for our plants. Alpine species and succulents thrive in these confined areas because the rocks provide excellent drainage and protection from harsh weather conditions.
Careful spacing of soil pockets ensures each plant receives adequate room for root development. We dig these pockets approximately 6-8 inches deep to accommodate most rock garden plants’ root systems. The surrounding rocks act as natural borders that prevent soil erosion during heavy rainfall while maintaining proper moisture levels.
Rock garden enthusiasts find that soil pockets work particularly well for cascading plants like creeping thyme and sedum varieties. These plants naturally spill over the rock edges, creating beautiful flowing effects that soften the hard lines of stone structures.
Construct Terraced Planting Areas
Terraced areas transform sloped terrain into functional growing spaces while preventing soil erosion on hillsides. We build these stepped levels using retaining walls of stacked stones that create flat planting surfaces at different elevations. Each terrace level provides distinct microclimates that support various plant communities within the same garden space.
Hillside rock gardens benefit tremendously from terracing because it stabilizes loose soil and creates multiple focal points throughout the industry. We typically construct terraces 18-24 inches apart vertically to allow easy maintenance access while providing adequate growing depth for plant roots.
Drainage becomes naturally enhanced through terraced construction as water flows from upper levels to lower ones without pooling. The stone walls create thermal mass that moderates temperature fluctuations, protecting plants from extreme heat and cold conditions.
Ensure Proper Soil Mix for Rock Garden Plants
Rock garden plants demand well-draining soil mixtures to prevent root rot and fungal diseases that destroy these specialized species. We combine sand, peat moss, and perlite in equal proportions to create an ideal growing medium that retains some moisture while allowing excess water to drain freely.
Standard garden soil typically holds too much water for rock garden plants, which have evolved in harsh mountain environments with minimal organic matter. Our custom soil mix mimics these natural conditions by providing excellent drainage while supplying essential nutrients for healthy plant growth.
Testing soil drainage becomes crucial before planting since poor drainage kills more rock garden plants than drought conditions. We check drainage by digging test holes and filling them with water to observe how quickly it disappears into the surrounding soil layers.
Add Water Features to Your Rock Garden
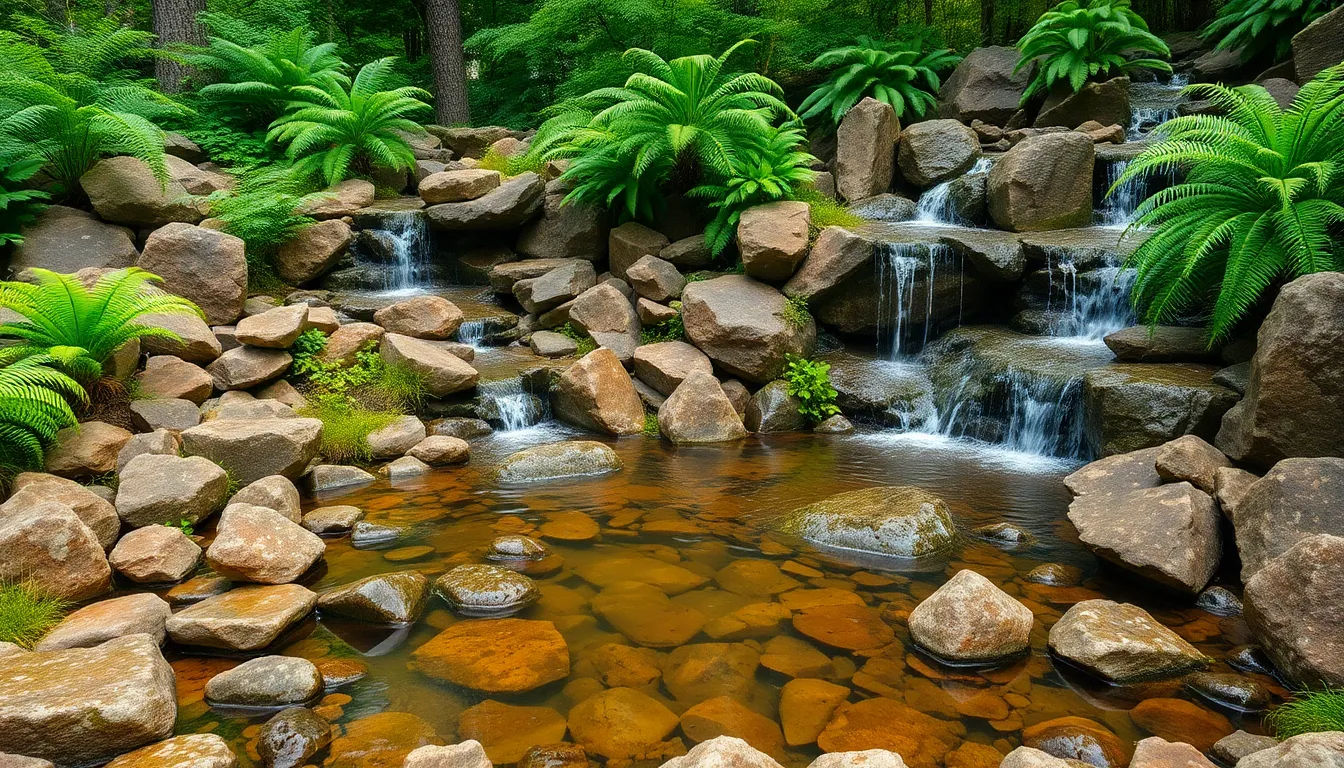
Water features transform ordinary rock gardens into tranquil retreats that engage multiple senses. They create focal points while supporting local wildlife and adding year-round visual interest to your industry design.
Install a Small Pond or Water Basin
Small ponds serve as stunning centerpieces that reflect surrounding rocks and plants while attracting birds and beneficial insects. Position your water basin at the lowest point of your rock garden to create a natural collection area for rainwater. Choose from preformed pond liners, flexible rubber membranes, or decorative ceramic basins depending on your budget and design preferences.
Size considerations matter when selecting pond dimensions for your space. Install basins ranging from 2-3 feet wide for intimate gardens to 6-8 feet across for larger landscapes. Depth should measure at least 18 inches to prevent freezing in winter climates and provide adequate space for aquatic plants.
Natural integration works best when you surround pond edges with varying sizes of stones and boulders. Layer medium rocks around the perimeter to create natural looking borders while small pebbles fill gaps between larger stones. Plant moisture loving varieties like sedges and ferns in nearby soil pockets to complete the network.
Create a Rock Waterfall or Stream
Cascading waterfalls provide soothing sounds that mask neighborhood noise while creating dramatic vertical elements in sloped gardens. Build your waterfall using stacked stones to form natural looking ledges where water can pool before spilling to the next level. Install a recirculating pump system that moves water from a bottom basin back to the top source.
Stream construction begins with excavating a shallow channel that follows your garden’s natural contours. Line the streambed with pond liner then cover with river rocks and pebbles to hide the synthetic material. Create small pools along the stream’s path using strategically placed boulders that slow water flow and provide resting spots for wildlife.
Sound management depends on water flow rate and drop height between cascade levels. Adjust pump settings to achieve your preferred sound level from gentle trickling to more robust flowing effects. Position larger stones at water impact points to create varied splash patterns and acoustic experiences throughout your garden space.
Incorporate Drought-Friendly Water Elements
Desert inspired features combine water conservation with visual appeal through strategic placement of small scale elements. Install shallow bird baths made from natural stone that require minimal water while supporting local wildlife populations. Choose designs with textured surfaces that provide secure footing for visiting birds and small animals.
Seasonal water collection systems capture and store rainwater in decorative basins positioned throughout your rock garden. Use ceramic vessels, carved stone bowls, or metal containers that complement your garden’s aesthetic while providing emergency water sources during dry periods. Position collection points where roof runoff or natural drainage patterns direct water flow.
Xerophytic plant integration maximizes water efficiency by combining drought tolerant species with minimal water features. Surround small fountains or basins with succulents, cacti, and native grasses that thrive with occasional moisture from splashing or overflow. This approach creates lush appearing gardens while maintaining sustainable water usage practices throughout growing seasons.
Enhance Your Garden with Decorative Elements
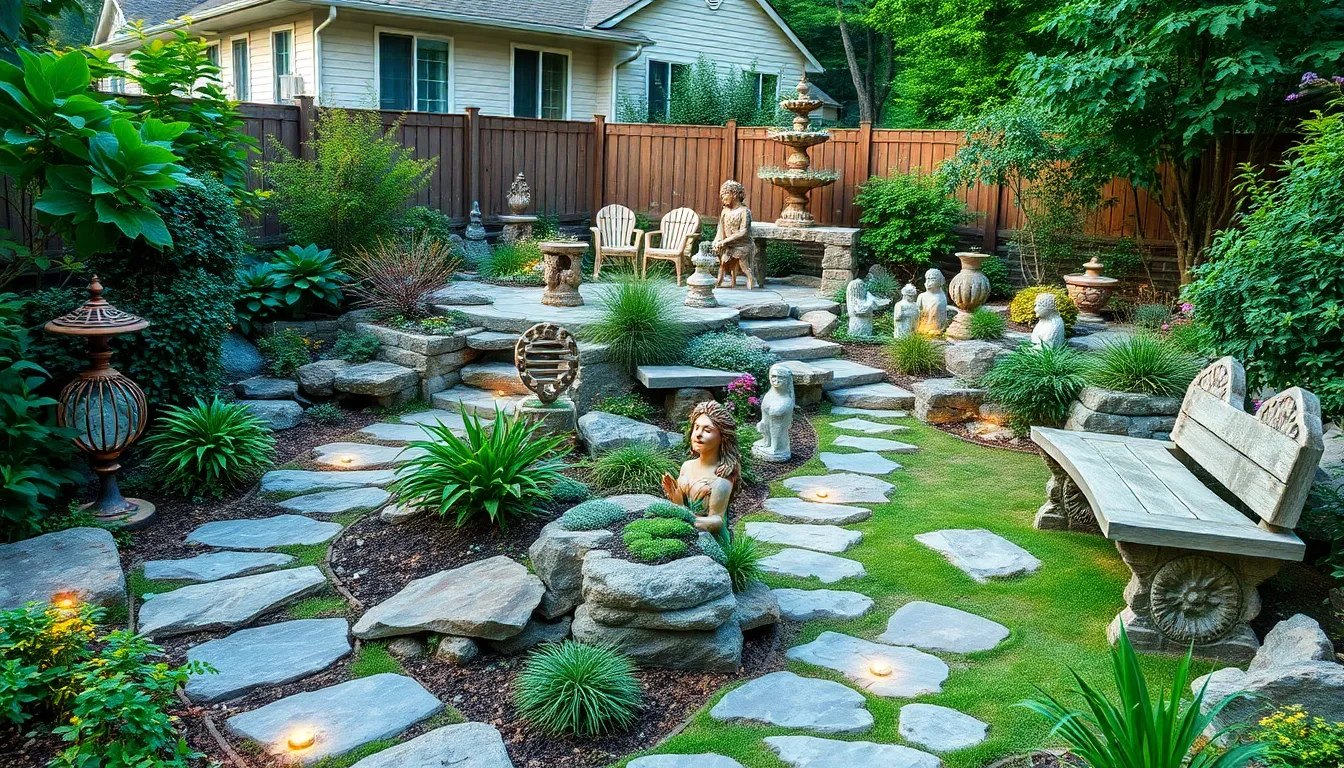
Decorative elements transform our rock gardens from simple plant displays into captivating outdoor galleries that reflect our personal style and create lasting impressions.
Add Garden Sculptures and Ornaments
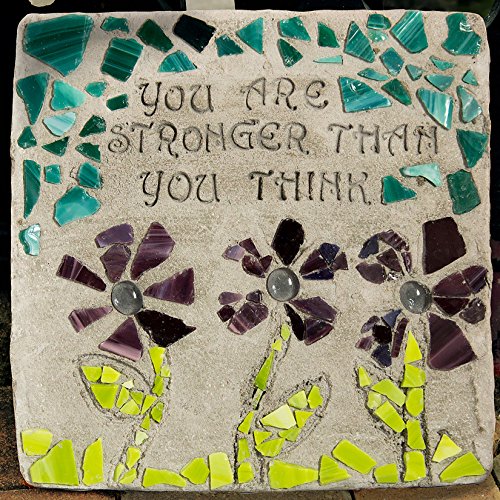
Garden sculptures blend art with nature to create unique focal points throughout our rock garden industry. Metal sculptures like abstract forms or animal figures provide striking contrast against natural stone textures and weathered surfaces. Stone carvings harmonize seamlessly with rocky environments while adding cultural elements that reflect Japanese garden traditions or modern artistic expressions.
Ornamental pieces serve as conversation starters and guide visitors’ eyes through different garden sections. Wind chimes create gentle sounds that complement water features and rustling plants in our outdoor sanctuary. Ceramic pottery vessels can house small succulents or serve as standalone artistic statements between larger boulder arrangements.
Strategic placement maximizes visual impact without overwhelming the natural beauty of our rock garden design. We position sculptures near pathways where guests can appreciate intricate details and craftsmanship up close. Smaller ornaments nestle between plant groupings to create surprise discoveries throughout the garden exploration experience.
Install Solar Lighting for Evening Appeal
Solar lighting extends our rock garden enjoyment well beyond daylight hours while highlighting architectural features and plant textures. LED path lights illuminate stepping stone walkways and create safe navigation routes through our evening garden industry. Spotlights positioned near specimen plants or dramatic boulder formations showcase key design elements after sunset.
Energy efficient solar fixtures eliminate electrical installation costs and reduce ongoing maintenance requirements for our outdoor lighting system. We select weatherproof fixtures designed to withstand seasonal temperature changes and moisture exposure throughout the year. Battery powered options provide consistent illumination even during cloudy periods when solar charging may be limited.
Color temperature choices influence the overall ambiance and mood of our illuminated rock garden space. Warm white lights create cozy gathering atmospheres around seating areas and water features. Cool white options enhance plant colors and stone textures while providing better visibility for evening maintenance tasks.
Create Seating Areas with Natural Stone
Natural stone seating integrates seamlessly with our rock garden aesthetic while providing comfortable spots to appreciate the tranquil environment. Flat boulder surfaces serve as rustic benches that require minimal modification and maintain authentic appearance. Stacked stone constructions create more formal seating options with backrests and armrests for extended relaxation periods.
Stone selection impacts both comfort and durability of our garden seating installations throughout changing weather conditions. Smooth river rocks provide comfortable surfaces for casual perching during garden tours and maintenance activities. Quarried limestone or granite offers stable platforms that withstand freeze thaw cycles and heavy usage over multiple seasons.
Strategic positioning maximizes views of our most attractive garden features while providing shelter from prevailing winds and harsh sunlight. We place seating near water features where sound creates peaceful backgrounds for meditation and quiet contemplation. Multiple seating locations accommodate different times of day and seasonal sun patterns throughout our rock garden industry.
Maintain Your DIY Rock Garden Year-Round
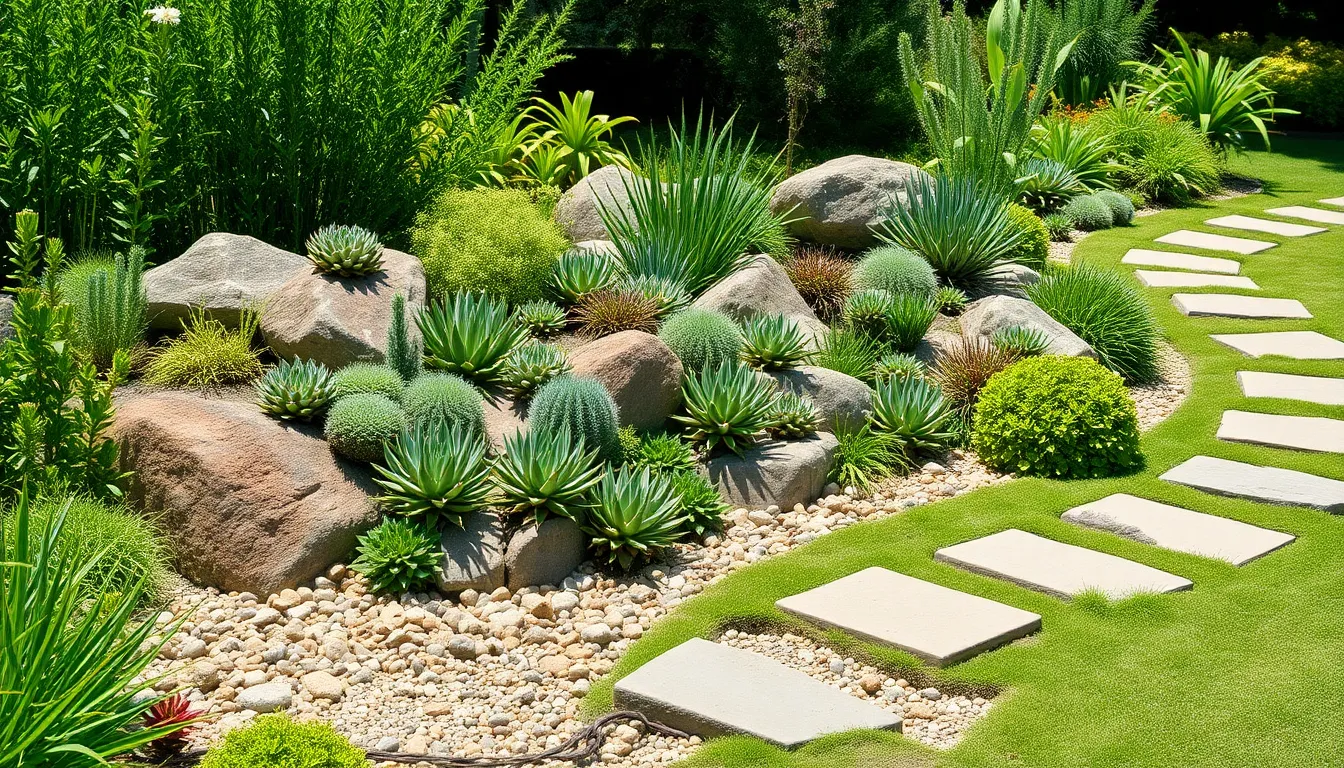
Now that we’ve established our beautiful rock garden with proper drainage and carefully selected plants, we need to focus on keeping it thriving throughout all seasons. Successful maintenance ensures our investment remains vibrant and healthy for years to come.
Seasonal Care and Plant Maintenance
Spring maintenance sets the foundation for healthy growth throughout the year. We should remove any winter debris and gently clear accumulated leaves from plant crowns to prevent rot. Checking our plants for winter damage helps us determine which areas need attention or replacement.
Summer watering requires special attention since rocks naturally absorb and retain heat. We need to ensure our plants receive adequate water during hot spells, monitoring soil moisture levels around succulents and alpine plants. Research shows that sempervivums and other drought tolerant varieties still benefit from occasional deep watering during extreme heat.
Fertilizing practices vary significantly based on our exact plant selections. Alpine plants typically require little to no fertilizer, while other rock garden specimens may benefit from light feeding in early spring. We should research each plant’s individual needs rather than applying a blanket fertilization approach.
Fall preparation involves cutting back perennial plants and protecting tender varieties from harsh winter conditions. Covering sensitive plants with evergreen boughs provides natural insulation without creating moisture problems.
Weed Control and Pest Management
Natural weed suppression works effectively when we use layers of smaller rocks or gravel between our plants. This technique creates a barrier that prevents most weeds from establishing while allowing proper drainage. Maintaining a 2-3 inch layer of decorative gravel serves dual purposes of beauty and weed control.
Manual weed removal becomes easier when we address problems early in the growing season. Pulling weeds after rain events ensures we remove entire root systems, preventing regrowth. Hand weeding around delicate alpine plants protects their shallow root systems from damage.
Organic pest control methods work best in rock garden environments where beneficial insects naturally thrive. We should regularly inspect our plants for signs of aphids, spider mites, and other common pests. Introducing ladybugs and lacewings provides natural pest control without harmful chemicals.
Preventive measures include maintaining proper plant spacing to improve air circulation and reduce fungal diseases. Removing fallen plant debris eliminates hiding places for harmful insects and reduces disease pressure.
Long-Term Structural Maintenance Tips
Rock stability requires periodic checking to ensure larger stones remain securely positioned. Freeze-thaw cycles and settling can cause even well-placed boulders to shift over time. We should test the stability of focal point rocks annually and reposition them as needed.
Erosion prevention involves monitoring areas where water runoff might wash away soil or smaller stones. Installing additional drainage channels or adjusting rock placement helps redirect water flow safely through our garden. Steep areas may require terracing adjustments or additional stone reinforcement.
Pathway maintenance keeps our walking surfaces safe and attractive throughout the seasons. We need to replenish loose gravel paths and reset any displaced stepping stones. Regular sweeping removes debris that could create slippery conditions or hide structural problems.
Soil level monitoring helps us identify areas where settling has created depression or drainage issues. Adding fresh soil mix to planting pockets maintains proper growing conditions for our alpine plants and succulents. Annual top dressing with appropriate growing medium keeps our plants healthy and thriving.
Conclusion
Creating your own rock garden transforms any outdoor space into a stunning low-maintenance industry that thrives for years to come. We’ve shown you how proper planning site selection and thoughtful design choices make all the difference in building a successful rock garden that conserves water while supporting local wildlife.
The journey from selecting the right rocks and preparing drainage to choosing drought-tolerant plants and adding decorative touches doesn’t require extensive experience or a massive budget. With these DIY strategies you’re equipped to tackle slopes challenging terrain and small spaces with confidence.
Your rock garden will become a year-round sanctuary that grows more beautiful with time requiring minimal upkeep while providing maximum visual impact. Start small experiment with different elements and watch as your outdoor space transforms into the stunning focal point you’ve always envisioned.
Frequently Asked Questions
What are the main benefits of creating a rock garden?
Rock gardens offer numerous advantages including water conservation, low maintenance requirements, and year-round visual appeal. They’re perfect for challenging areas like steep slopes and small yards, providing stunning focal points while supporting local wildlife. Rock gardens also require minimal upkeep once established and can thrive in areas where traditional gardens struggle.
How do I choose the best location for my rock garden?
Select a location based on sunlight exposure and drainage requirements. Assess sun patterns throughout the day to match plant needs, test soil drainage to prevent root rot, and work with natural terrain features like slopes or existing rocks. Ensure the area is accessible for maintenance and consider proximity to water sources.
What types of rocks work best for rock gardens?
Different rock types serve various purposes: limestone provides excellent drainage, granite offers durability, basalt creates dramatic contrast, and river rocks are safe for pathways. Use large boulders as anchor points, medium stones for borders, and small pebbles for finishing touches to create visual depth and functionality.
Which plants are ideal for rock gardens?
Choose drought-tolerant and alpine plants such as mountain pinks, alpine asters, sedums, thymes, succulents, and cacti. These plants thrive in rocky conditions with minimal water requirements. Select varieties with different bloom periods and include evergreen plants to maintain year-round color and structure.
How do I prepare the ground for a rock garden?
Start by clearing existing vegetation and debris to create a clean foundation. Install a drainage layer using gravel and sand mixture to prevent root rot. Lay landscape fabric over the drainage layer to suppress weeds while allowing water and air circulation. This preparation ensures long-term success.
Can I add water features to my rock garden?
Yes, water features enhance rock gardens beautifully. Consider small ponds, rock waterfalls, or streams for visual and auditory appeal. Drought-friendly options include shallow bird baths and seasonal water collection systems. These features attract wildlife while creating tranquil focal points that complement the rocky landscape.
How much maintenance does a rock garden require?
Rock gardens are low-maintenance once established. Regular tasks include seasonal cleaning, strategic watering during summer, fall preparation, and occasional weed control. Long-term maintenance involves checking rock stability, preventing erosion, and monitoring soil levels. Most maintenance can be completed in just a few hours per season.
What’s the best soil mix for rock garden plants?
Create a well-draining soil mix combining sand, peat moss, and perlite. This mixture provides optimal drainage while supplying necessary nutrients. Always test drainage before planting by checking how quickly water absorbs. Poor drainage is the leading cause of plant failure in rock gardens.

