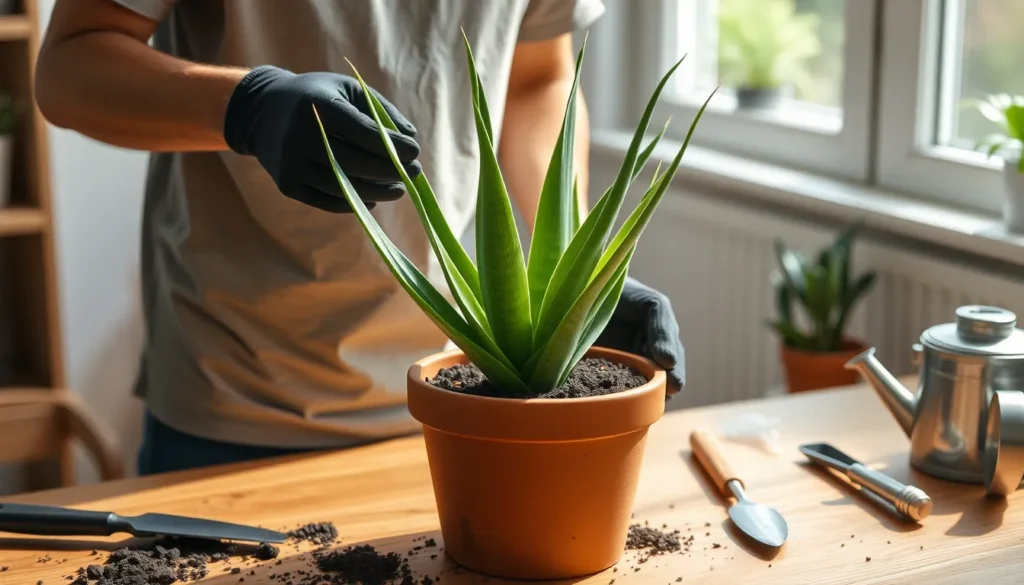
Snake plants are among the most resilient houseplants we can grow, but even these hardy beauties need fresh soil and room to spread their roots. If you’ve noticed your snake plant’s roots poking through drainage holes or the soil staying soggy longer than usual, it’s time for a repotting session.
We’ve all been there – staring at our beloved Sansevieria wondering if we should disturb its seemingly happy existence. The truth is that repotting isn’t just beneficial for snake plants; it’s essential for their long-term health. These plants actually thrive when given fresh potting mix and slightly more space to grow.
The best part? Repotting a snake plant is surprisingly straightforward once you know the proper techniques. We’ll walk you through every step of the process, from recognizing the telltale signs your plant needs repotting to choosing the perfect new container and soil mix.
Recognize When Your Snake Plant Needs Repotting
We’ll help you identify the telltale signs that indicate your snake plant has outgrown its current home. Knowing these warning signals ensures we can take action before root bound conditions harm our plant’s health.
Signs of Being Root Bound
Roots protruding through drainage holes signal that your snake plant desperately needs more space. We often notice thick, white roots poking out from the bottom of the pot, creating a clear visual indicator that the root system has exceeded its boundaries.
Circular root formations around the pot’s edges reveal another classic symptom of root binding. When we gently remove the plant from its container, we’ll see roots growing in tight circles instead of spreading naturally through the soil.
Soil displacement occurs when roots push growing medium upward and out of the pot. We may find that our snake plant sits higher than before, with roots visible at the soil surface and less potting mix remaining in the container.
Pot cracking or bulging happens when aggressive root growth exerts pressure on container walls. We’ve seen ceramic pots develop hairline cracks and plastic containers bow outward as roots demand additional room to expand.
Slow Growth and Yellowing Leaves
New leaf production decreases significantly when our snake plant becomes root bound. We notice fewer fresh shoots emerging from the soil, and existing leaves may remain the same size for months without any visible growth.
Yellowing lower leaves indicate that nutrients aren’t reaching all parts of the plant effectively. We observe that older leaves turn yellow and eventually brown as the cramped root system struggles to deliver adequate nutrition throughout the entire plant.
Stunted leaf development manifests as new growth that appears smaller and weaker than previous seasons. We see narrow, pale leaves that lack the robust appearance and vibrant green coloration of healthy snake plants.
Overall plant decline becomes evident through a combination of symptoms including drooping leaves, loss of structural integrity, and reduced resilience to environmental changes. We notice our once thriving snake plant appears less vigorous and responds poorly to our regular care routine.
Water Drainage Issues
Water pooling on the surface occurs when compacted roots prevent proper soil infiltration. We pour water onto our snake plant and watch it sit on top of the potting mix instead of absorbing into the growing medium.
Extremely fast drainage happens when root bound conditions create channels that allow water to rush through without proper absorption. We find that water immediately flows out the drainage holes, leaving the majority of soil dry and unable to retain necessary moisture.
Soil separation from pot walls creates gaps where water escapes without reaching the root zone. We notice that watering causes liquid to run down the sides of the container, bypassing the compacted soil mass entirely.
Persistent soggy conditions develop when poor drainage combines with reduced soil volume to create waterlogged environments. We observe that our snake plant’s potting mix remains wet for extended periods, increasing the risk of root rot and fungal issues.
Choose the Right Time to Repot a Snake Plant
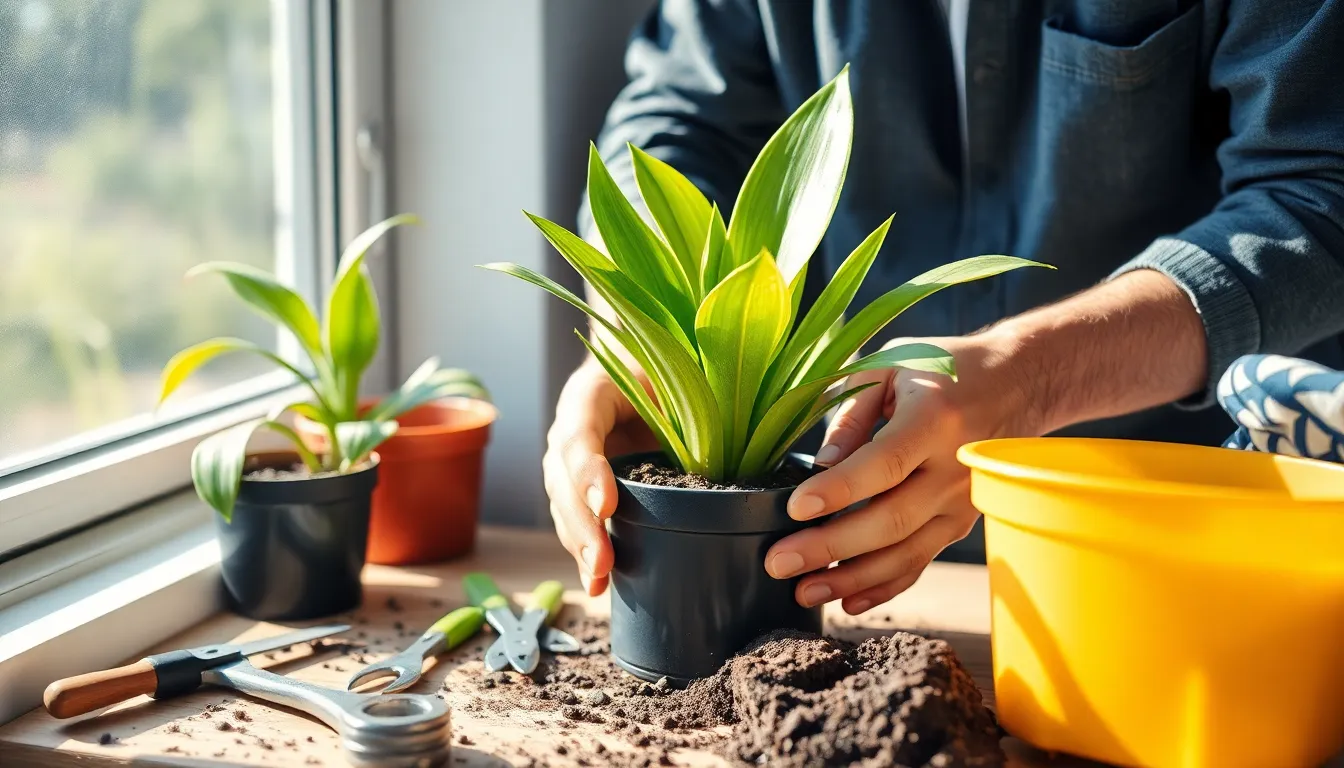
Timing plays a crucial role in successful snake plant repotting. We’ll maximize our plant’s health by choosing the optimal season for this important maintenance task.
Best Seasons for Repotting
Late winter or early spring offers the ideal window for repotting snake plants. During these months, our plants exit their winter dormancy and enter their active growth phase, making them more resilient to root disturbance and transplant shock. Spring timing allows the plant to quickly establish itself in fresh soil as growing conditions improve.
Early summer provides another excellent opportunity for repotting in temperate climates. We can take advantage of warm temperatures and longer daylight hours that support rapid root development and recovery. Summer repotting works particularly well when we’ve missed the spring window but notice urgent signs of root binding.
Early fall becomes acceptable in very mild regions, though it’s less ideal than spring options. We should only consider fall repotting in areas with extended growing seasons where plants won’t immediately enter dormancy. This timing requires extra monitoring as cooler weather approaches.
Avoiding Dormant Periods
Winter repotting should be avoided unless absolutely necessary for plant survival. During dormancy periods, snake plants become less resilient to handling and root disturbance, which significantly increases the risk of transplant shock and slows recovery time. We risk damaging our plants when they’re least equipped to bounce back from stress.
Emergency situations may require winter repotting even though the challenging timing. We might need to intervene during dormancy if we discover severe root rot, pot cracking that threatens the plant, or other urgent health issues. Extra care becomes essential during these off season procedures.
Supporting our plants through off season repotting requires modified techniques. We should minimize root disturbance, use room temperature water, and provide stable indoor conditions to help our snake plants adjust during their vulnerable dormant state.
Select the Perfect Pot and Soil for Your Snake Plant
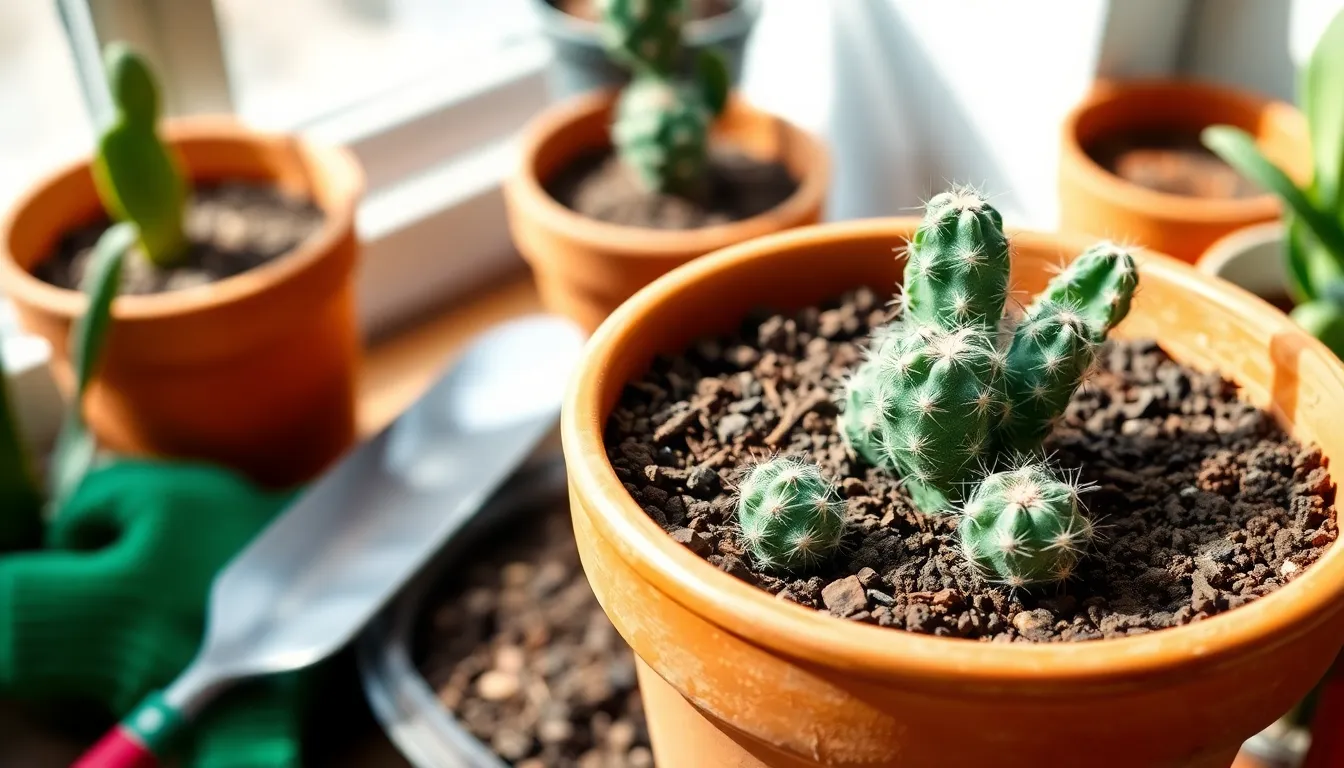
Choosing the right container and growing medium sets the foundation for successful snake plant repotting. We’ll guide you through the essential considerations that make all the difference in your plant’s future health.
Pot Size and Material Considerations
Size selection requires careful measurement to avoid overcrowding or excessive space. We recommend choosing a pot that’s 1 to 2 inches larger in diameter than your current container. This sizing allows adequate room for root expansion without creating too much empty space that can retain excess moisture.
Clay and ceramic materials offer superior moisture control compared to plastic alternatives. These porous materials naturally regulate water levels by allowing excess moisture to evaporate through the pot walls. Plastic containers tend to trap moisture, which can lead to waterlogged conditions that snake plants simply can’t tolerate.
Drainage holes are absolutely non-negotiable for snake plant containers. Every pot you select must have adequate drainage at the bottom to prevent water accumulation. Without proper drainage, even the best soil mix won’t save your snake plant from root rot.
Well-Draining Soil Mix Requirements
Cactus and succulent potting mixes provide the ideal foundation for snake plant health. These specialized blends are formulated to absorb excess water quickly while draining efficiently. We prefer these mixes because they prevent the waterlogged conditions that cause root rot in snake plants.
Standard potting soil retains too much moisture for snake plants’ desert-adapted root systems. Regular houseplant soil holds water for extended periods, creating the soggy conditions that can kill these drought-tolerant plants. Avoiding traditional potting mixes protects your snake plant from moisture-related problems.
Commercial succulent mixes eliminate the guesswork of creating your own blend. These ready-made options contain the proper ratios of perlite, sand, and organic matter that snake plants need. Using pre-formulated mixes saves time while ensuring your plant gets the drainage it requires for optimal growth.
Gather Essential Tools Before You Begin
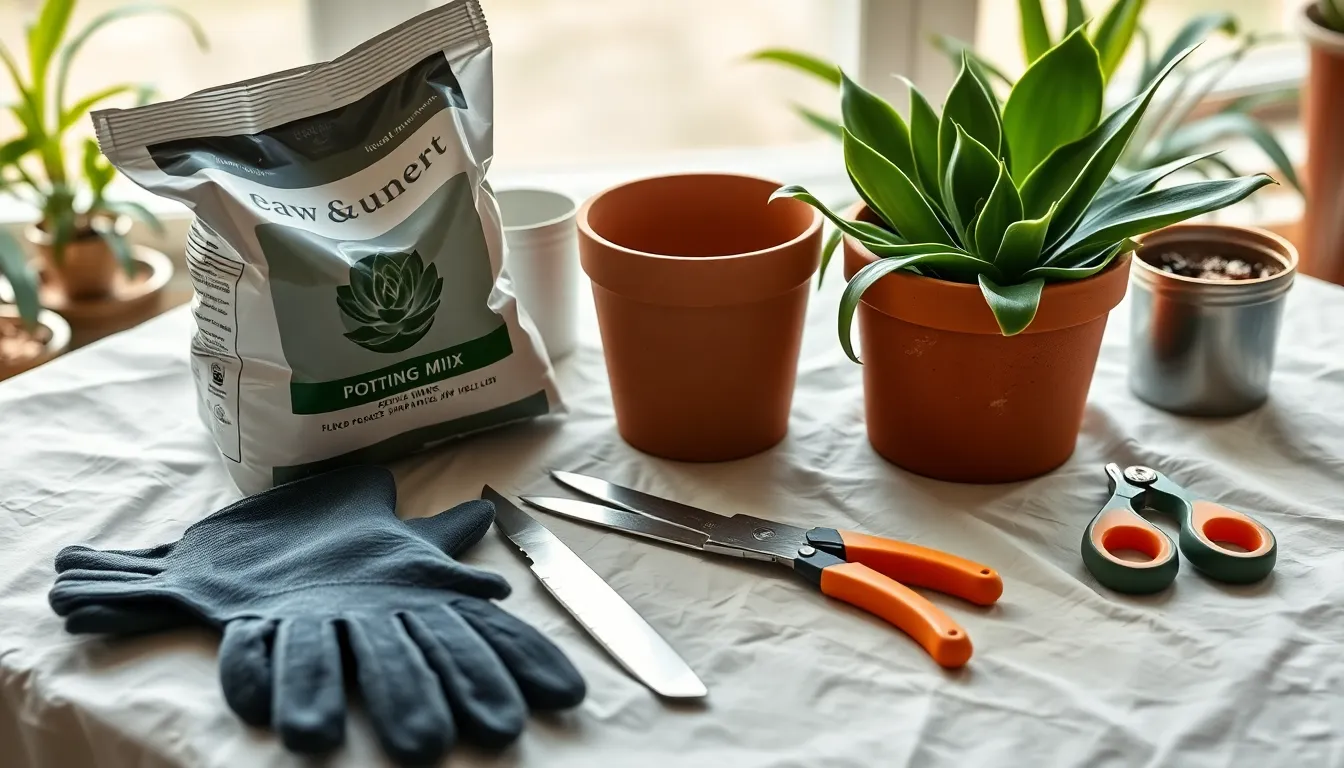
We’ll need exact tools to ensure our snake plant repotting process goes smoothly. Having everything ready beforehand prevents interruptions and reduces stress on both us and our plant.
Basic Repotting Equipment
New pot selection requires choosing a container that’s 1 to 2 inches larger in diameter than our current pot. Clay and ceramic pots work best because they provide superior moisture control compared to plastic alternatives. Drainage holes are absolutely essential to prevent water accumulation that can harm our snake plant.
Potting mix should be a cactus or succulent blend that drains efficiently. These specialized mixes prevent the soggy conditions that standard potting soil creates. Commercial succulent mixes offer convenience and optimal drainage for our repotting project.
Sharp knife or butter knife helps us ease the plant out of its current container without damaging roots. We’ll use this tool to gently separate the root ball from the pot walls. Sterilized pruning shears allow us to trim any damaged or rotted roots we discover during inspection.
Watering can becomes necessary for the post repotting care routine. We’ll need it to provide proper hydration once our snake plant has settled into its new home. A container with a narrow spout gives us better control over water placement.
Safety Gear and Workspace Setup
Gardening gloves protect our hands from potential spines and keep them clean during the repotting process. Snake plants occasionally have sharp leaf edges that can cause minor cuts. Quality gloves also provide better grip when handling the plant and tools.
Work surface protection involves covering our workspace with plastic sheeting or old newspaper. This preparation prevents soil from staining surfaces and makes cleanup much easier. We’ll have a contained area for all our repotting activities.
Well ventilated workspace ensures we can work comfortably without dust or soil particles affecting our breathing. Natural light helps us see root conditions clearly during inspection. A stable table or surface prevents accidents and gives us proper working height for the entire process.
Prepare Your Snake Plant for the Repotting Process

Getting your snake plant ready for its new home requires careful preparation and attention to detail. These drought-tolerant beauties need exact care before we begin the actual repotting process.
Watering Schedule Before Repotting
We recommend watering your snake plant a few days before the repotting process begins. This timing allows the soil to reach the perfect moisture level without being too wet or completely dry. Overly wet soil can make the roots more prone to damage during handling, so we want to avoid soggy conditions.
Snake plants are naturally drought-tolerant, which means they can handle slightly dry soil better than waterlogged conditions. Check the soil moisture by inserting your finger about two inches deep into the potting mix. The soil should feel slightly moist but not wet to the touch. If the soil feels completely dry, give it a light watering three to four days before repotting.
Inspecting for Pests and Disease
Thorough inspection of your snake plant prevents transferring problems to the fresh soil and new container. Look carefully at both the top and bottom surfaces of each leaf for signs of common pests like mealybugs, spider mites, or scale insects. These tiny invaders often hide in the crevices where leaves meet the soil line.
Mealybugs appear as white, cotton-like clusters on leaf surfaces and can quickly spread if left untreated. Spider mites create fine webbing and cause stippled yellow spots on leaves. Scale insects look like small brown or tan bumps attached to leaf surfaces. If you discover any of these pests, treat your plant with insecticidal soap or neem oil before proceeding with repotting.
Root inspection is equally important during this preparation phase. Gently brush away some topsoil to examine the visible root system. Healthy snake plant roots should appear white or light tan in color. Soft, blackened, or mushy roots indicate rot and need immediate attention. These damaged roots must be trimmed with sterilized scissors during the repotting process to prevent disease from spreading to healthy root sections.
Brown or yellowing leaves may signal underlying health issues that could complicate the repotting process. Remove any severely damaged foliage before repotting to redirect the plant’s energy toward establishing healthy roots in its new container.
Remove Your Snake Plant from Its Current Pot
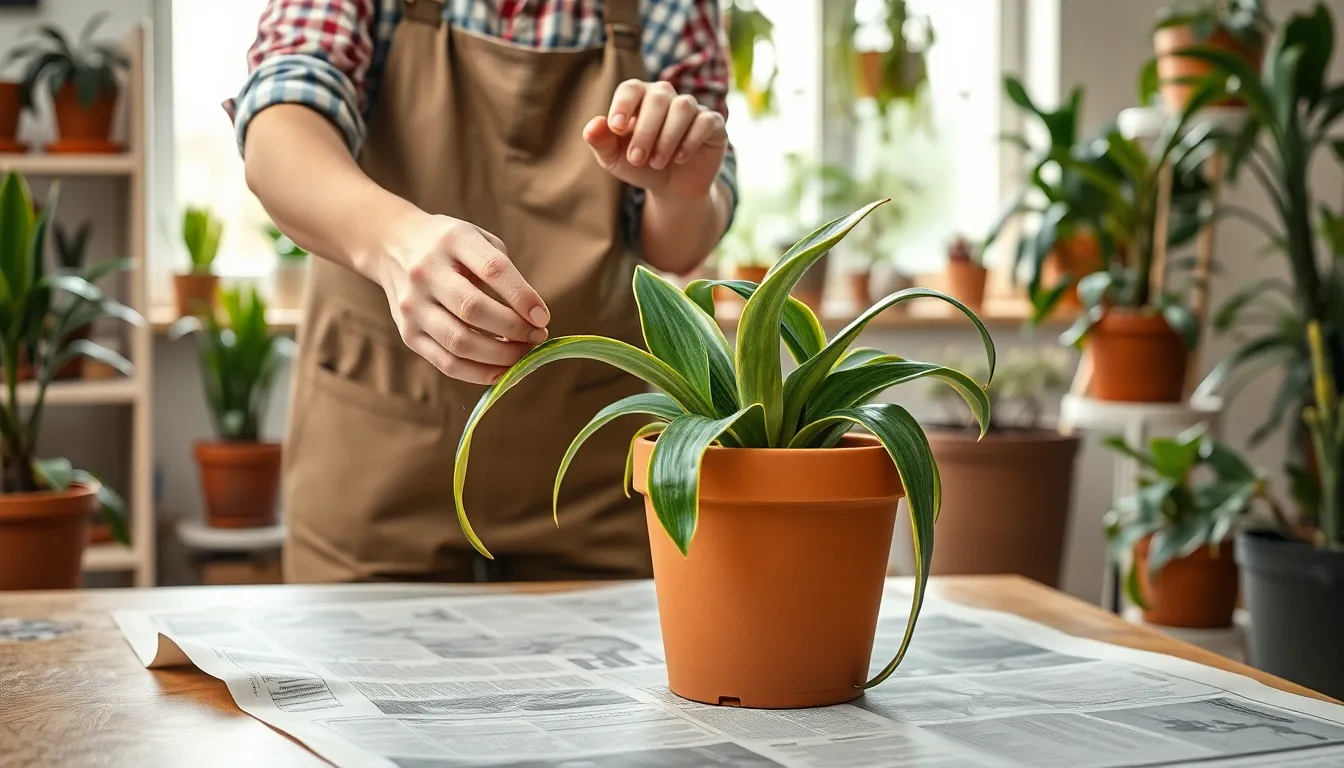
Now that we’ve prepared our workspace and gathered our tools, it’s time to carefully extract our snake plant from its current container.
Gentle Extraction Techniques
Protect your work surface by laying down plastic sheeting or newspaper before starting the removal process. We recommend holding the plant firmly near the base of its leaves rather than grabbing individual stems that might break under pressure.
Pull upward and outward with steady gentle pressure to coax the plant from its pot without damaging the root system. Most snake plants will slide out easily when we use this technique, especially if we’ve properly moistened the soil beforehand.
Use a clean flat knife to carefully loosen soil around the pot’s inner edges if the plant resists our initial attempts. Garden trowels work equally well for this task, allowing us to separate compacted soil without harming delicate root structures.
Cut plastic pots with sharp scissors as a last resort when other methods fail to free the plant safely. This approach prevents root damage that could occur from excessive force during extraction attempts.
Dealing with Stubborn Root Systems
Avoid tugging on individual leaves since this action commonly breaks them and weakens the overall plant structure. We find that working with the entire root ball provides much better control during difficult extractions.
Insert a butter knife between the soil and pot walls to break up severely compacted growing medium that’s preventing easy removal. This technique works particularly well for root bound plants that have filled their containers completely.
Shake the root ball gently after extraction to remove excess soil and expose the underlying root structure for proper inspection. We can then comb through tangled roots with our fingers to separate them naturally.
Inspect the root system thoroughly once we’ve freed the plant, looking for healthy white or light tan roots while identifying any damaged or mushy sections. Sterilized scissors or pruning shears should be used immediately to remove any compromised root material we discover.
Untangle severely matted roots by hand to prevent future growth restrictions in the new container. This step ensures our snake plant will establish itself properly in its fresh growing environment.
Inspect and Trim the Root System
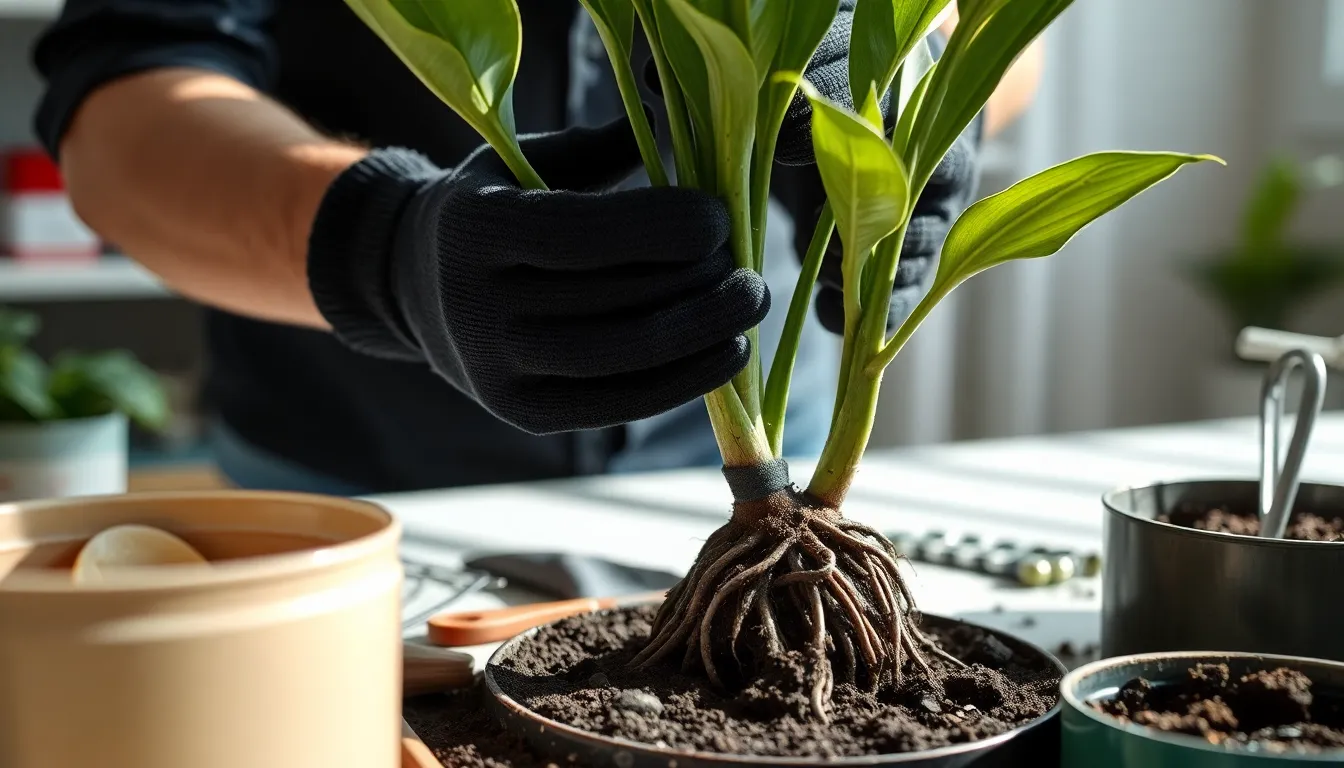
Now that we’ve removed our snake plant from its pot, it’s time to examine the root system closely. This crucial step determines whether our plant will thrive in its new container.
Identifying Healthy vs. Damaged Roots
Healthy roots display distinct characteristics that we can easily recognize. White or light tan coloration indicates proper root health, while firm texture confirms the roots can effectively absorb nutrients. Large, well-defined root structures show our snake plant has been growing successfully in its previous environment.
Damaged roots present warning signs we must address immediately. Mushy or soft textures signal root rot has begun developing within the system. Blackened areas indicate severe decay that threatens our plant’s survival. Decayed sections often feel slimy to the touch and may emit unpleasant odors.
Proper Root Pruning Methods
Sterilized tools prevent disease transmission between cuts during our pruning process. Clean scissors or pruning shears with rubbing alcohol before making any cuts. Sharp blades create clean wounds that heal faster than jagged tears from dull equipment.
Angled cuts promote optimal healing when we remove damaged root sections. Trim at a 45-degree angle to prevent water from pooling in the cut area. Remove entire damaged sections rather than leaving partial decay that could spread throughout the system.
Post-pruning timing affects recovery success after we complete our root maintenance. Allow trimmed roots to air dry for several hours before replanting in fresh soil. This brief drying period helps seal the cuts and reduces infection risk in our newly potted snake plant.
Place Your Snake Plant in Its New Home
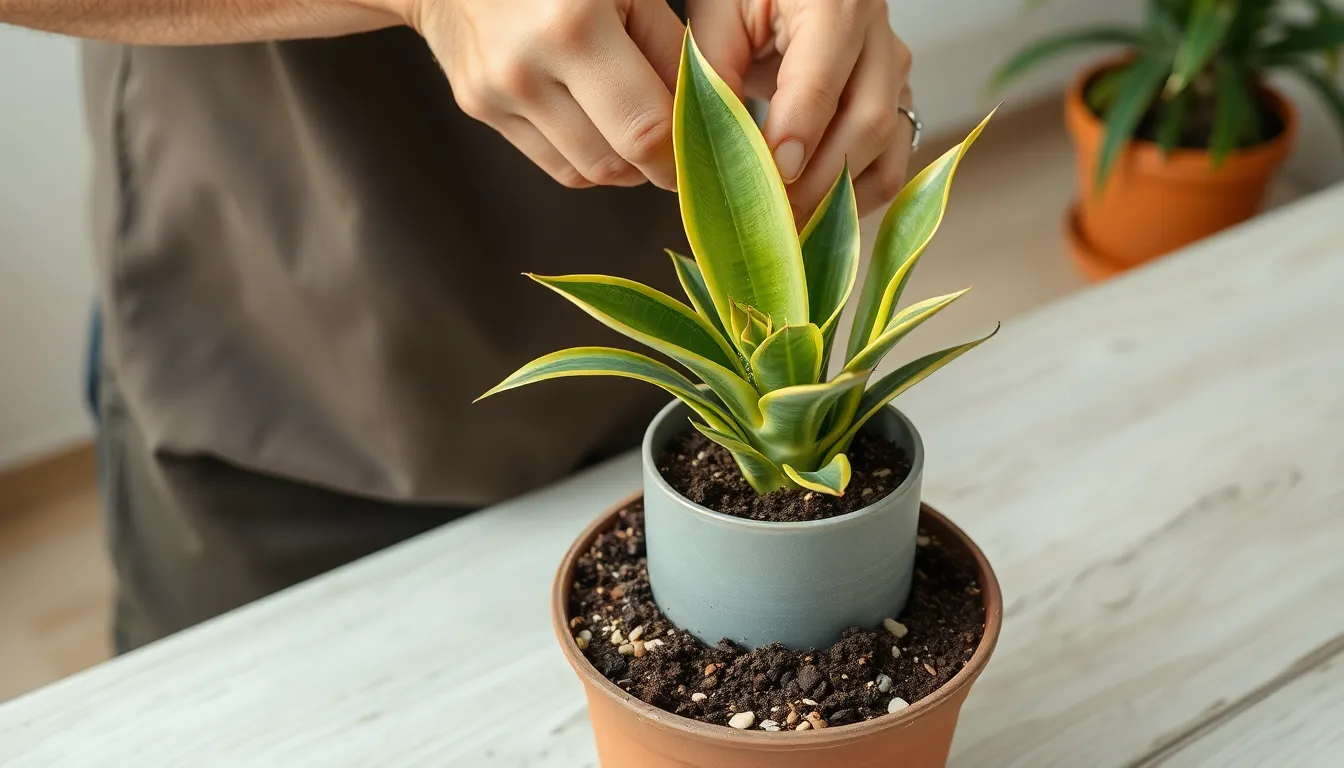
Now that we’ve prepared our snake plant and inspected its roots, it’s time to settle it into its new container with proper positioning and soil placement techniques.
Positioning and Soil Placement
Fill the new pot halfway with cactus potting mix before introducing your snake plant to its fresh environment. We recommend starting with this base layer to provide adequate support while allowing room for proper root positioning.
Hold the snake plant firmly at its base rather than gripping individual leaves during placement. This technique prevents damage to the foliage while giving us better control over the plant’s positioning in the new container.
Center the plant in the pot and gradually add more cactus mix around the root system. We should gently work the soil between the roots using our fingers to eliminate air pockets that could hinder proper root establishment.
Pack the soil lightly around the root ball to provide stability without compacting it too heavily. Dense soil restricts water drainage and air circulation, which can lead to the same problems we’re trying to solve through repotting.
Proper Planting Depth
Position the base of the leaves above the soil level to prevent moisture from collecting around the plant’s crown. This placement is crucial because snake plants are susceptible to rot when their leaf bases remain in contact with wet soil.
Cover the roots completely with fresh potting mix while maintaining the proper depth relationship between soil and foliage. We want the root system fully buried but the transition point between roots and leaves clearly above ground.
Leave approximately half an inch of space between the soil surface and the pot rim to accommodate watering without overflow. This spacing also prevents soil from spilling when we water the newly repotted plant.
Check that the plant sits at the same depth as it did in its previous container or slightly higher. Planting too deeply increases the risk of crown rot, while positioning too high can expose roots and cause instability in the new pot.
Provide Post-Repotting Care for Optimal Recovery
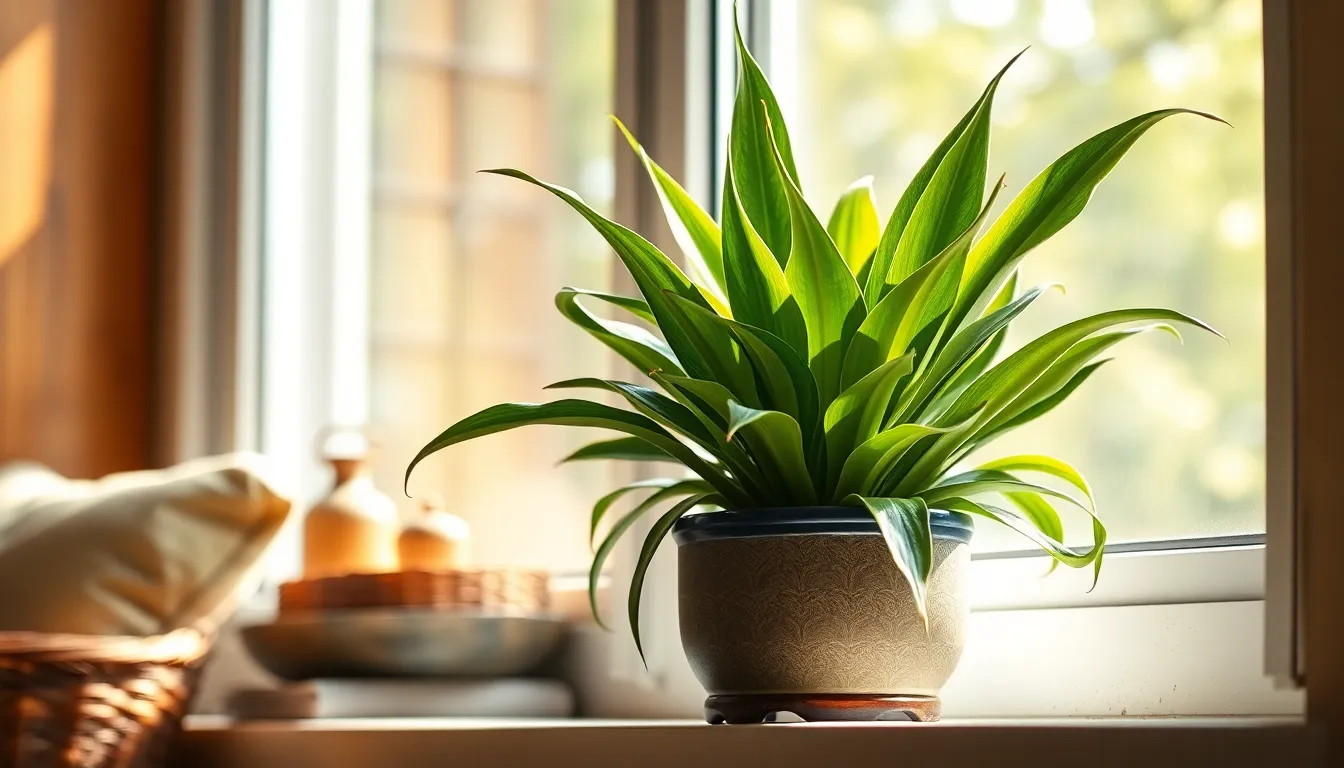
Proper aftercare determines whether your snake plant thrives or struggles in its new environment. We’ll guide you through the essential care steps that ensure optimal recovery and long-term health.
Watering Schedule After Repotting
Hold off on watering for several days after repotting to allow your snake plant time to settle into its new container. Disturbed roots need this adjustment period to prevent further stress and potential rot issues.
Wait at least 3-5 days before giving your plant its first drink in the new pot. During this time, the plant focuses its energy on establishing roots rather than processing water.
Resume watering sparingly once the waiting period ends, using only small amounts until you notice new growth emerging. This conservative approach prevents overwatering while the root system recovers.
Check soil moisture by inserting your finger 2 inches deep before each watering session. The soil should feel completely dry at this depth before adding water.
Watch for new growth signals that indicate your plant has successfully adapted to its new home. Fresh shoots or leaves mean you can gradually return to your normal watering routine.
Light and Temperature Requirements
Position your repotted snake plant in bright, indirect light immediately after the repotting process. Direct sunlight can cause additional stress when the plant is already adjusting to its new environment.
Maintain temperatures between 65°F to 75°F during the recovery period to create optimal conditions for root establishment. Consistent temperatures help minimize transplant shock.
Avoid moving the plant frequently during the first few weeks after repotting. Stability in location allows the snake plant to focus energy on root development rather than adapting to changing conditions.
Keep the plant away from heating vents and air conditioning units that create temperature fluctuations. These sudden changes can stress an already vulnerable plant.
Monitor for signs of light stress such as pale or yellowing leaves that indicate the plant needs adjustment in its positioning. Proper lighting supports healthy recovery without overwhelming the recovering root system.
Monitor Your Snake Plant’s Adjustment Period
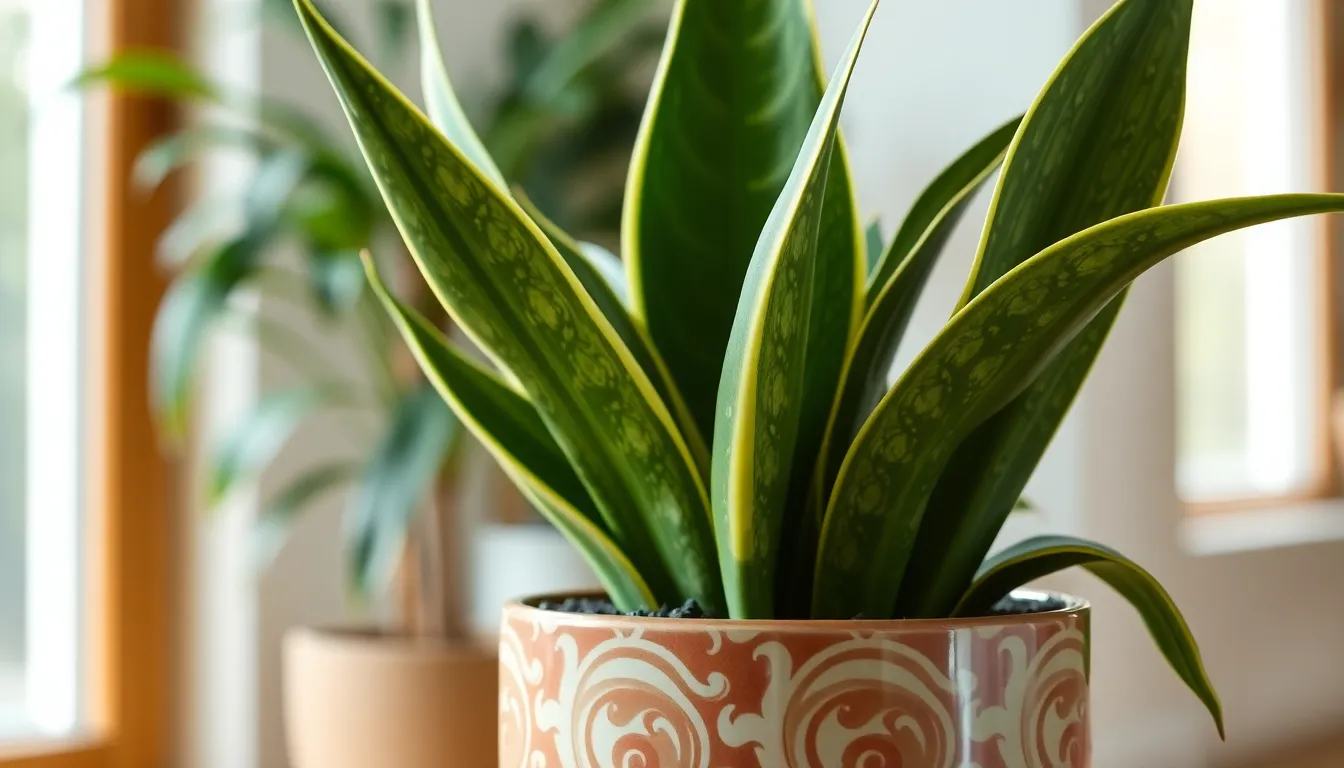
After repotting your snake plant, we need to carefully observe its response during the critical first few weeks. This monitoring phase determines whether our repotting efforts were successful and helps us address any emerging issues quickly.
Signs of Successful Transplantation
Stable upright growth indicates your snake plant has successfully adapted to its new container. We’ll notice the plant standing firmly without leaning or wobbling, which shows the roots have begun establishing themselves in the fresh soil.
New leaf emergence serves as the most reliable indicator of successful repotting. Fresh green shoots or baby plants (pups) appearing at the base signal that our snake plant is thriving and actively growing in its new environment.
Firm leaf texture demonstrates healthy water uptake and root function. We can gently touch the leaves to confirm they feel rigid and succulent rather than soft or mushy, which would indicate stress or overwatering.
Consistent leaf color shows optimal light absorption and nutrient processing. Healthy snake plants maintain their characteristic dark green color with light green striping, without yellowing or browning that suggests transplant shock.
Root establishment becomes visible after 2-3 weeks when we gently lift the plant. New white or light tan root tips extending into the fresh soil confirm successful adaptation to the new growing medium.
Troubleshooting Common Issues
Watering problems often manifest as the most frequent post-repotting challenge we encounter. Soggy soil conditions require immediate attention by reducing watering frequency and ensuring proper drainage through the pot’s holes.
Light stress symptoms appear when our snake plant receives inadequate or excessive illumination. We’ll adjust positioning if leaves start yellowing (too much light) or stretching toward light sources (insufficient light).
Transplant shock presents as drooping leaves or temporary growth cessation. This normal response typically resolves within 2-3 weeks as we maintain consistent care without overwatering or frequent repositioning.
Root damage complications occur when trimmed roots develop infections or fail to heal properly. We’ll monitor for mushy, blackened areas and trim affected sections with sterilized tools if problems persist.
Soil settling issues create unstable planting conditions when the growing medium compacts excessively. Adding small amounts of fresh cactus mix around the base helps stabilize the plant without disturbing established roots.
Conclusion
Repotting your snake plant doesn’t have to be intimidating when you’re equipped with the right knowledge and tools. We’ve walked through every step from recognizing the warning signs to providing proper aftercare.
Remember that patience is key during the adjustment period. Your snake plant may need several weeks to fully settle into its new home and that’s completely normal.
With proper timing technique and attention to detail you’ll give your snake plant the fresh start it needs to thrive for years to come. The effort you put in now will reward you with a healthier more vibrant plant that continues to purify your air and beautify your space.
Frequently Asked Questions
When should I repot my snake plant?
Repot your snake plant when you notice roots growing through drainage holes, circular root formations around the pot’s base, or when the soil becomes displaced by expanding roots. The best timing is late winter or early spring, though early summer also works. Generally, snake plants need repotting every 2-3 years or when they show clear signs of being root-bound.
What type of soil should I use for repotting snake plants?
Use a well-draining cactus and succulent potting mix for optimal results. These specialized mixes prevent water retention that can lead to root rot. Avoid standard potting soil as it holds too much moisture for snake plants. You can also create your own mix by combining regular potting soil with perlite or sand to improve drainage.
How do I know if my snake plant is root-bound?
Look for roots protruding through drainage holes, circular root formations visible at the soil surface, or soil being pushed up and displaced. Other signs include slow growth, yellowing leaves, water pooling on the surface instead of draining, and pots that appear cracked or bulging from root pressure.
What size pot should I choose for repotting?
Select a pot that’s 1-2 inches larger in diameter than the current container. Going too large can lead to water retention issues and potential root rot. The new pot should have adequate drainage holes and be made of materials like terracotta or ceramic that allow for proper airflow to the roots.
How long should I wait before watering after repotting?
Wait 3-7 days before watering your newly repotted snake plant. This waiting period allows any damaged roots to heal and prevents root rot. When you do water, do so lightly at first and monitor how quickly the new soil drains to ensure proper moisture levels.
What tools do I need for repotting a snake plant?
Essential tools include a sharp, clean knife for extracting the plant from its pot, sterilized pruning shears for trimming damaged roots, and gloves for protection. You’ll also need the new pot, fresh cactus/succulent soil mix, and a small trowel or spoon for soil placement.
How do I handle transplant shock in snake plants?
Transplant shock appears as drooping, yellowing, or softening leaves. Place the plant in bright, indirect light and avoid direct sunlight temporarily. Don’t overwater during this adjustment period. Most snake plants recover within 2-4 weeks. Monitor for new growth and firm leaf texture as signs of successful adaptation.
Can I propagate my snake plant during repotting?
Yes, repotting is an excellent time to propagate. Look for natural divisions or offsets (pups) that can be separated from the main plant. Ensure each division has its own root system before separating. Allow cut surfaces to dry for 24-48 hours before planting in fresh soil.

