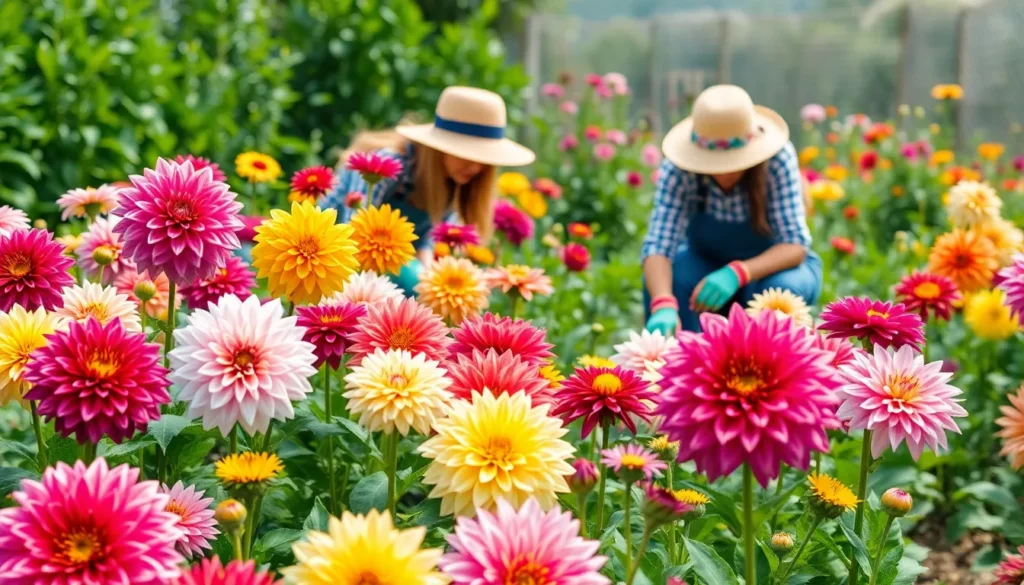
Dahlias transform any garden into a spectacular display of vibrant colors and intricate blooms. These stunning flowers captivate gardeners worldwide with their incredible variety – from dinner-plate-sized giants to delicate pompoms in every shade imaginable. We’ve discovered that growing dahlias isn’t just rewarding; it’s surprisingly achievable for gardeners of all skill levels.
What makes dahlias truly special is their generous blooming period. Unlike many flowers that peak for just a few weeks, dahlias keep producing gorgeous blooms from mid-summer until the first frost hits. We’ll show you exactly how to plant, nurture and maintain these garden superstars so you can enjoy months of continuous color.
Whether you’re dreaming of cut flowers for your home or want to create stunning garden borders, dahlias deliver exceptional results. We’ve compiled the essential techniques that’ll help you grow healthy, prolific dahlia plants that become the envy of your neighborhood.
Materials and Tools Needed
Growing dahlias successfully requires exact materials and tools that ensure proper planting, care, and maintenance throughout the growing season. Essential planting materials include dahlia tubers, well-draining soil amendments, and support structures for the taller varieties that reach 4-6 feet in height.
Dahlia tubers form the foundation of our planting process. Purchase tubers from reputable nurseries or garden centers, selecting firm specimens without soft spots or mold. Each tuber must contain at least one viable eye (growing point) to produce new shoots.
Soil amendments create the ideal growing environment for dahlia cultivation:
- Compost or aged manure (2-3 inches per planting area)
- Perlite or coarse sand for drainage improvement
- Bone meal or balanced fertilizer (10-10-10 ratio)
- Mulch materials like straw or wood chips
Support structures prevent tall dahlia varieties from breaking under wind or heavy blooms:
- Stakes measuring 6-8 feet in length
- Tomato cages for medium-height varieties
- Garden twine or soft plant ties
- Metal or bamboo supports for single-stem training
Planting tools streamline the dahlia installation process:
- Spade or shovel for digging planting holes
- Garden fork for soil preparation
- Hand trowel for precise tuber placement
- Measuring tape to ensure proper spacing
Maintenance equipment supports ongoing dahlia care throughout the growing season:
- Watering can or soaker hose system
- Pruning shears for deadheading and cutting
- Gardening gloves for protection during handling
- Plant labels for variety identification
- pH testing kit to monitor soil acidity levels
- Fungicide spray for disease prevention
- Slug deterrent materials like diatomaceous earth
- Storage containers for tuber preservation over winter
Choosing the Right Dahlia Varieties
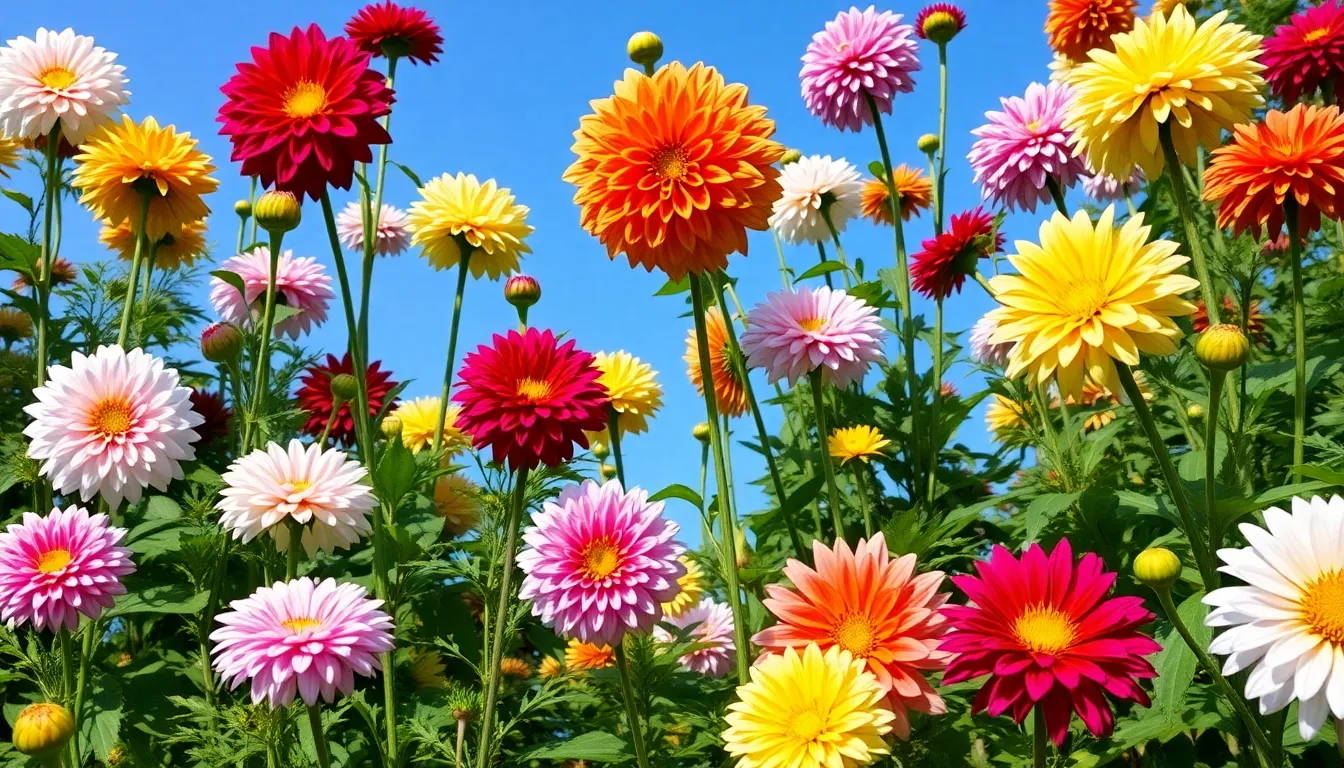
Selecting appropriate dahlia varieties ensures successful cultivation and maximizes garden impact based on your exact growing conditions.
Understanding Dahlia Types
Dahlia varieties range from compact dwarf specimens to towering display plants, each offering distinct growth characteristics and garden applications. Compact varieties reach 12-18 inches in height and work perfectly for container gardens, border edging, and small spaces. Standard varieties grow 2-4 feet tall and provide excellent middle-ground plantings for mixed borders. Tall varieties extend 4-8 feet in height and create dramatic focal points but require staking support systems to prevent structural damage from wind or heavy blooms.
Dwarf dahlias include popular cultivars like ‘Gallery Art Deco’ and ‘Figaro Mix’ that produce abundant flowers without overwhelming smaller garden spaces. Standard varieties cover reliable performers such as ‘Bishop of Llandaff’ and ‘David Howard’ that balance manageable height with impressive flower production. Taller varieties require staking to prevent them from flopping under their own weight, making support planning essential during garden design phases.
Selecting Based on Climate Zone
Climate zone compatibility determines dahlia survival and flowering success throughout the growing season. Dahlias perform optimally in USDA hardiness zones 8-11 where soil temperatures remain consistently warm and frost threats end early in spring. Gardeners in zones 3-7 must treat dahlias as annual plants or lift tubers before winter freezing occurs.
Dahlias thrive in zones with at least 6 hours of direct sunlight and well-drained soil conditions that prevent waterlogging during rainy periods. Morning sunlight exposure proves particularly beneficial as it dries dew from foliage and reduces fungal disease risks. Areas with consistent temperatures between 60-70°F produce the most vigorous growth and abundant flowering displays.
Regional microclimates affect variety selection significantly, with coastal areas offering extended growing seasons while inland locations experience more extreme temperature fluctuations. Wind exposure requires consideration since strong winds damage tall varieties and increase watering requirements for all dahlia types.
Considering Bloom Size and Color
Bloom size categories range from miniature 2-inch flowers to dinner plate specimens exceeding 10 inches in diameter. Miniature and small dahlias (2-4 inches) produce many flowers per plant and work excellently for cutting gardens and detailed industry designs. Medium blooms (4-6 inches) offer balanced visual impact while maintaining reasonable stem strength for garden displays.
Large and giant dahlias (6-10+ inches) create spectacular focal points but require additional plant support and consistent feeding programs to sustain their impressive flower production. These varieties include show-stopping cultivars like ‘Café au Lait’ with 12-inch cream blooms and ‘Labyrinth’ producing massive burgundy flowers.
Color selection encompasses virtually every hue except true blue, with options including pure whites, deep purples, vibrant oranges, soft pinks, and dramatic near-blacks. Bicolor varieties feature contrasting petal tips, centers, or striping patterns that add visual complexity to garden compositions. Single-color varieties provide clean, bold statements while multicolored types create ever-changing visual interest and blend seamlessly with diverse planting schemes.
Preparing Your Garden Space
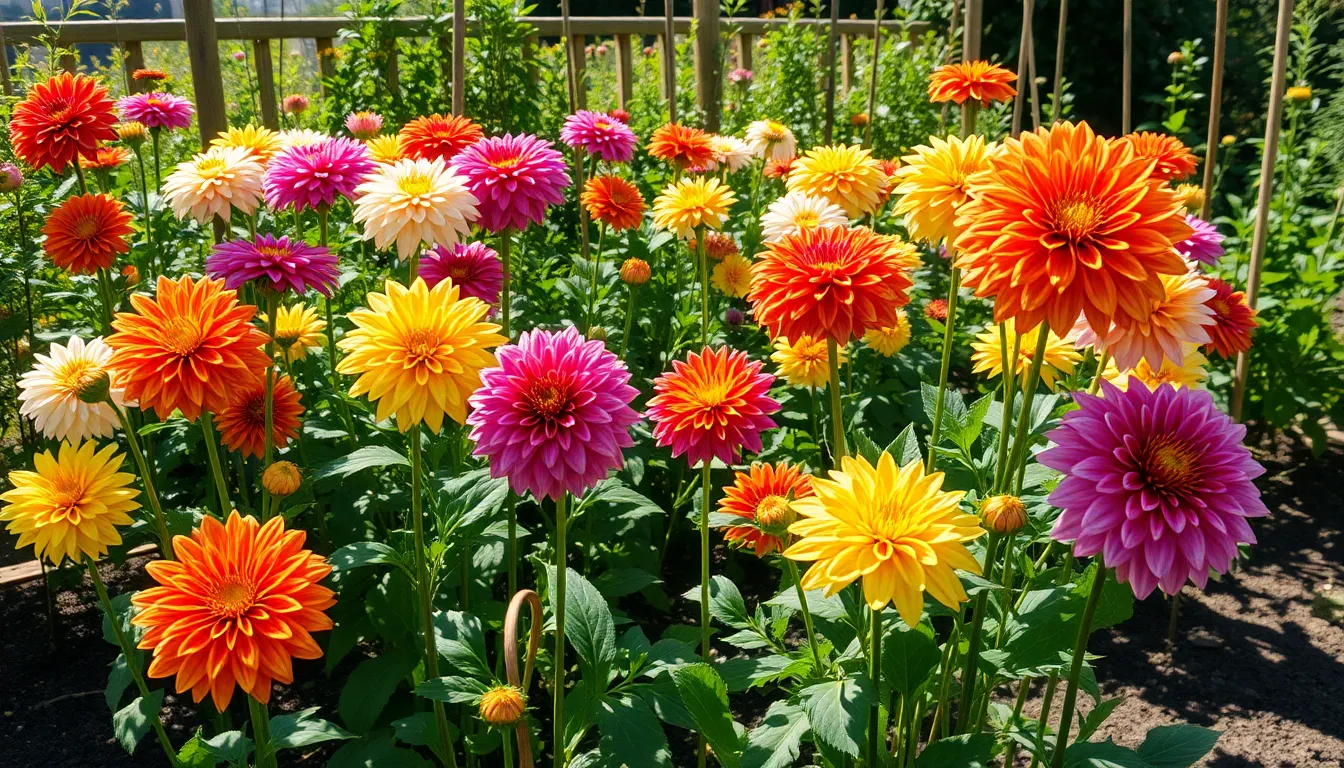
Creating the perfect environment sets the foundation for spectacular dahlia blooms throughout the growing season.
Selecting the Ideal Location
Six to eight hours of direct sunlight provides dahlias with the energy they need for vigorous growth and abundant flowering. Morning sunlight offers the greatest benefit as it dries dew from leaves and prevents fungal diseases from taking hold in your garden.
Choose a spot sheltered from strong winds that can snap tall stems and damage large flower heads. Wind protection becomes especially important for varieties that grow over 4 feet tall or produce dinner-plate-sized blooms.
Good drainage ranks as the most critical soil requirement for dahlia success. Standing water around tubers causes rot and kills plants before they establish strong root systems.
Testing and Amending Soil
pH levels between 6.0 and 7.0 create optimal conditions for nutrient uptake in dahlia plants. Conduct a soil test using a digital pH meter or testing kit to determine your current soil acidity.
Raise soil pH by mixing lime into planting areas if your test shows readings below 6.0. Lower pH levels by incorporating sulfur when readings exceed 7.0. Apply amendments 2-3 weeks before planting to allow proper soil integration.
One to two buckets of organic matter per square meter transforms poor soil into fertile growing medium. Mix compost or well-rotted manure into the top 8-10 inches of soil to improve both structure and fertility.
Heavy clay soils benefit from adding perlite or coarse sand to increase drainage. Sandy soils require extra organic matter to retain moisture and nutrients throughout the growing season.
Planning Garden Layout and Spacing
Space dahlia tubers 18-24 inches apart to provide adequate air circulation and room for mature plant spread. Closer spacing restricts airflow and increases disease pressure in humid conditions.
Large dahlia varieties require support structures planned at planting time. Position stakes or tomato cages near planting holes to avoid disturbing established root systems later in the season.
Arrange plantings in rows running north to south when possible to maximize sun exposure for all plants. Group varieties by height with shorter types in front and taller specimens toward the back of garden beds.
Consider bloom timing when designing your layout since different varieties peak at various points during the growing season. Stagger plantings of the same variety 2-3 weeks apart for extended flowering periods.
Planting Dahlia Tubers
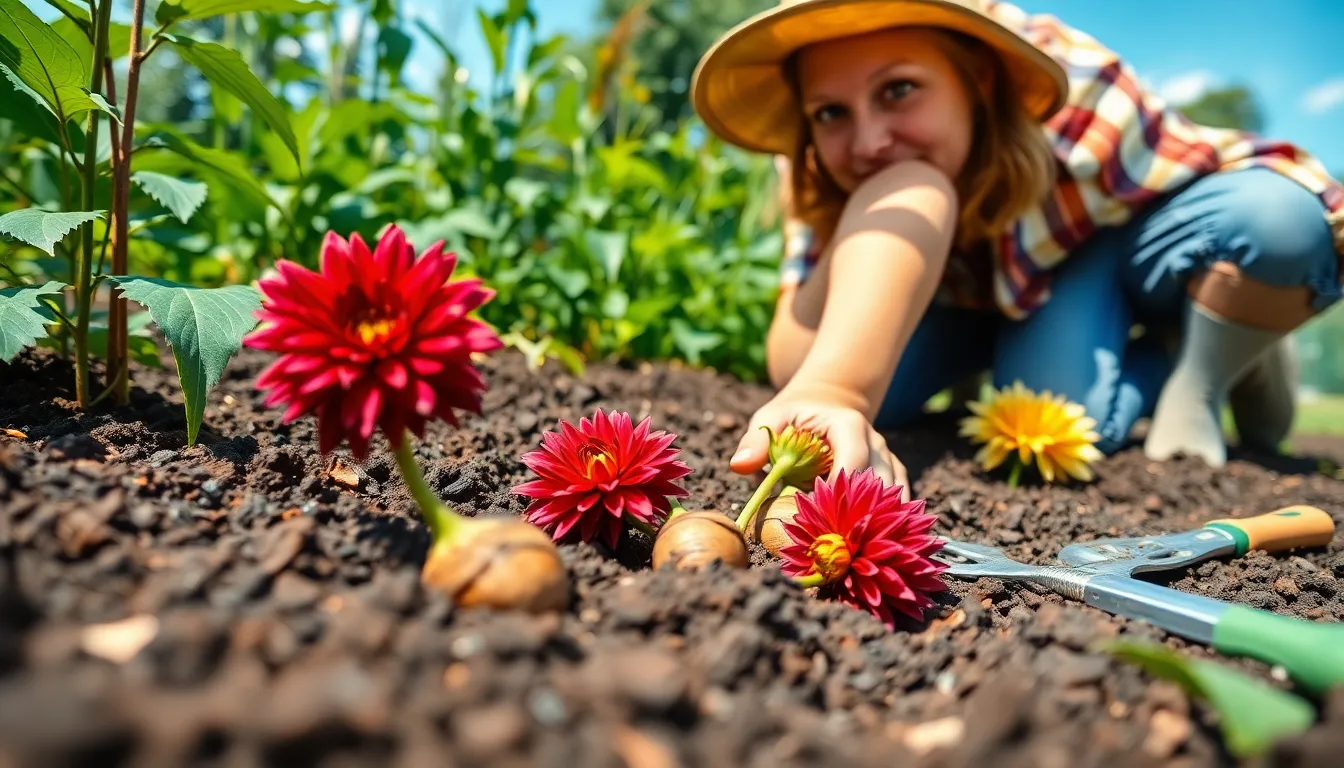
Successful dahlia tuber planting forms the foundation of a thriving garden display. Proper timing, preparation, and technique directly impact bloom production and plant health throughout the growing season.
When to Plant Dahlias
Plant dahlia tubers after the threat of frost has passed, typically during late spring when soil temperatures consistently reach 60°F. Cold soil temperatures below 50°F cause tuber rot and prevent sprouting from the eyes. Monitor local weather patterns for 2-3 weeks of frost-free conditions before planting outdoors.
Warm, well-drained soil conditions provide the optimal environment for dahlia tuber development. Test soil temperature using a thermometer inserted 4 inches deep into planting areas. Late April through May represents the ideal planting window for most regions, though southern gardeners can plant earlier while northern climates require waiting until June.
Preparing Tubers Before Planting
Inspect dahlia tubers for viable eyes before placement in the garden. Eyes appear as small bumps or indentations on the crown portion of the tuber where new shoots emerge. Healthy tubers display firm flesh without soft spots, mold, or shriveled areas.
Position tubers with eyes facing upward during planting orientation. Multiple eyes on a single tuber produce stronger plants with more branching potential. Dust tubers with fungicide powder if moisture damage or soft spots appear on the surface. Cut away damaged sections using clean, sharp pruning shears, ensuring each division retains at least one viable eye.
Proper Planting Depth and Technique
Dig holes 4-6 inches deep for optimal tuber placement in prepared garden beds. Place tubers horizontally in holes with eyes positioned toward the soil surface. Space individual tubers 18-24 inches apart to accommodate mature plant spread and promote air circulation between stems.
Backfill holes completely with amended soil without compacting around tubers. Cover tubers entirely with loose soil mixture to prevent exposure to air pockets. Position support stakes at planting time to avoid damaging developing root systems later in the season.
Large dahlia varieties require deeper placement at 6 inches while smaller cultivars perform well at 4-inch depths. Mark planting locations with garden labels to track variety placement and spacing throughout the bed.
Watering After Planting
Avoid watering immediately after planting unless soil conditions appear extremely dry. Excess moisture around dormant tubers promotes rot before root development begins. Monitor soil moisture levels by inserting fingers 2 inches into the planting area.
Begin regular watering schedules once green shoots emerge above soil level, typically 2-4 weeks after planting. Apply water directly to soil around plants rather than overhead watering methods that encourage fungal diseases. Deep, infrequent watering sessions promote strong root development compared to frequent shallow applications.
Fertilize emerging dahlia plants with all-purpose liquid fertilizer twice monthly once active growth begins. Established plants require consistent moisture throughout the growing season for optimal bloom production and stem strength.
Essential Care Throughout the Growing Season
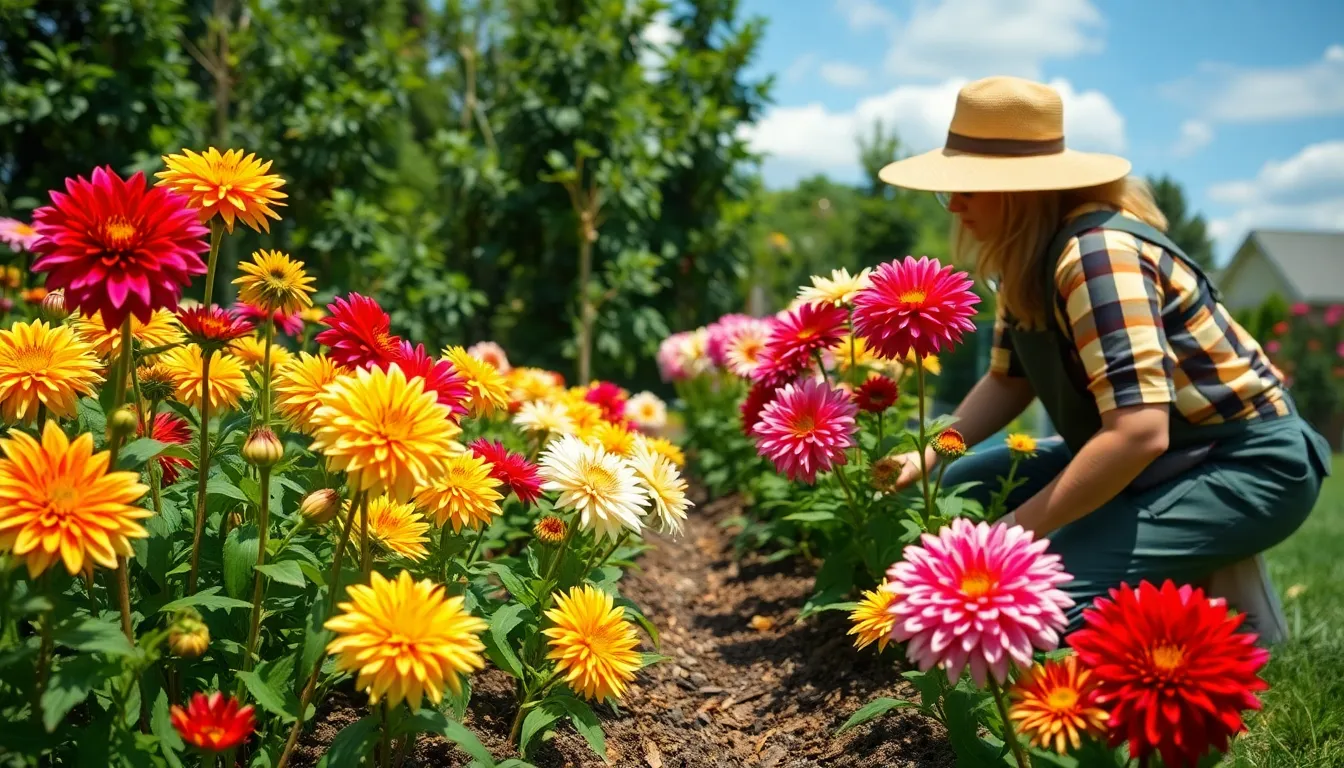
Once our dahlia tubers establish green shoots and begin their growth phase, we focus on three critical care practices that determine bloom quality and plant health.
Watering Requirements and Schedule
Initial watering restraint protects tubers from rot during their early establishment phase. We avoid watering immediately after planting unless soil conditions become extremely dry. This approach prevents moisture buildup around dormant tubers that can cause decay.
Regular watering begins once green shoots emerge from the soil surface. We maintain consistent soil moisture by checking the top 2 inches of soil daily during active growing periods. Dahlia plants require approximately 1 inch of water per week through deep watering sessions rather than frequent shallow applications.
Morning watering sessions optimize plant health by allowing foliage to dry before evening temperatures drop. We water at the base of plants rather than overhead to prevent fungal diseases on leaves and flowers. During peak summer months, we increase watering frequency to twice weekly when temperatures exceed 85°F.
Fertilizing Your Dahlias
All-purpose liquid fertilizer applications begin when plants reach 8 inches in height. We apply balanced liquid fertilizer with equal nitrogen, phosphorus, and potassium ratios every two weeks throughout the growing season. This feeding schedule supports both foliage development and flower production.
Organic compost additions supplement liquid fertilizer programs by improving soil structure and providing slow-release nutrients. We incorporate 2-3 inches of well-aged compost around plant bases monthly during peak growing periods. Bone meal applications at planting time provide additional phosphorus for strong root development.
Fertilizer adjustments occur based on plant performance throughout the season. We reduce nitrogen levels after initial growth phases to encourage flower production over excessive foliage growth. High-phosphorus fertilizers applied during bud formation enhance bloom size and color intensity.
Mulching for Moisture Retention
Organic mulch applications conserve soil moisture while suppressing weed competition around dahlia plants. We apply 3-4 inch layers of shredded bark, straw, or aged leaves in a circle extending 18 inches from plant stems. This mulch depth maintains consistent soil temperature and reduces watering frequency by 40%.
Mulch placement requires careful attention to stem spacing to prevent moisture accumulation against plant bases. We maintain 4-6 inch gaps between mulch materials and dahlia stems to promote air circulation and prevent fungal issues. This spacing allows beneficial airflow while maintaining moisture retention benefits.
Mulch refresh occurs mid-season as organic materials decompose and settle. We add fresh mulch layers in July to maintain optimal thickness through late summer growing periods. Decomposing mulch materials enrich soil with organic matter that improves dahlia root development and overall plant vigor.
Supporting Your Dahlia Plants
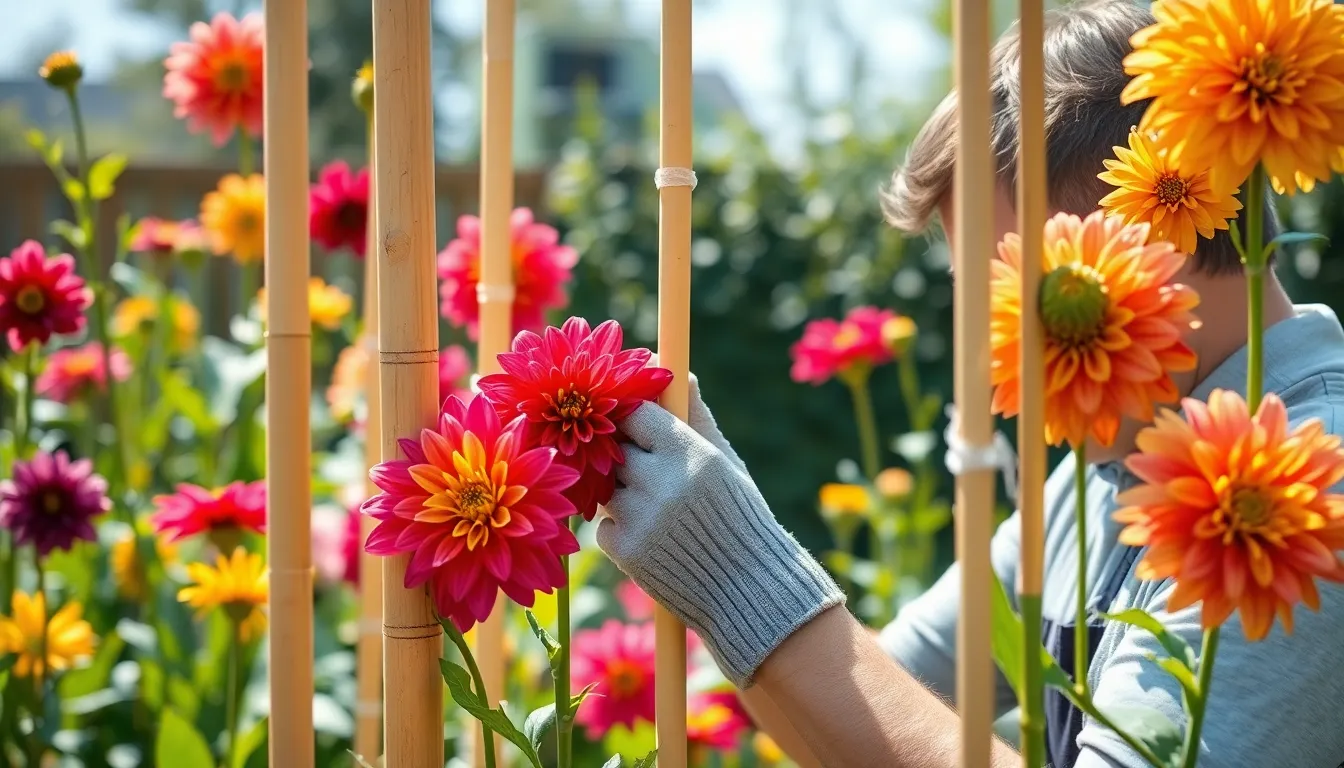
Growing dahlia plants reach substantial heights during the season and require proper structural support to maintain upright growth patterns. Taller dahlia varieties demand support systems to prevent stem breakage and promote optimal flower development throughout the growing period.
Installing Stakes and Supports
Bamboo canes and stakes provide essential support for dahlia plants that exceed 3 feet in height. Position stakes at planting time around each tuber location to avoid damaging established root systems later in the season. Drive stakes 12 inches deep into soil for maximum stability during windy conditions.
Space support structures 18-24 inches apart around each dahlia plant to create effective containment without restricting natural growth patterns. Metal tomato cages work exceptionally well for compact dahlia varieties under 4 feet tall. Wooden stakes measuring 6-8 feet accommodate giant dahlia varieties that reach dinner plate bloom sizes.
Install support systems before plants reach 12-16 inches in height to establish proper growth habits from early development stages. Hide stakes behind emerging foliage to maintain attractive garden aesthetics while providing necessary structural reinforcement.
Tying Techniques for Growing Plants
Soft plant ties and garden twine secure dahlia stems without causing damage to tender plant tissues. Attach growing stems to support structures every 2 weeks during active growth periods to maintain consistent upright positioning.
Create loose figure-eight patterns when tying stems to stakes to allow natural stem movement while preventing breakage during storms. Cotton strips and pantyhose sections provide gentle support materials that expand with growing stem diameter.
Check tie tension regularly throughout the growing season to prevent restriction of nutrient flow in expanding stems. Replace worn ties immediately to maintain continuous plant support during peak blooming periods from mid summer through first frost.
Position ties 6-8 inches below flower heads to support heavy blooms without interfering with natural flower presentation. Secure main stems first before addressing secondary branch support to establish primary structural integrity.
Pruning and Maintenance
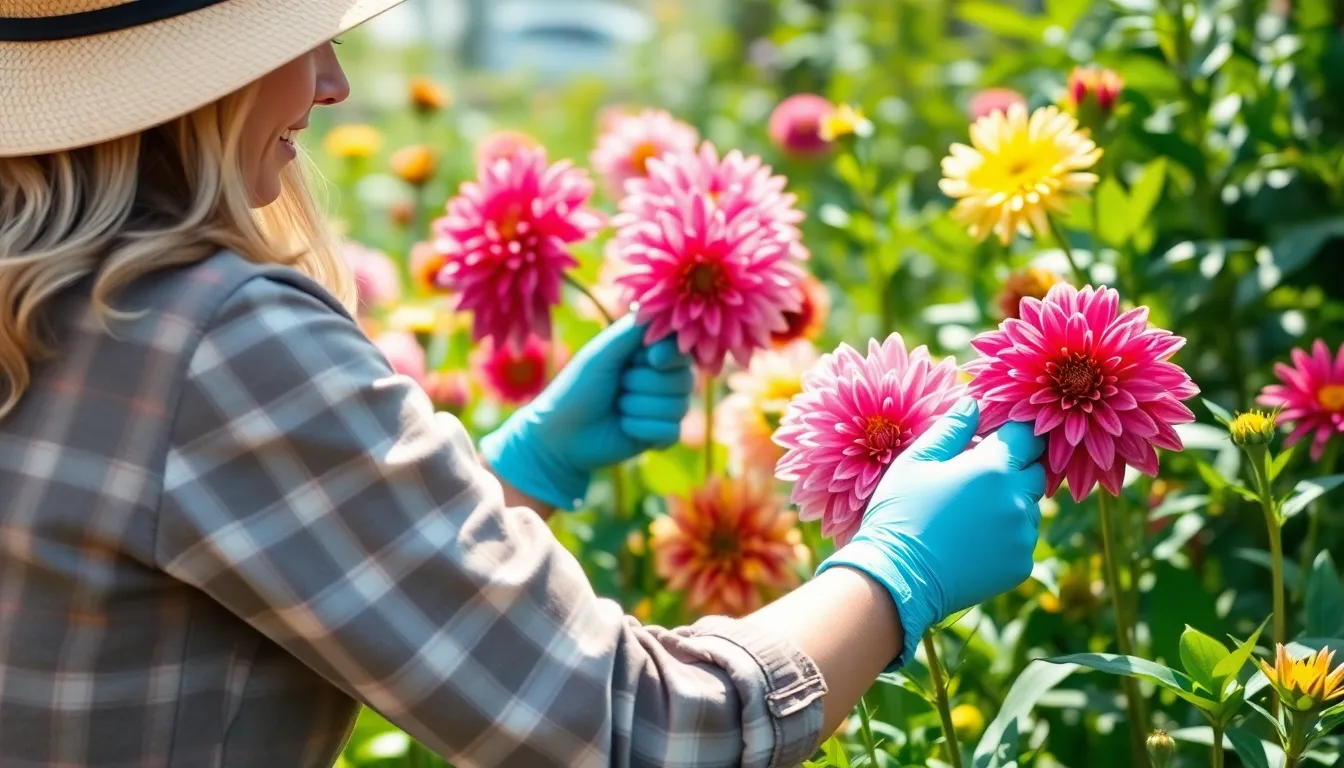
Proper pruning techniques maximize dahlia blooms and maintain plant health throughout the growing season. Regular maintenance practices ensure our dahlias develop strong stems and produce abundant flowers from mid-summer until frost.
Pinching for Bushier Growth
Pinch dahlia plants when they reach 12-16 inches tall to encourage branching and more blooms. This technique redirects the plant’s energy from vertical growth into lateral branch development. We remove the growing tip above the fourth or fifth set of leaves using our fingers or clean pruning shears.
The pinching process stimulates dormant buds along the stem to activate and form new branches. Each new branch produces additional flower buds, resulting in 3-4 times more blooms than unpinched plants. Timing matters significantly for this technique – plants pinched too early may not recover properly, while those pinched too late produce fewer branches.
Deadheading Spent Blooms
Remove spent flowers regularly to encourage more flowering and prevent seed formation. Deadheading redirects the plant’s energy from seed production back into bloom development. We cut spent blooms back to the first set of healthy leaves or the next flower bud using sharp, clean pruning shears.
Check dahlia plants every 2-3 days during peak blooming season for faded or wilted flowers. Flowers past their prime appear brown around the edges or feel papery to the touch. Cut the stem at a 45-degree angle approximately ¼ inch above the next leaf node or developing bud.
Removing Suckers and Excess Growth
Remove weak or spindly growth to direct energy towards blooms and strong stems. Suckers emerge from the base of the plant or along main stems and compete with primary branches for nutrients. We identify these shoots by their thin appearance and remove them at ground level using pruning shears.
Focus removal efforts on shoots growing inward toward the plant center, as these reduce air circulation and increase disease risk. Eliminate any damaged, diseased, or crossing branches that rub against healthy stems. This selective pruning improves light penetration to the plant’s interior and concentrates the plant’s resources on producing larger, healthier blooms.
Pest and Disease Management
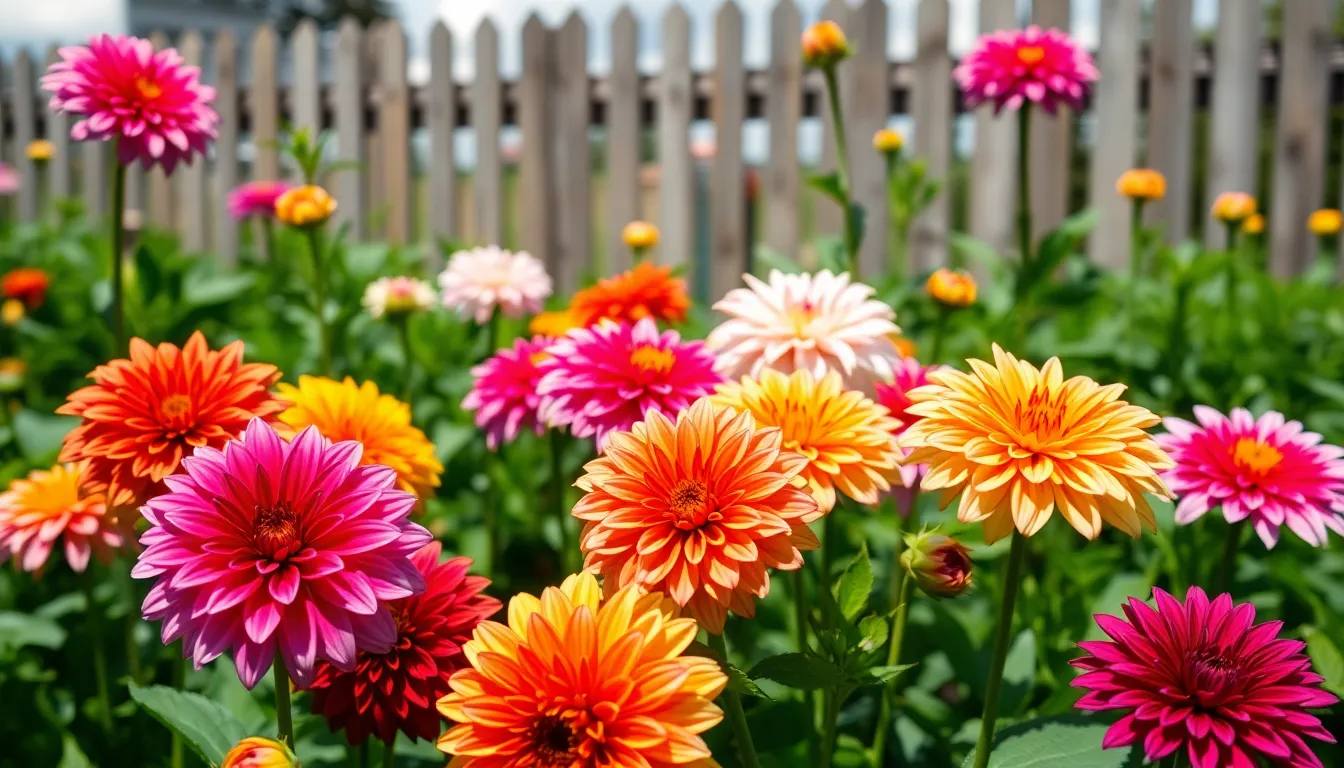
Protecting dahlias from pests and diseases ensures abundant blooms throughout the growing season. Early identification and prompt treatment prevent minor issues from becoming major problems that compromise plant health.
Common Dahlia Pests
Slugs and snails pose the greatest threat to young dahlia shoots during early growth stages. These mollusks feed on tender stems and leaves, creating irregular holes and potentially killing emerging plants. Garden inspection at dawn reveals their presence through silvery slime trails and damaged foliage.
Aphids cluster on stem tips and flower buds, sucking plant juices while weakening overall plant vigor. These small green or black insects multiply rapidly during warm weather and can spread viral diseases between plants. Heavy infestations cause leaves to curl and distort, reducing photosynthesis efficiency.
Earwigs chew irregular holes in dahlia petals and leaves, particularly targeting plants in shaded or moist areas. Spider mites create fine webbing on leaf undersides while causing stippled yellow damage during hot, dry conditions. Thrips leave silvery streaks on petals and can transmit spotted wilt virus to healthy plants.
Preventing and Treating Diseases
Fungal diseases develop rapidly in humid conditions with poor air circulation around dahlia plants. Powdery mildew appears as white dusty patches on leaves, while botrytis blight causes brown spots and flower rot during wet weather. Crown rot affects tubers at soil level, causing plants to collapse suddenly.
Bacterial soft rot enters through wounds in tubers or stems, creating foul-smelling decay that spreads quickly through storage areas. Viral diseases like dahlia mosaic create yellow mottling patterns on leaves and reduce flower quality permanently.
Improving air circulation prevents most disease problems by reducing humidity around plant surfaces. Spacing plants 18-24 inches apart allows adequate airflow between stems and leaves. Avoiding overhead watering keeps foliage dry and reduces fungal spore germination rates.
Regular garden cleanup removes infected plant debris that harbors disease organisms over winter. Crop rotation prevents soil-borne pathogens from building up in planting areas year after year.
Organic Treatment Options
Neem oil controls aphids, spider mites, and fungal diseases without harming beneficial insects when applied during evening hours. This botanical extract disrupts pest feeding and reproduction cycles while providing systemic disease protection for 7-14 days per application.
Copper-based fungicides treat established fungal infections on dahlia foliage and stems effectively. Bordeaux mixture combines copper sulfate with lime to create a protective barrier against spore germination. Apply copper treatments every 10-14 days during humid weather conditions.
Diatomaceous earth sprinkled around plant bases creates barriers against slugs and earwigs without chemical residues. Beer traps placed near affected plants attract and drown slugs overnight, reducing population levels significantly within one week.
Companion planting with marigolds deters aphids and nematodes through natural chemical compounds released by their root systems. Basil planted nearby repels thrips and aphids while attracting beneficial predatory insects that control pest populations naturally. Nasturtiums serve as trap crops, drawing aphids away from valuable dahlia plantings.
Seasonal Care and Overwintering
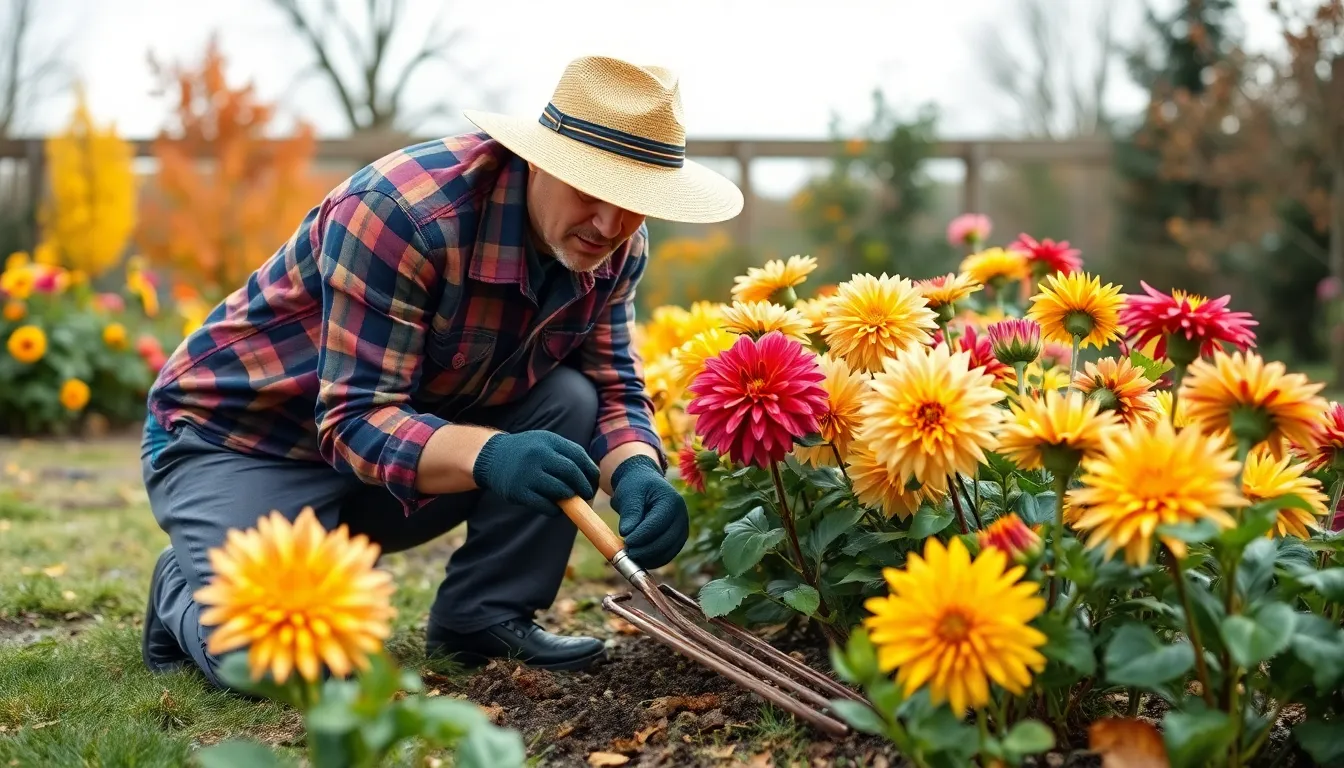
Transitioning dahlia plants through their dormant period requires exact timing and techniques to preserve tubers for next year’s blooms.
End-of-Season Care
Monitor dahlia plants for the first frost signals to begin end-of-season preparation. Cut stems back to approximately 4 inches from ground level after frost blackens the foliage. Clean garden beds by removing all dahlia plant debris including leaves and spent flowers to prevent disease overwintering in the soil.
Mark tuber locations before cutting stems if you plan to lift multiple varieties. Label each variety clearly to maintain plant identification through winter storage. Remove mulch from around dahlia bases to allow easier access for tuber lifting.
Lifting and Storing Tubers
Dig dahlia tubers carefully using a spade or fork positioned 12 inches away from the plant base to avoid damage. Lift the entire clump by working around the perimeter before attempting to remove tubers from soil. Brush excess soil from tubers gently without washing them with water.
Dry tubers for 2-3 days in a well-ventilated area away from direct sunlight before storage. Inspect each tuber for damage or soft spots and discard any compromised pieces. Store healthy tubers in ventilated containers filled with peat moss or vermiculite in locations with temperatures between 35-50°F.
Check stored tubers monthly throughout winter for signs of rot or excessive drying. Lightly mist storage medium if tubers appear shriveled but avoid creating wet conditions that promote decay.
Preparing for Next Year’s Planting
Examine stored tubers in early spring for viable eyes and firm texture before replanting season arrives. Divide large tuber clumps using clean, sharp knives ensuring each division contains at least one eye for successful sprouting. Allow cut surfaces to dry for 24 hours before planting or storing divided sections.
Begin dahlia tuber preparation 2-3 weeks before your area’s last expected frost date. Start tubers indoors in shallow trays with potting mix to encourage early growth if desired. Plan garden layout adjustments based on previous year’s performance and note which varieties produced the most successful blooms for optimal placement decisions.
Troubleshooting Common Issues
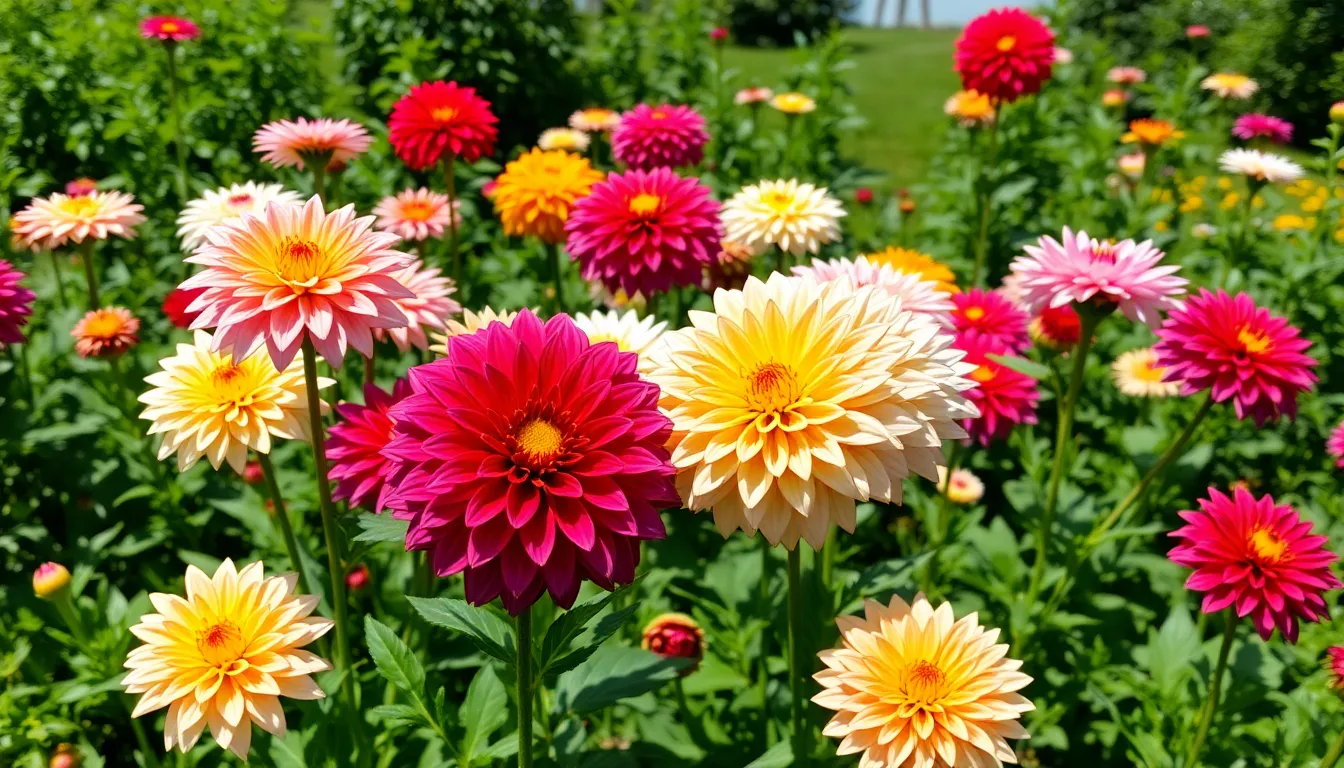
Even though our best care efforts, dahlias sometimes experience problems that affect their performance. Recognizing symptoms early helps us address issues before they impact the entire growing season.
Poor Flowering Problems
Insufficient sunlight causes the most common flowering issues in dahlia gardens. Dahlias produce fewer blooms when they receive less than 6 hours of direct sunlight daily. Moving containers to sunnier locations or selecting different garden spots resolves this problem for next season.
Excessive nitrogen fertilization creates lush foliage at the expense of flower production. Plants that receive too much nitrogen develop abundant green growth but produce minimal blooms. Switching to a balanced fertilizer with equal nitrogen-phosphorus-potassium ratios encourages better flowering.
Lack of pinching reduces overall bloom quantity significantly. Dahlia plants that grow without pinching at 12-16 inches tall produce fewer side branches and so fewer flowers. Pinching the growing tips redirects energy into lateral growth and multiple bloom sites.
Overcrowding between plants restricts air circulation and light penetration to lower stems. Dahlias planted closer than 18-24 inches apart compete for resources and produce smaller, fewer blooms. Proper spacing from the beginning prevents this competition issue.
Yellowing or Wilting Leaves
Overwatering manifests as yellowing leaves starting from the bottom of the plant. Soggy soil conditions prevent roots from accessing oxygen and lead to root rot development. Reducing watering frequency and improving drainage helps plants recover from overwatering stress.
Underwatering shows as wilting leaves that remain green but lose their firmness. Plants experiencing drought stress wilt during hot afternoon hours and may not recover overnight. Deep watering sessions that penetrate 6-8 inches into soil address underwatering problems effectively.
Fungal diseases like powdery mildew create yellowing patterns with white, powdery coating on leaf surfaces. Poor air circulation and humid conditions promote these fungal issues. Spacing plants properly and applying copper-based fungicides controls fungal diseases naturally.
Nutrient deficiencies cause exact yellowing patterns that indicate which nutrients are lacking. Nitrogen deficiency creates uniform yellowing of older leaves first, while iron deficiency causes yellowing between leaf veins. Applying balanced liquid fertilizer twice monthly prevents most nutrient deficiency problems.
Stunted Growth Answers
Insufficient sunlight prevents dahlias from reaching their full height potential and developing strong stems. Plants growing in partial shade remain shorter and produce weaker growth than those in full sun locations. Transplanting to areas with 6-8 hours of direct sunlight promotes vigorous growth.
Waterlogged soil conditions restrict root development and cause stunted above-ground growth. Heavy clay soils that retain water prevent proper root expansion and nutrient uptake. Adding perlite, compost, and sand improves drainage and allows normal root development.
Compacted soil limits root penetration and restricts plant growth significantly. Hard, compressed soil prevents dahlia tubers from establishing strong root systems. Loosening soil to 12 inches deep and incorporating organic matter creates better growing conditions.
Poor soil fertility results in weak, stunted plants that struggle to develop properly. Depleted soils lack essential nutrients needed for vigorous dahlia growth. Mixing well-rotted compost and balanced fertilizer into planting areas provides necessary nutrients for healthy development.
Temperature stress from cold soil or air temperatures slows dahlia growth considerably. Plants exposed to temperatures below 50°F experience stunted growth and delayed development. Waiting until soil temperatures reach 60°F before planting prevents temperature-related growth problems.
Conclusion
Growing dahlias successfully comes down to mastering the fundamentals we’ve outlined throughout this guide. With proper timing soil preparation and consistent care you’ll be rewarded with spectacular blooms that brighten your garden from summer through fall.
Remember that dahlia cultivation is a journey of continuous learning. Each season brings new opportunities to refine your techniques and expand your variety collection. The investment in quality tubers proper support systems and preventive care pays dividends in abundant colorful displays.
Whether you’re aiming for show-stopping dinner plate varieties or charming pompom types the principles remain the same. Start with healthy tubers provide optimal growing conditions and maintain regular care routines throughout the season.
With these proven strategies you’re well-equipped to create the dahlia garden of your dreams and enjoy these magnificent flowers for years to come.
Frequently Asked Questions
What are the best growing conditions for dahlias?
Dahlias thrive in locations with 6-8 hours of direct sunlight daily and well-draining soil. They prefer USDA hardiness zones 8-11 but can be grown as annuals in cooler climates. Choose a sheltered spot protected from strong winds, and ensure soil pH is between 6.0-7.0 for optimal nutrient uptake.
When should I plant dahlia tubers?
Plant dahlia tubers after the last frost date in late spring when soil temperatures consistently reach 60°F. This timing prevents tuber rot from cold, wet conditions while ensuring optimal growing conditions for strong plant development and abundant blooms throughout the season.
How deep should I plant dahlia tubers?
Plant dahlia tubers 4-6 inches deep with the “eyes” (growing points) facing upward. Space tubers 18-24 inches apart to ensure proper air circulation and prevent overcrowding. Position them horizontally in the planting hole rather than vertically for best results.
How often should I water my dahlias?
Avoid watering immediately after planting unless soil is extremely dry. Begin regular watering once green shoots emerge, providing deep watering sessions 2-3 times per week. Maintain consistent soil moisture without waterlogging, as overwatering can cause tuber rot and other fungal issues.
Do dahlias need support structures?
Yes, most dahlia varieties benefit from support structures, especially those growing over 3 feet tall. Install stakes, tomato cages, or bamboo canes at planting time to prevent stem breakage from wind or heavy blooms. Secure stems with soft ties, checking regularly for proper tension.
Should I pinch my dahlia plants?
Pinch dahlia plants when they reach 12-16 inches tall by removing the growing tip above the third or fourth set of leaves. This encourages bushier growth and more blooms by redirecting energy from vertical growth to lateral branching, resulting in a fuller plant.
What are common dahlia pests and diseases?
Common pests include slugs, snails, aphids, earwigs, spider mites, and thrips. Diseases include powdery mildew, botrytis blight, crown rot, and bacterial soft rot. Prevent issues through proper spacing, air circulation, regular garden cleanup, and organic treatments like neem oil when necessary.
How do I store dahlia tubers over winter?
After the first frost, cut stems back to 4-6 inches and carefully dig tubers. Clean off soil, dry for several days, then inspect for damage. Store healthy tubers in a cool (35-50°F), well-ventilated area in slightly damp peat moss or sawdust until spring planting.
Why aren’t my dahlias blooming well?
Poor flowering often results from insufficient sunlight, excessive nitrogen fertilization, lack of pinching, or overcrowding. Ensure plants receive 6-8 hours of sunlight, use balanced fertilizers, pinch growing tips early, and provide adequate spacing between plants for optimal bloom production.
When do dahlias typically bloom?
Dahlias typically begin blooming in mid-summer and continue until the first frost. Their long blooming period makes them excellent for continuous garden color and cut flower arrangements. Staggered plantings can extend the flowering season even further throughout the growing period.

