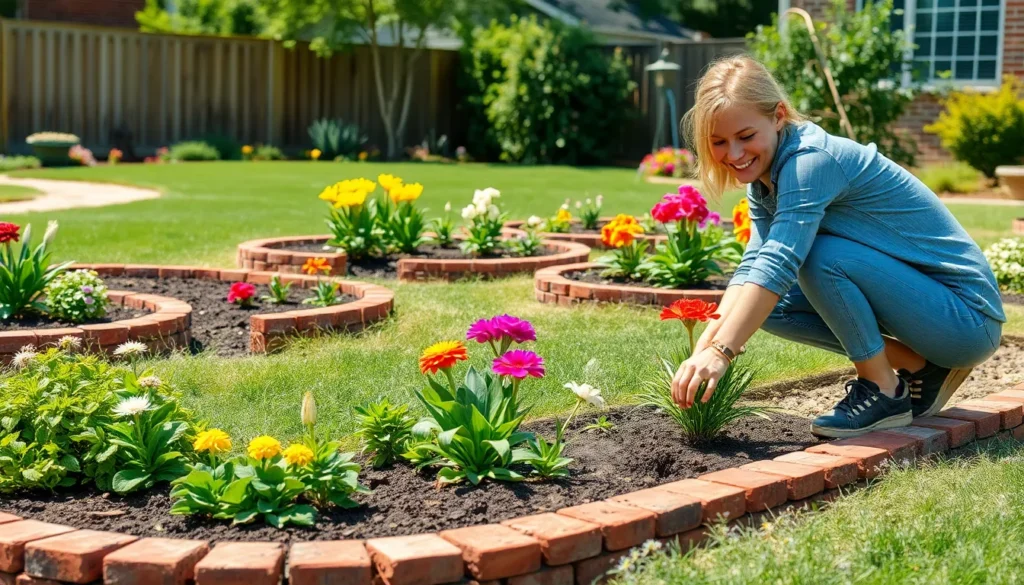
Looking to transform your garden’s appearance while keeping maintenance costs low? Brick edging offers the perfect solution for creating clean defined borders that’ll make your outdoor space look professionally landscaped. We’ve discovered that brick garden edging not only adds instant curb appeal but also serves practical purposes like preventing grass from invading flower beds and keeping mulch contained.
The beauty of brick edging lies in its versatility and durability. Whether you’re working with a cottage garden aesthetic or modern industry design we’ll show you how different brick patterns and installation techniques can complement any style. From traditional red clay bricks to sleek contemporary options the possibilities are endless.
Best of all? Most brick edging projects are surprisingly DIY-friendly and won’t break your budget. We’re excited to share creative ideas that’ll help you achieve that polished professional look while boosting your property value – all with materials you can find at your local home improvement store.
Classic Straight Brick Edging for Clean Garden Lines
Straight brick edging creates the foundation for organized garden design with its timeless appeal and practical functionality. We’ve found this approach works exceptionally well for gardeners who prefer structured landscapes with defined boundaries.
Single Row Soldier Course Layout
Single row installations position bricks vertically in a soldier course pattern to create sharp garden boundaries. We recommend this layout for narrow planting beds since it requires minimal space while delivering maximum visual impact. Standard bricks measure 2.25 inches wide when placed on edge, making them perfect for tight areas between walkways and flower beds.
Installation depth should reach approximately 4 to 6 inches below ground level to ensure stability and frost resistance. We’ve discovered that deeper installations prevent shifting during freeze thaw cycles, particularly in northern climates where ground movement occurs regularly. The exposed portion typically extends 2 to 4 inches above soil level depending on your aesthetic preferences.
Spacing consistency becomes crucial for achieving professional looking results with single row designs. We measure each brick placement to maintain uniform gaps of 1/8 to 1/4 inch between adjacent units. This spacing allows for natural expansion while preventing weeds from taking root in larger openings.
Double Row Stacked Design
Double row configurations use two parallel lines of bricks to create substantial garden borders with enhanced visual weight. We position the front row slightly higher than the back row to create depth and dimension in the overall design. This technique works particularly well for larger garden beds where single rows might appear insufficient.
Staggered joint patterns strengthen the structure while adding visual interest to double row installations. We offset the second row by half a brick length to create running bond patterns that distribute weight evenly across the foundation. This approach prevents individual bricks from loosening over time due to soil pressure or weather conditions.
Width requirements for double row designs typically span 4.5 to 5 inches when using standard sized bricks. We account for the mortar joint or sand spacing between rows, which adds approximately 0.5 inches to the total width measurement. Consider this dimension when planning garden bed layouts to ensure adequate growing space remains available.
Mortared vs. Sand Set Installation
Mortared installations provide permanent answers for high traffic areas where stability takes priority over flexibility. We use Type N mortar for most residential applications since it offers adequate strength while remaining workable during installation. The mortar joints should measure 3/8 to 1/2 inch thick for optimal adhesion and weather resistance.
Sand set methods allow for easier adjustments and repairs while maintaining good stability for most garden applications. We excavate a 6 inch deep trench and fill it with 2 inches of compacted gravel base followed by 2 inches of leveling sand. This foundation prevents settling while allowing individual brick replacement when necessary.
Cost considerations favor sand set installations for budget conscious gardeners since they eliminate mortar material costs and reduce labor time. We estimate sand set projects cost approximately 40% less than mortared alternatives while providing comparable performance for typical residential garden edging applications.
| Installation Method | Material Cost | Labor Time | Permanence | Repairability |
|---|---|---|---|---|
| Sand Set | Low | 2-3 hours/100 ft | Moderate | Easy |
| Mortared | Medium | 4-6 hours/100 ft | High | Difficult |
Curved Brick Edging to Create Flowing Garden Borders
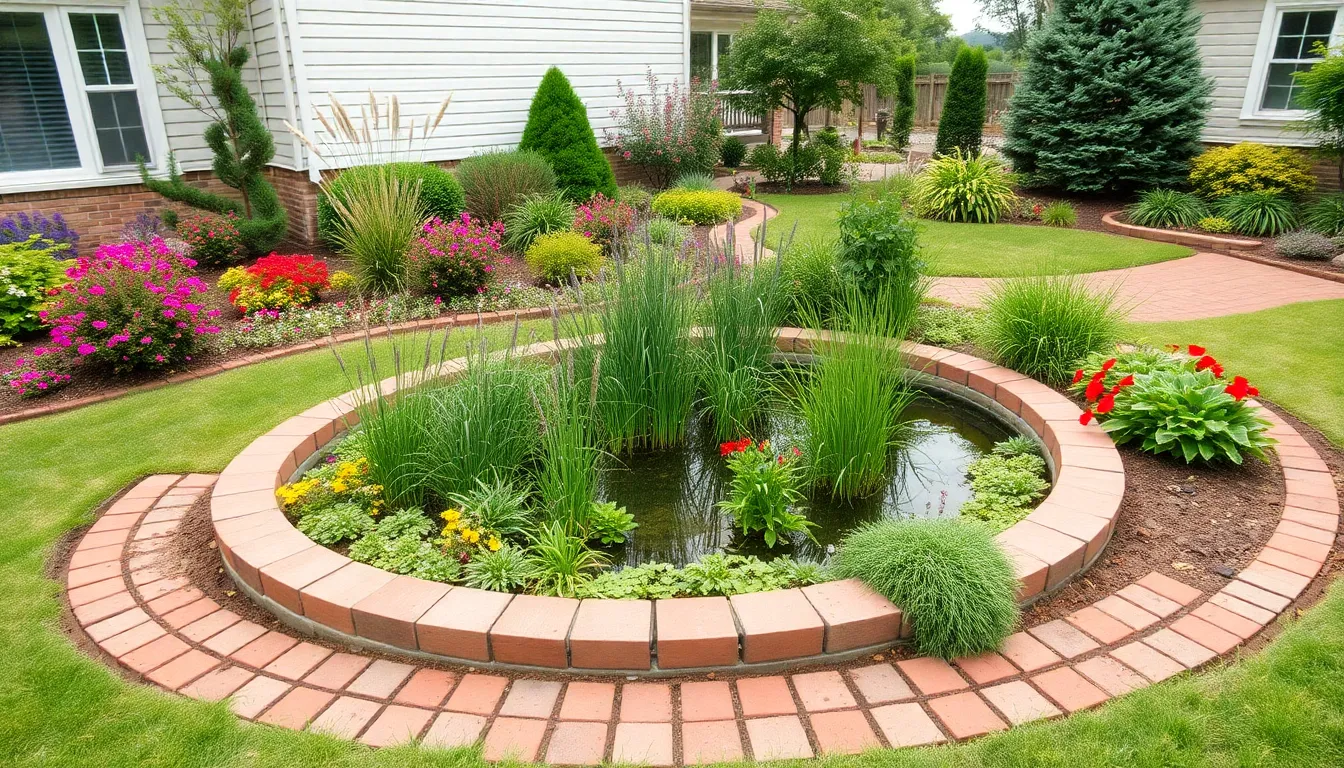
Curved brick edging transforms rigid garden boundaries into elegant, flowing transitions that naturally guide the eye through your industry. We’ll explore three distinctive curved approaches that add organic movement to your garden design.
Gentle Arc Patterns for Flower Beds
Gentle arc patterns create smooth, continuous curves around flower beds that complement various garden styles with understated elegance. We recommend laying bricks in flowing arcs that follow the natural contours of your planting areas, establishing a harmonious balance between structure and nature.
Installation begins with marking your desired curve using a garden hose or spray paint to visualize the final shape. We’ve found that shallow, sweeping curves work better than sharp turns, as they’re easier to construct and more visually appealing.
Brick placement requires careful attention to maintain consistent spacing throughout the curve. We suggest starting at the center point of your arc and working outward to both ends, ensuring each brick follows the established line. Sand base preparation becomes crucial here, as the curved design demands extra stability to prevent shifting over time.
Visual impact increases significantly when gentle arcs guide viewers through your garden space, creating natural sight lines that highlight key plantings or features. We often see these patterns work exceptionally well around perennial borders where the soft curves echo the organic shapes of mature plants.
Serpentine Wave Designs
Serpentine wave designs mimic natural waterway patterns, bringing ever-changing movement to larger garden spaces where pronounced curves can be fully appreciated. We create these flowing designs by alternating gentle S-curves that weave through your industry like a meandering stream.
Layout planning requires more space than simple arcs, making serpentine patterns ideal for properties with generous garden areas. We recommend sketching your wave pattern on paper first, then transferring measurements to your garden using stakes and string to ensure proper proportions.
Construction techniques remain similar to other curved installations, but the alternating direction changes require extra attention to brick alignment. We’ve learned that maintaining consistent wave amplitude throughout the design creates the most visually striking results.
Industry integration becomes particularly important with serpentine designs, as these dramatic curves need adequate plant material to soften their edges. We suggest incorporating ornamental grasses or flowing perennials that echo the wave motion, creating a cohesive design that feels naturally evolved rather than artificially imposed.
Circular Planting Area Borders
Circular borders serve dual purposes by defining planting spaces while creating distinct focal points around garden features like bird baths, small ponds, or specimen trees. We design these borders to frame and highlight exact elements while providing clear visual boundaries.
Diameter considerations vary based on your intended use, but we typically recommend circles ranging from 4 to 8 feet across for optimal visual impact. Smaller circles can appear cramped, while larger ones may overwhelm surrounding plantings unless your garden scale supports them.
Installation starts with establishing your center point using a stake and string compass method to mark a perfect circle. We place the first brick at your marked line, then work around the circumference, adjusting spacing as needed to complete the circle with properly fitted bricks.
Brick cutting becomes necessary for most circular installations, as standard rectangular bricks don’t naturally fit circular curves. We recommend using a masonry saw or chisel to create wedge shaped pieces that fill gaps and maintain consistent joint spacing throughout the circle.
These circular designs work exceptionally well in gardens with existing curved elements, as they reinforce the organic theme while providing structured planting areas. We often combine multiple circular borders of varying sizes to create garden rooms that flow seamlessly into one another.
Herringbone Brick Pattern Edging for Visual Interest
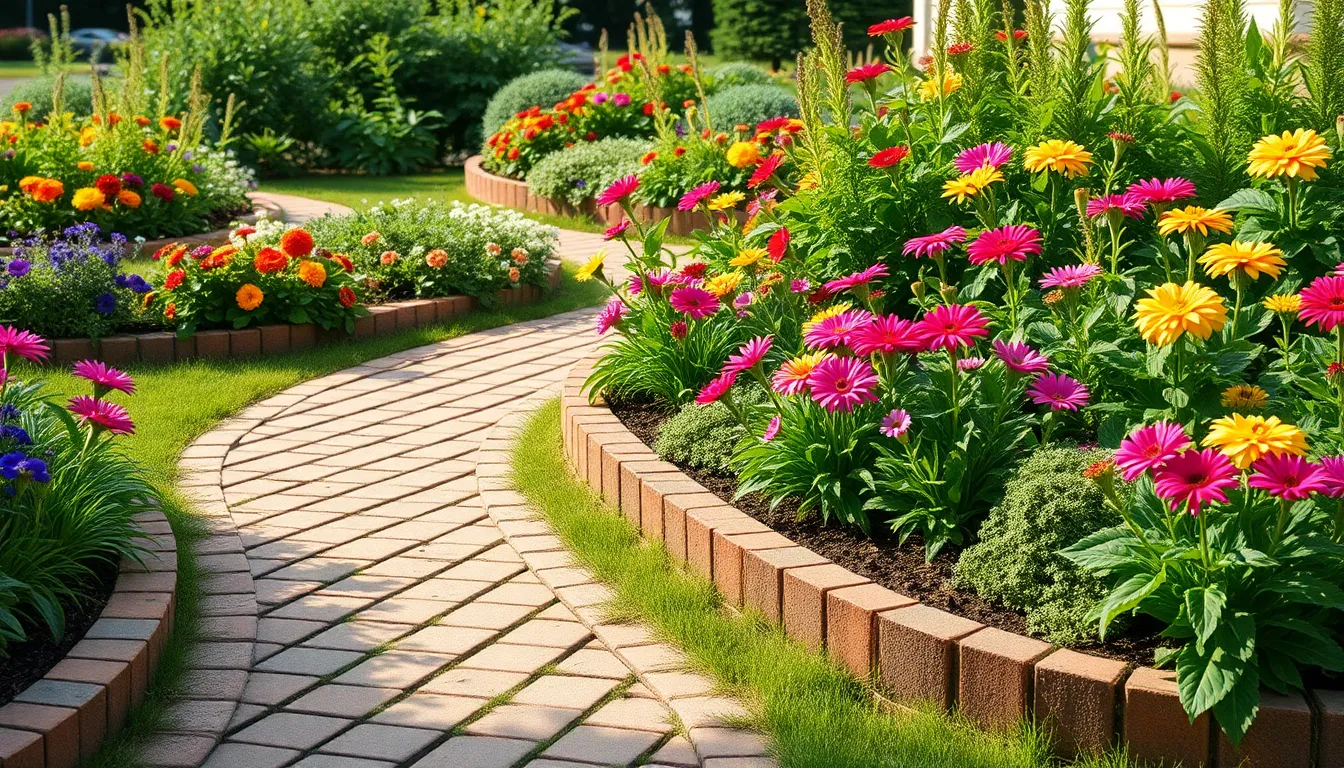
Herringbone brick pattern edging creates one of the most visually appealing and durable borders we can achieve in garden design. This distinctive pattern involves laying bricks in a zigzag formation that adds both texture and architectural interest to any outdoor space.
Traditional 45-Degree Angle Layout
Traditional 45-degree angle layout creates a strong visual effect by positioning bricks at precise diagonal angles to each other. We recommend this versatile pattern for gardens requiring classic yet distinctive borders that complement various industry styles.
Setting bricks at alternating 45-degree angles produces an interlocking design that’s both functional and decorative. Each brick fits snugly against its neighbor, creating natural stability without requiring extensive mortaring. Installation begins with establishing a level foundation, then placing each brick to maintain consistent angles throughout the pattern.
Measuring becomes crucial when we carry out this design, as uniform spacing ensures professional results. The 45-degree orientation allows us to adapt the pattern to both straight and gently curved garden borders. We’ve found this layout works exceptionally well for formal gardens, cottage landscapes, and transitional outdoor spaces.
Basket Weave Variation
Basket weave variation arranges bricks in a woven pattern by alternating horizontal and vertical brick placement throughout the border. This unique texture adds visual interest while maintaining the structural benefits of traditional brick edging.
Creating the basket weave effect requires careful planning to ensure proper brick alignment and consistent pattern repetition. We start by laying pairs of horizontal bricks, then placing pairs of vertical bricks perpendicular to create the woven appearance. Each section builds upon the previous one, maintaining the alternating pattern.
Installation depth becomes particularly important with basket weave patterns, as the varying brick orientations require stable foundation support. We recommend excavating the trench slightly deeper than standard installations to accommodate the pattern’s dimensional requirements. This technique works beautifully for informal gardens, rustic landscapes, and areas where we want to create textural contrast.
Color Combination Techniques
Color combination techniques involve mixing different colored bricks to create vibrant and ever-changing garden borders that enhance overall industry design. We can use contrasting colors to highlight exact garden areas or create cohesive looks that complement existing industry features.
Alternating red and tan bricks produces classic appeal, while incorporating darker charcoal bricks adds contemporary sophistication. Random color placement creates organic, natural appearances, whereas systematic color patterns establish formal, structured borders. We’ve discovered that using three different brick colors in repeating sequences provides optimal visual balance.
Planning color distribution before installation prevents costly mistakes and ensures satisfactory results. We recommend laying out several feet of the pattern before setting bricks permanently to visualize the final appearance. Local brick suppliers often stock complementary colors specifically designed for mixed installations. Weather resistant finishes on colored bricks maintain vibrant appearances through seasonal changes and extend the lifespan of decorative installations.
Raised Brick Edging for Elevated Garden Definition
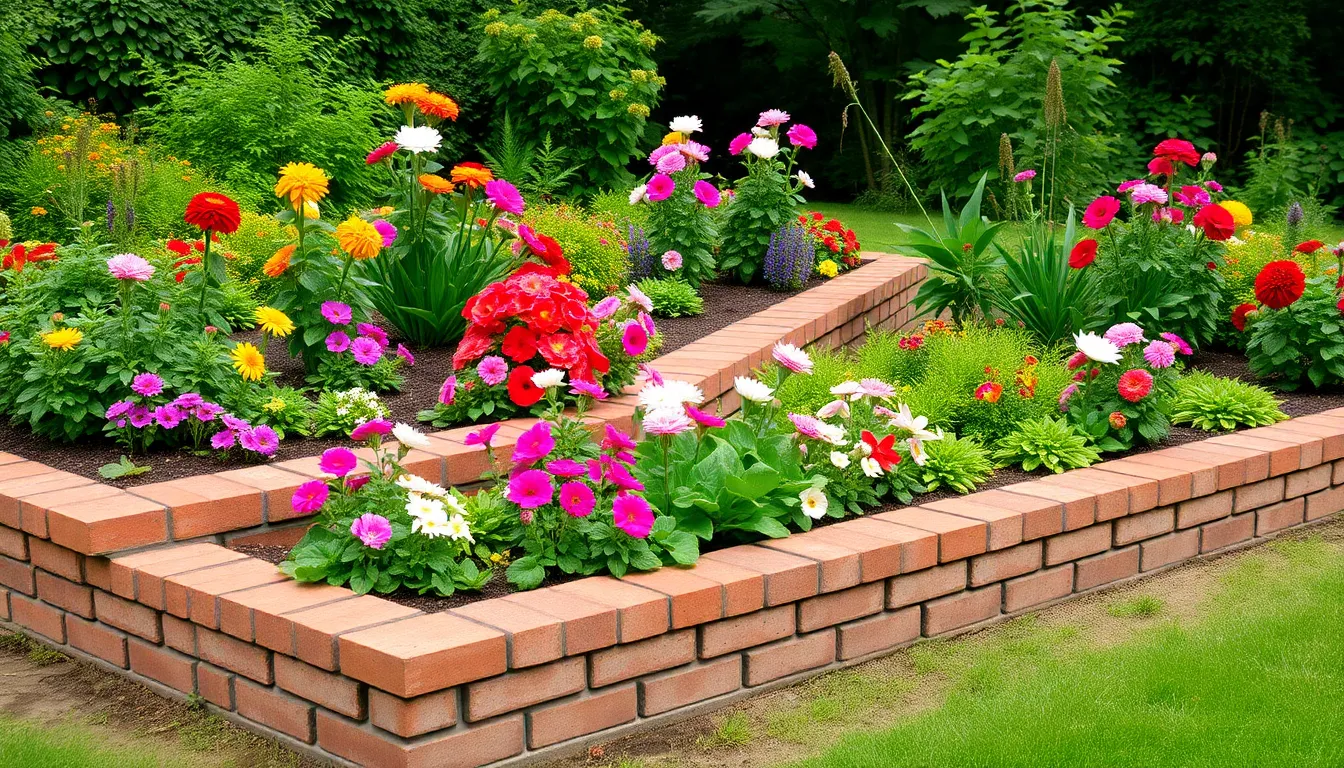
Raised brick edging transforms flat garden borders into dimensional features that create stunning visual impact while solving practical landscaping challenges. We’ll explore three sophisticated approaches that elevate your garden design beyond traditional ground-level borders.
Two-Tier Stepped Design
Two-tier stepped brick edging creates dramatic height variations that define different garden zones while providing excellent soil retention. Building this design involves constructing a lower tier first, then adding a second elevated level that steps back slightly from the base row. We recommend using this technique to separate annual flower beds from perennial plantings or to create distinct elevation changes in sloped landscapes.
Stepped designs excel at holding mulch, decorative stones, and soil securely within designated areas. Installing the lower tier requires digging a foundation trench approximately 4 inches deep, while the upper tier sits directly on the compacted base layer. We’ve found that alternating the joint patterns between tiers creates visual interest and structural stability.
Planning your stepped layout involves measuring the desired height difference and calculating brick quantities for each tier. Most successful two-tier installations range from 6 to 12 inches in total height, with each tier contributing equal portions to the overall elevation. We suggest incorporating drainage considerations by slightly angling the upper tier backward to prevent water pooling.
Mortared Wall Construction
Mortared brick edging provides permanent, weather-resistant borders that withstand freeze-thaw cycles and heavy foot traffic better than loose-laid alternatives. Constructing mortared walls requires mixing cement mortar to proper consistency and applying it between each brick joint for maximum adhesion. We typically use a 3:1 sand to cement ratio for garden edging applications, which provides adequate strength without excessive rigidity.
Building mortared walls starts with excavating a concrete footing that extends below the frost line in cold climates. The footing should measure twice the width of your planned brick wall and provide a level foundation for the entire structure. We recommend allowing the concrete base to cure for at least 24 hours before beginning brick installation.
Applying mortar joints requires spreading a consistent bed layer beneath each brick and filling vertical joints completely. Working in small sections prevents the mortar from drying before brick placement, ensuring proper adhesion throughout the project. We’ve observed that mortared installations typically cost 60% more than sand-set methods but provide superior longevity and stability.
Integrated Seating Options
Integrated seating transforms functional garden edging into comfortable gathering spaces that enhance outdoor living areas. Designing seat-height brick walls typically requires building to 18-20 inches in height with a minimum width of 12 inches for comfortable seating. We recommend incorporating a slightly wider cap course using flat bricks or concrete pavers to create a smooth seating surface.
Building seating walls requires additional structural considerations including reinforcement and proper drainage behind the wall. Installing a gravel base and weep holes every 6 feet prevents water buildup that could compromise the wall’s integrity. We’ve found that adding steel reinforcement bars every 2 feet significantly improves the wall’s ability to handle the additional stress from people sitting.
Positioning integrated seating involves strategic placement near focal points like fire pits, water features, or scenic views. Creating curved seating walls around circular planting areas provides intimate gathering spaces while maintaining the garden’s flow. We suggest incorporating back support by angling the wall slightly or adding higher sections at intervals for increased comfort during extended use.
Reclaimed Brick Edging for Rustic Garden Charm
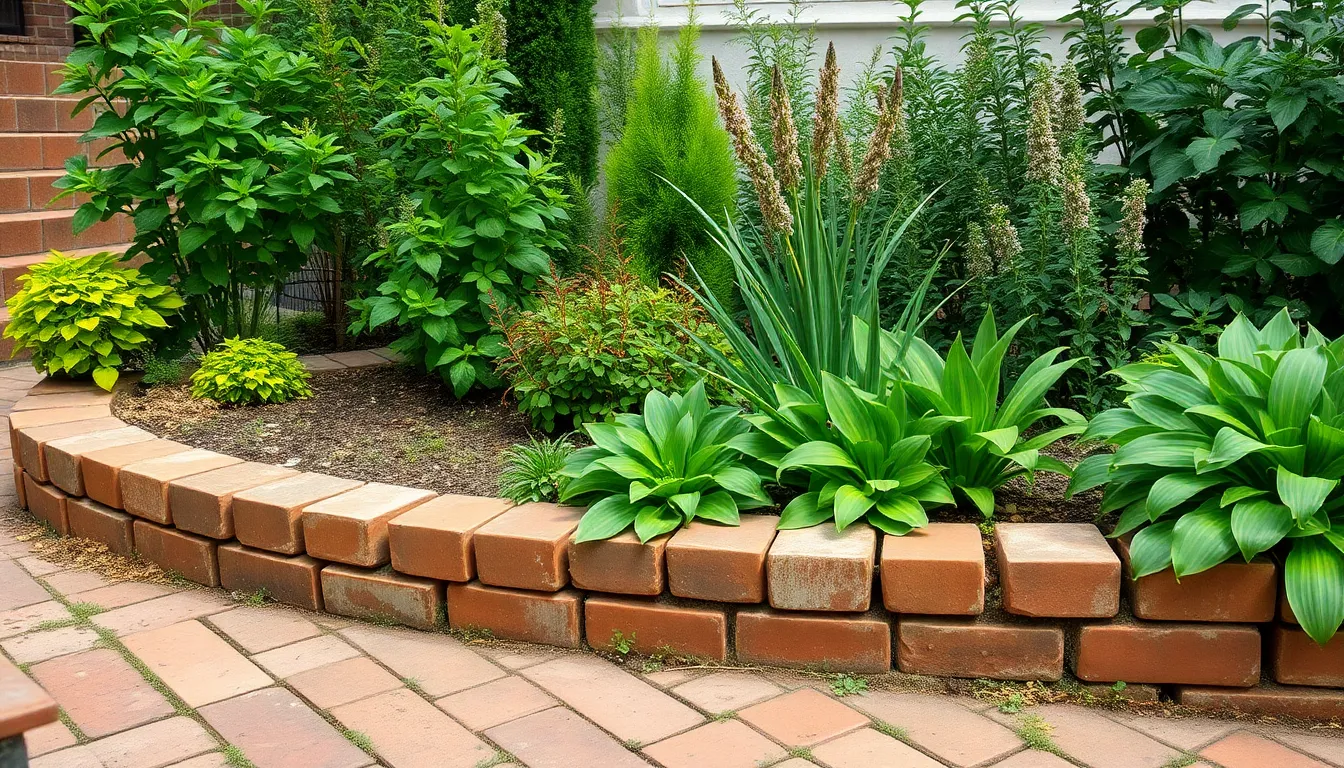
Reclaimed brick edging brings authentic character to garden spaces while creating sustainable design answers. This weathered material transforms ordinary borders into distinctive features that complement both traditional and contemporary landscapes.
Weathered Antique Brick Selection
Selecting weathered antique bricks requires careful evaluation of their structural integrity and visual appeal. We recommend choosing bricks that show natural aging patterns from years of exposure to the elements, as these develop the distinctive character that makes each piece unique.
Quality reclaimed bricks often come from demolished buildings, old chimneys, or vintage walkways. These materials display varied patina colors ranging from deep reds to muted browns and soft oranges, creating visual depth that new bricks can’t replicate.
Examine each brick for cracks or excessive crumbling before purchase, since structurally sound pieces ensure long-lasting garden borders. The ideal weathered brick maintains its core strength while showcasing surface character through natural weathering processes.
Mixed Size Vintage Layouts
Mixed size vintage layouts combine different brick dimensions to create visually ever-changing garden borders. We use standard bricks alongside half bricks and three-quarter pieces to establish irregular patterns that enhance the rustic aesthetic.
This approach works particularly well for curved garden beds where varying brick sizes help navigate gentle turns and transitions. The irregular spacing creates organic flow that complements cottage garden styles and informal industry designs.
Start your layout by placing larger bricks at regular intervals, then fill gaps with smaller pieces to maintain structural stability. This technique adds depth and character while accommodating irregularly shaped planting beds and pathway borders.
Aged Patina Preservation Methods
Preserving the aged patina requires gentle handling techniques that maintain the brick’s natural weathered appearance. We avoid harsh cleaning methods like pressure washing or chemical treatments that strip away the accumulated character.
Light brushing with a soft bristle brush removes loose debris without damaging the surface patina. This gentle approach maintains the weathered look while preparing bricks for installation in garden settings.
Install reclaimed bricks using sand set methods rather than mortar when possible, as this allows continued natural weathering processes. The sand base permits subtle movement that prevents cracking while enabling the patina to develop further over time through exposure to garden moisture and seasonal changes.
Decorative Brick Edging With Integrated Planting Spaces
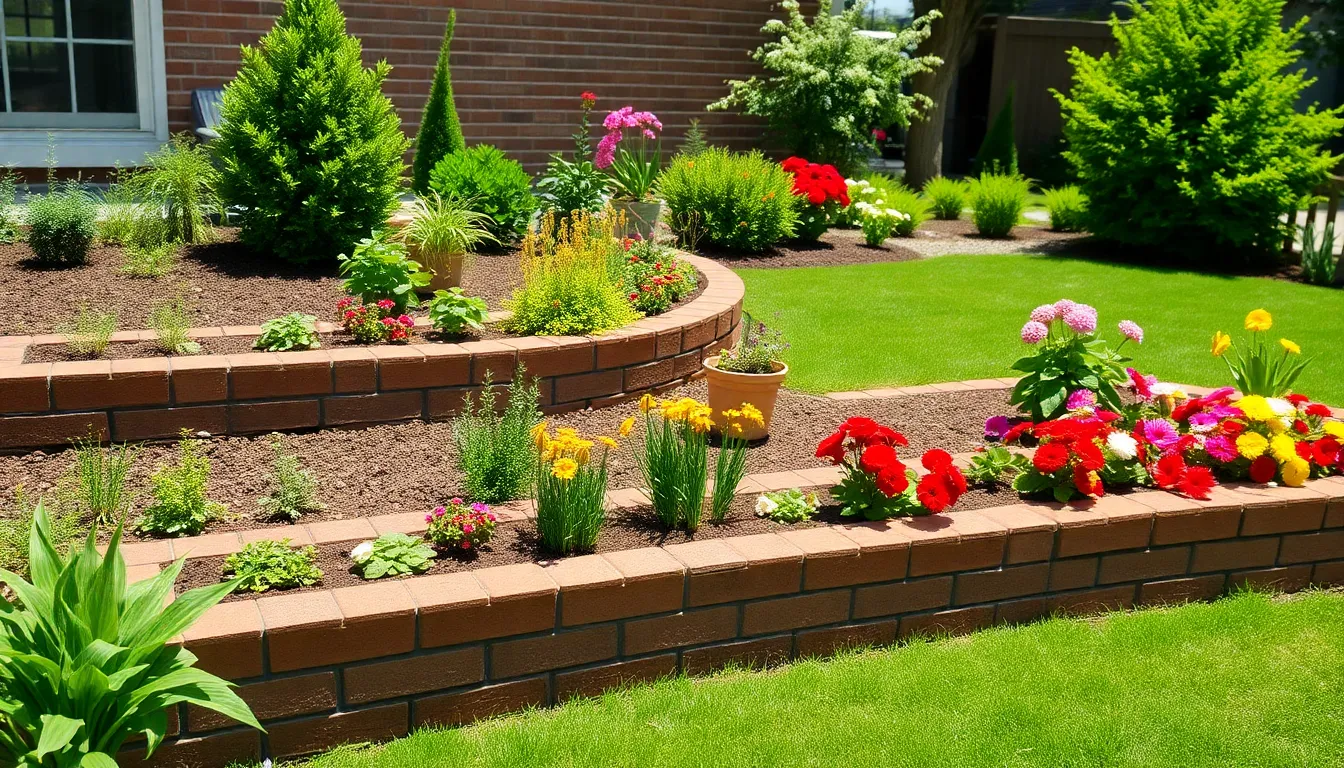
Decorative brick edging transforms beyond simple borders when we incorporate integrated planting spaces that serve both aesthetic and functional purposes. These designs create multiple levels of visual interest while maximizing our garden’s growing potential.
Built-In Pocket Gardens
Built-in pocket gardens create enclosed miniature growing spaces within larger brick edging systems that focus attention on exact plant collections. We design these compartments by constructing small rectangular or circular brick enclosures that measure 18-24 inches across, providing adequate root space for compact plantings.
Reclaimed bricks work particularly well for pocket garden construction since their weathered surfaces complement the intimate scale of these planting areas. Installation requires digging individual trenches for each pocket, then securing bricks with packed soil to create stable 6-8 inch tall walls.
Strategic placement of pocket gardens every 4-6 feet along main brick borders creates rhythm and visual flow throughout larger industry designs. These enclosed spaces prevent soil migration and contain mulch effectively while highlighting specimen plants or themed collections.
Herb Growing Compartments
Herb growing compartments integrate seamlessly into brick edging designs by creating dedicated spaces for culinary and aromatic plants that require contained growing conditions. We construct these compartments using vertically placed bricks that form 12-inch square sections, perfect for individual herb varieties like basil, rosemary, or thyme.
Shallow trenches secured with sand provide stable foundations for herb compartments while allowing proper drainage essential for Mediterranean herbs. Multiple compartments can connect along brick pathways, creating accessible herb gardens that complement vegetable plots or kitchen garden areas.
Tiered layer designs work exceptionally well for herb compartments since different elevation levels accommodate varying plant heights and sun requirements. We recommend spacing compartments 18 inches apart to allow adequate air circulation and prevent overcrowding between different herb varieties.
Seasonal Flower Display Areas
Seasonal flower display areas within brick edging systems provide ever-changing focal points that change throughout the growing season with planned plant rotations. We allocate exact rectangular sections measuring 2-3 feet in length within longer brick borders for these rotating displays.
Spring bulb installations in these designated areas create early season color, followed by summer annuals and autumn mums for continuous interest. Brick walls measuring 8-10 inches in height contain seasonal soil amendments and mulch while providing clean transitions between permanent plantings.
New brick construction offers uniform appearance for formal seasonal displays, while mixed size vintage layouts complement cottage garden styles with their irregular patterns. We secure seasonal display areas with mortared joints when frequent replanting requires stable borders that withstand regular soil disturbance.
Low-Maintenance Brick Edging Solutions
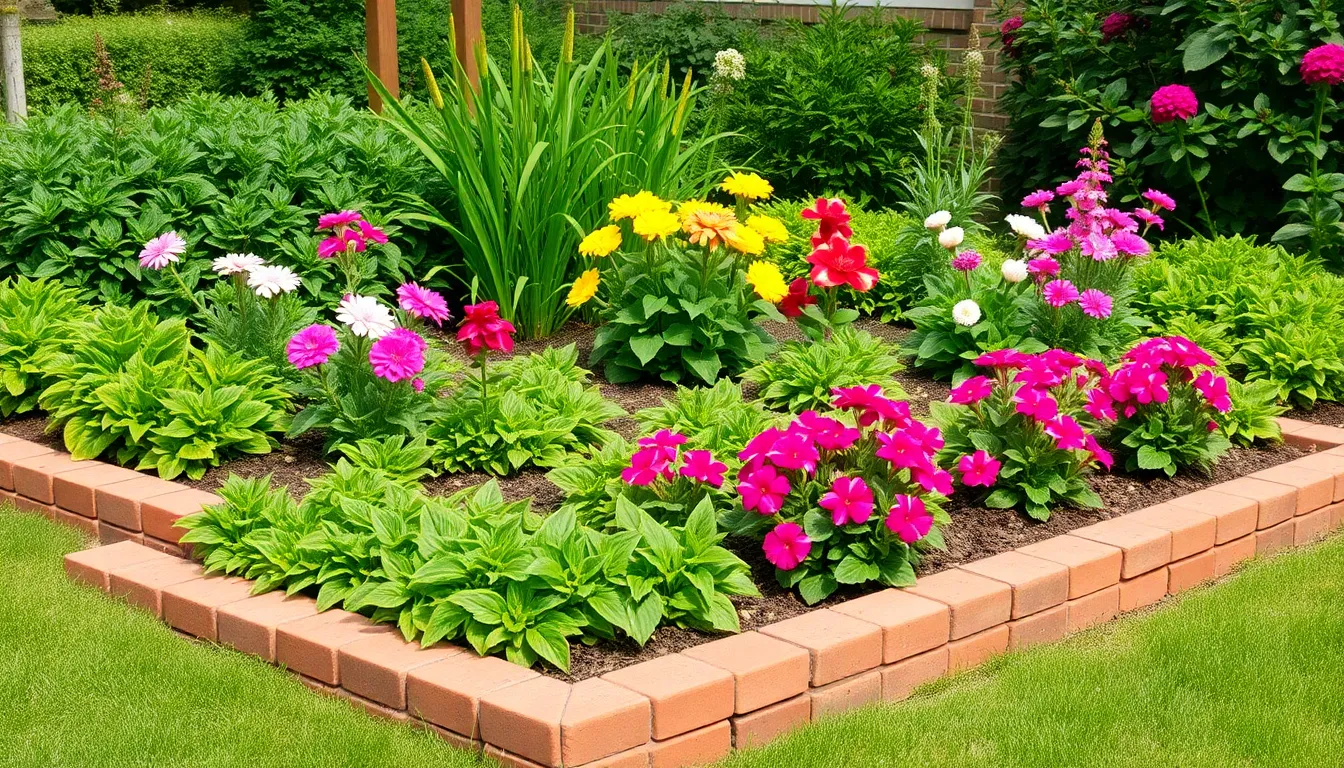
Creating sustainable garden borders means selecting installation methods that reduce ongoing maintenance while preserving the beauty of your outdoor space.
Weed Barrier Installation
Installing weed barrier fabric before laying bricks prevents unwanted vegetation from disrupting your garden’s clean lines. We recommend placing the fabric directly over prepared soil to create an effective barrier that blocks weeds without hindering water drainage.
Sand or packed soil underlayment provides additional weed suppression while improving overall drainage performance. This dual layer approach ensures your brick edging remains pristine with minimal intervention throughout growing seasons.
Overlapping fabric edges by at least 6 inches creates seamless coverage that eliminates gaps where weeds might penetrate. Securing the barrier with industry pins ensures it stays in position during brick installation and seasonal ground movement.
Proper Drainage Considerations
Slope and grading form the foundation of effective water management around brick edging installations. We ensure garden beds maintain proper slopes that help natural water runoff while preventing accumulation that could damage plant roots or destabilize bricks.
Drainage material like gravel or coarse sand placed beneath bricks improves water flow and eliminates waterlogging concerns. This base layer typically measures 2-3 inches deep and provides stable support while allowing excess moisture to escape.
Permeable joints between bricks allow water to pass through the edging rather than pooling against it. Sand swept into these gaps maintains flexibility while providing adequate drainage during heavy rainfall events.
Long-Term Stability Techniques
Securing bricks with packed sand or soil around their perimeter prevents shifting that occurs from frost heave and ground settlement. We pack this material firmly to create solid support while maintaining the edging’s original alignment.
Regular inspection schedules help identify potential issues before they become costly repairs. Monthly checks during growing season and quarterly assessments during dormant periods ensure your brick edging maintains its structural integrity and visual appeal.
Depth consistency throughout the installation creates uniform stability that resists seasonal movement. Maintaining bricks at the same depth level prevents individual pieces from becoming loose or creating uneven surfaces that compromise the entire border’s appearance.
Creative Brick Edging Combinations With Other Materials
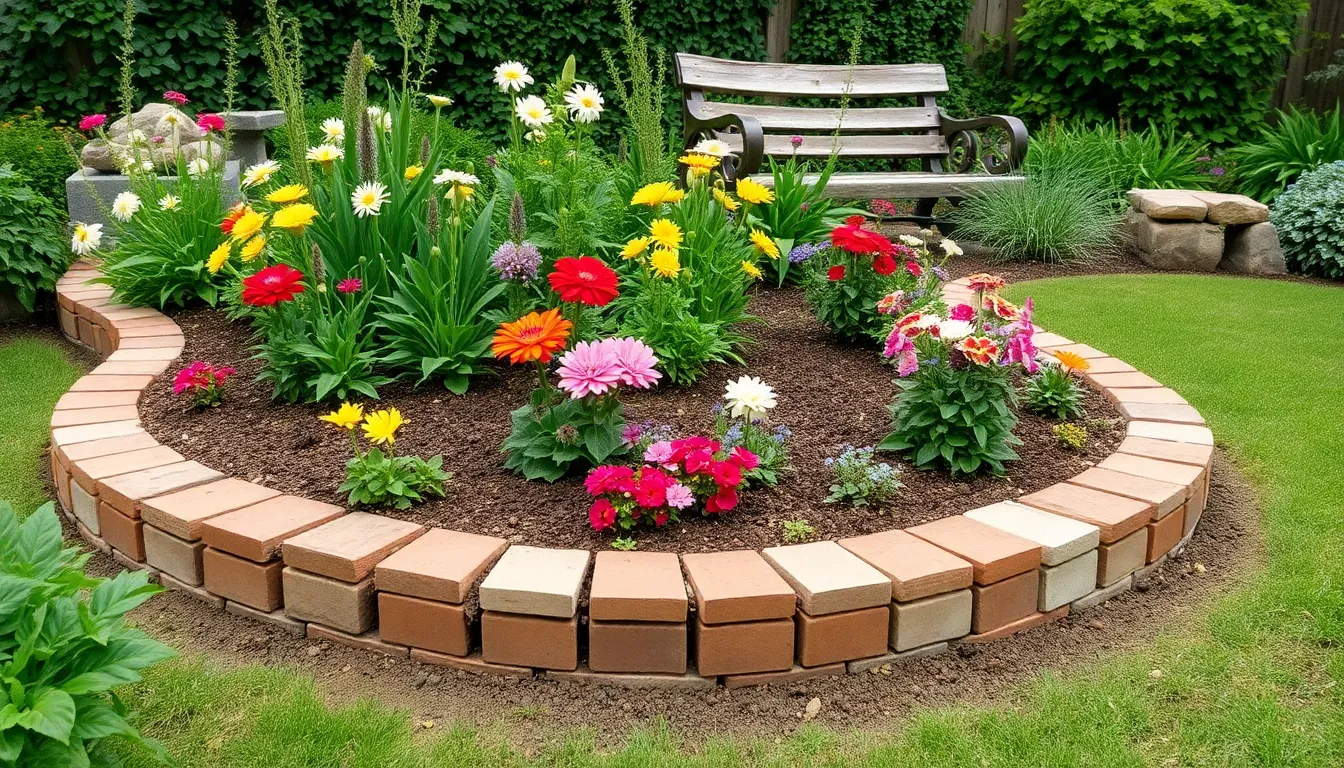
Combining brick with complementary materials creates sophisticated garden borders that offer enhanced visual interest and functional benefits. These mixed material approaches allow us to achieve unique designs while maximizing the durability and versatility that brick edging provides.
Stone and Brick Mixed Borders
Clay brick pavers with natural stone accents create striking garden edges that blend rustic charm with structured design. We recommend using brick pavers for approximately 70% of the border length and incorporating natural stone pieces as focal points every 3 to 4 feet. This combination works exceptionally well for cottage style gardens and curved planting bed borders.
Brick and granite edging alternates sophisticated materials to produce upscale garden boundaries. Alternating patterns typically feature 2 to 3 brick units followed by a single granite piece, creating rhythm while maintaining visual balance. The granite components provide additional weight and stability, particularly beneficial for sloped garden areas where soil retention becomes critical.
Mixed texture combinations enhance the tactile and visual appeal of garden borders. Smooth river stones paired with textured clay bricks create ever-changing contrasts that highlight plant collections while defining growing spaces. These stone and brick mixed borders require minimal maintenance once established and withstand various weather conditions effectively.
Wood and Brick Hybrid Designs
Brick base with wooden log toppers delivers rustic garden edging perfect for naturalized landscapes and woodland gardens. We suggest installing 2 to 3 courses of brick as the foundation, then securing wooden logs or timber pieces along the top edge. This design approach provides excellent soil retention while creating comfortable seating areas within the garden space.
Alternating brick and wood sections produce unique layered borders that complement both formal and informal garden styles. Cedar or pressure treated lumber works best for longevity, with wood sections typically spanning 4 to 6 feet between brick anchoring points. The wood components soften the rigid appearance of straight brick lines while maintaining structural integrity.
Integrated planter box features combine brick stability with wooden growing containers for herb gardens and seasonal displays. Wooden planter boxes positioned every 8 to 10 feet along brick edging create designated spaces for rotating plantings. This hybrid approach allows us to change plant arrangements seasonally while preserving the permanent brick border structure.
Metal Accent Integration
Metal strips between brick units introduce contemporary elements that modernize traditional garden edging. Thin steel or aluminum strips, typically 1/4 inch thick, create clean separation lines while adding reflective surfaces that catch sunlight. These metal accents work particularly well in geometric garden designs and contemporary industry settings.
Metal decorative features transform functional brick edging into artistic garden elements. Incorporating metal sculptures, decorative lanterns, or artistic panels near brick borders creates focal points that draw attention to exact garden areas. We recommend spacing these features 12 to 15 feet apart to maintain visual balance without overwhelming the overall design.
Steel edging strips provide structural reinforcement while adding sleek finishing touches to brick installations. Installing thin steel strips along the top edge of brick borders creates crisp, professional lines that enhance the overall appearance. This metal integration technique particularly benefits modern garden designs where clean geometric shapes take precedence over ornate decorative elements.
Budget-Friendly DIY Brick Edging Projects
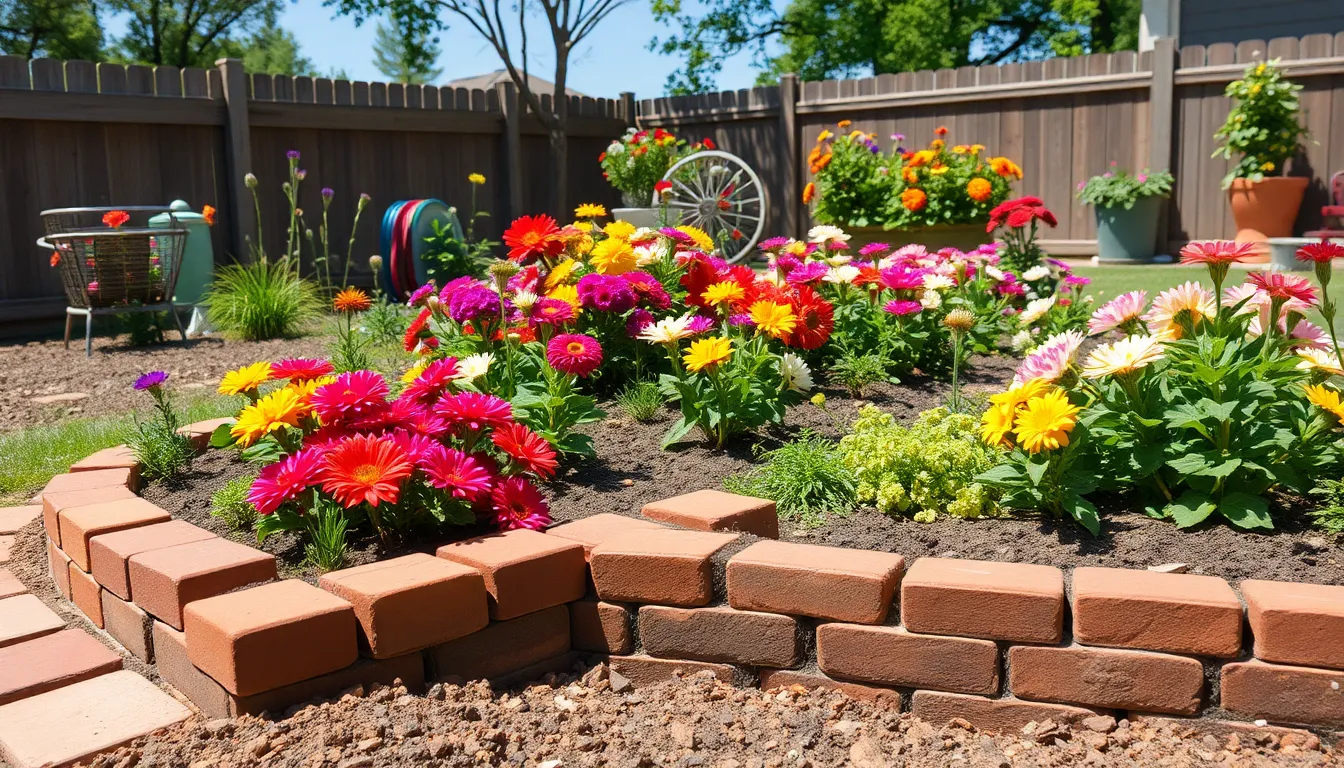
Creating stunning garden borders doesn’t require expensive materials or professional installation. We can achieve beautiful brick edging results using resourceful approaches that maximize impact while minimizing costs.
Salvaged Material Sourcing
Reclaimed bricks offer exceptional value while adding authentic character to our garden designs. Local hardware stores frequently carry discounted or leftover brick inventory from construction projects, providing quality materials at reduced prices. Online marketplaces like Craigslist feature homeowners selling surplus bricks from renovation projects, often at 50% below retail cost.
Community events present excellent opportunities for finding free building materials. Yard sales regularly feature people clearing construction debris, while neighborhood clean up events often yield perfectly usable bricks from demolished structures. Construction sites sometimes allow material salvage with permission, giving us access to professional grade materials.
Demolition companies frequently sell reclaimed materials in bulk quantities. These weathered bricks bring instant age and charm to our garden borders while costing significantly less than new alternatives. Estate sales often include collections of vintage building materials from property improvements over decades.
Simple Installation Methods
Digging a shallow trench forms the foundation for stable brick placement in our garden borders. We create trenches approximately 3 inches deep and slightly wider than our brick dimensions to ensure proper fit and alignment. This excavation process requires only basic hand tools and minimal physical effort.
Packed sand provides excellent stabilization for loose laid brick installations. We pour coarse sand into the prepared trench, then level and compact it using a hand tamper or board. This method allows for easy adjustments while maintaining structural integrity over time.
Soil backfilling offers another simple securing technique that works well for temporary or seasonal borders. We position bricks in the trench, then pack native soil around the edges to hold them in place. This approach costs nothing beyond our labor investment and integrates naturally with existing industry conditions.
Level checking ensures professional looking results throughout the installation process. We use a basic string line or carpenter’s level to maintain consistent height and alignment across the entire border length. Regular adjustments during installation prevent costly corrections later.
Cost-Effective Design Alternatives
Mosaic patterns transform mismatched brick collections into intentional design features. We combine different colors, textures, and sizes to create eye catching borders that appear professionally planned. This approach allows us to use whatever materials we find rather than purchasing uniform supplies.
Simple brick layouts reduce both material costs and installation complexity. Straight line placement requires fewer cuts and less precise measurements compared to intricate patterns. We achieve elegant results using basic soldier course or sailor course arrangements that highlight the natural beauty of individual bricks.
Combination edging strategies blend brick with other readily available materials for unique aesthetic effects. Wood timbers paired with brick courses create rustic borders perfect for cottage gardens. Stone accents mixed with brick sections add visual interest while reducing total brick requirements by up to 40%.
Partial brick applications focus premium materials in high visibility areas while using less expensive alternatives elsewhere. We install full brick borders along front facing garden beds, then transition to simple concrete or wood edging in less prominent locations. This selective approach maximizes visual impact while controlling overall project expenses.
Conclusion
We’ve explored how brick edging transforms ordinary gardens into professionally designed landscapes through versatile installation techniques and creative material combinations. From classic straight lines to flowing curves and sophisticated raised designs these edging answers offer endless possibilities for every garden style and budget.
The beauty of brick edging lies in its ability to solve practical problems while improving visual appeal. Whether you choose DIY sand-set installation or invest in permanent mortared construction you’ll create lasting borders that define spaces control weeds and increase property value.
With options ranging from reclaimed vintage bricks to modern hybrid designs incorporating metal and stone accents there’s a brick edging solution for every homeowner. Start your project today and discover how this timeless material can elevate your outdoor space into something truly extraordinary.
Frequently Asked Questions
What are the main benefits of using brick edging in gardens?
Brick edging enhances curb appeal while serving practical functions like preventing grass encroachment and containing mulch. It’s versatile, durable, and suits various garden styles from cottage to modern. Many projects are DIY-friendly and budget-conscious, offering an effective way to achieve a polished look while increasing property value using readily available materials.
What’s the difference between mortared and sand set brick edging installation?
Mortared installations offer permanence and are ideal for high-traffic areas, providing superior stability. Sand set methods are more budget-friendly, allowing easier adjustments and costing approximately 40% less than mortared alternatives. Sand set is perfect for DIY projects, while mortared requires more skill but delivers long-term durability.
Can I create curved designs with brick edging?
Yes, brick edging works excellently for curved designs. You can create gentle arc patterns, serpentine wave designs, and circular planting area borders. These flowing designs enhance the organic feel of gardens and create beautiful focal points while maintaining the structural benefits of traditional straight edging.
What decorative patterns can I use with brick edging?
Popular decorative patterns include herringbone (zigzag formation) and basket weave (alternating horizontal and vertical placements). You can also use color combinations with different colored bricks, mosaic patterns, and mixed-size vintage layouts. These patterns add visual interest and durability while creating unique garden borders.
How can I incorporate planting spaces into brick edging?
You can create built-in pocket gardens for specific plant collections, herb growing compartments for culinary plants, and seasonal flower display areas. These integrated planting spaces enhance both aesthetics and functionality, allowing for rotating plantings that provide continuous visual interest throughout the year.
What materials can I combine with brick for edging?
Brick pairs well with natural stone, wood, and metal accents. Clay brick with granite creates upscale boundaries, while brick and wood combinations offer rustic charm. Steel strips or decorative metal features modernize traditional brick edging. These combinations create sophisticated, unique garden borders with enhanced visual appeal.
How do I maintain low-maintenance brick edging?
Install weed barrier fabric to prevent unwanted vegetation and improve drainage. Use proper drainage with gravel or coarse sand beneath bricks. Ensure consistent installation depth and conduct regular inspections. These techniques maintain structural integrity and visual appeal while reducing ongoing upkeep requirements.
What are budget-friendly options for DIY brick edging?
Source reclaimed bricks from hardware stores, online marketplaces, and community events for quality materials at reduced prices. Use simple installation methods with shallow trenches and packed sand stabilization. Consider partial brick applications, simple layouts, and combination strategies to maximize visual impact while controlling expenses.
Can I create raised brick edging designs?
Yes, raised brick edging transforms flat borders into dimensional features. Options include two-tier stepped designs for height variations, mortared wall construction for permanent weather-resistant borders, and integrated seating that transforms edging into comfortable gathering spaces for enhanced outdoor living areas.
How do I work with reclaimed bricks for edging?
Select weathered antique bricks with good structural integrity and unique character. Use gentle cleaning techniques to preserve aged patina and opt for sand set installation to maintain natural weathered appearance. Mixed-size vintage layouts create visually dynamic borders, especially effective for curved garden beds.
