We’ve all been there – admiring our beautiful peace lily one day only to discover brown leaves the next. It’s one of the most frustrating experiences for plant parents and often leaves us wondering what went wrong with our seemingly healthy houseplant.
Brown leaves on peace lilies aren’t just an aesthetic issue – they’re your plant’s way of communicating distress. Whether it’s watering problems, humidity issues, or environmental stress, these telltale brown spots and edges signal that something needs our immediate attention.
The good news? Most peace lily browning issues are completely fixable once we understand the root cause. We’ll walk you through the most common reasons your peace lily develops brown leaves and share proven answers that’ll have your plant thriving again in no time.
Understanding Why Peace Lily Leaves Turn Brown
Peace lily leaf browning stems from exact environmental and care factors that disrupt the plant’s natural processes. Multiple causes trigger this discoloration, ranging from watering issues to environmental stressors.
Common Causes of Brown Peace Lily Leaves
Watering problems represent the primary culprit behind brown peace lily leaves. Overwatering creates waterlogged soil conditions that suffocate roots and promote fungal growth. Underwatering causes leaf edges to brown and crisp as the plant conserves moisture.
Low humidity levels below 40% stress peace lilies since they originate from tropical environments. Dry indoor air causes leaf tips and edges to turn brown and brittle.
Direct sunlight exposure burns peace lily leaves within 2-4 hours of intense light. These plants thrive in bright indirect light but suffer scorching when placed in south-facing windows.
Poor water quality containing high levels of chlorine, fluoride, or dissolved salts accumulates in leaf tissues. Tap water with chlorine concentrations above 4 ppm causes brown leaf tips over 3-4 weeks.
Temperature fluctuations below 65°F or above 85°F shock peace lily systems. Cold drafts from air conditioning vents or heating units create brown patches on exposed leaves.
Root bound conditions in containers restrict nutrient uptake when roots circle the pot bottom. Plants show brown leaf edges when root systems exceed 80% of pot capacity.
Identifying the Root Problem
Examine watering patterns by checking soil moisture 2 inches deep with your finger. Soggy soil indicates overwatering while bone-dry conditions suggest underwatering.
Assess leaf browning locations to pinpoint exact causes. Brown leaf tips point to low humidity or water quality issues. Brown edges indicate watering stress. Random brown spots suggest fungal problems from excess moisture.
Check environmental conditions using a hygrometer to measure humidity levels. Peace lilies require 50-60% humidity for optimal health.
Inspect root systems by gently removing the plant from its container. Healthy roots appear white or cream-colored while brown mushy roots indicate root rot from overwatering.
Monitor light exposure throughout the day to identify direct sun damage. Peace lilies develop brown patches within hours of receiving intense afternoon sunlight.
Test water quality by letting tap water sit 24 hours before use or switching to distilled water. Improved leaf color within 2-3 weeks indicates water quality was the issue.
Tools and Materials Needed
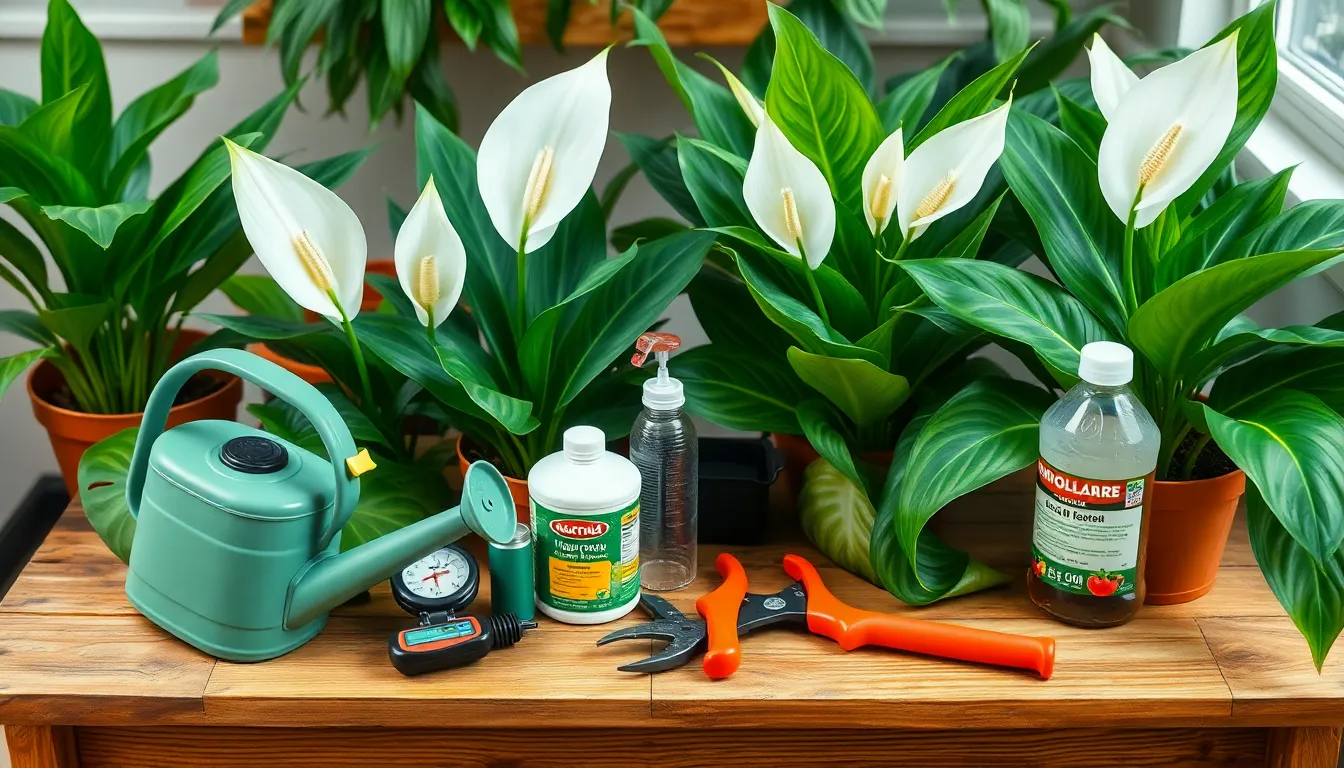
Addressing brown peace lily leaves requires exact tools and materials to diagnose problems and carry out effective answers. We recommend gathering these essential items before beginning any treatment process.
Basic Gardening Supplies
Watering equipment forms the foundation of proper peace lily care. A watering can with a narrow spout allows precise water application to the soil surface without splashing leaves. Spray bottles provide gentle misting for humidity maintenance and leaf cleaning.
Moisture measurement tools help prevent overwatering and underwatering issues. Moisture meters eliminate guesswork by providing accurate soil moisture readings before each watering session. Digital versions display precise moisture percentages for optimal watering decisions.
Pruning equipment enables safe removal of damaged foliage. Sharp pruning shears cut cleanly through brown leaves without damaging healthy tissue. Sterilize cutting tools with rubbing alcohol between plants to prevent disease transmission.
Fertilizer supplies support healthy leaf development during recovery. Balanced liquid fertilizers containing equal nitrogen, phosphorus, and potassium ratios work best for peace lilies. Apply fertilizer every 6-8 weeks during spring and summer months for optimal results.
Optional Equipment for Advanced Care
Humidity control devices create ideal growing conditions for peace lily recovery. Humidifiers maintain consistent 50% to 60% humidity levels in dry indoor environments. Place humidity trays filled with pebbles and water beneath plant containers for localized moisture increases.
Pest management answers address infestations that cause leaf browning. Insecticidal soap sprays eliminate aphids and spider mites safely on peace lily foliage. Neem oil applications provide natural pest prevention while nourishing plant tissues.
Repotting materials become necessary for root bound plants causing brown leaves. High quality potting mix designed for tropical houseplants provides proper drainage and nutrient retention. Containers with drainage holes prevent waterlogging that leads to root rot and subsequent leaf browning.
Diagnosing Brown Leaf Issues
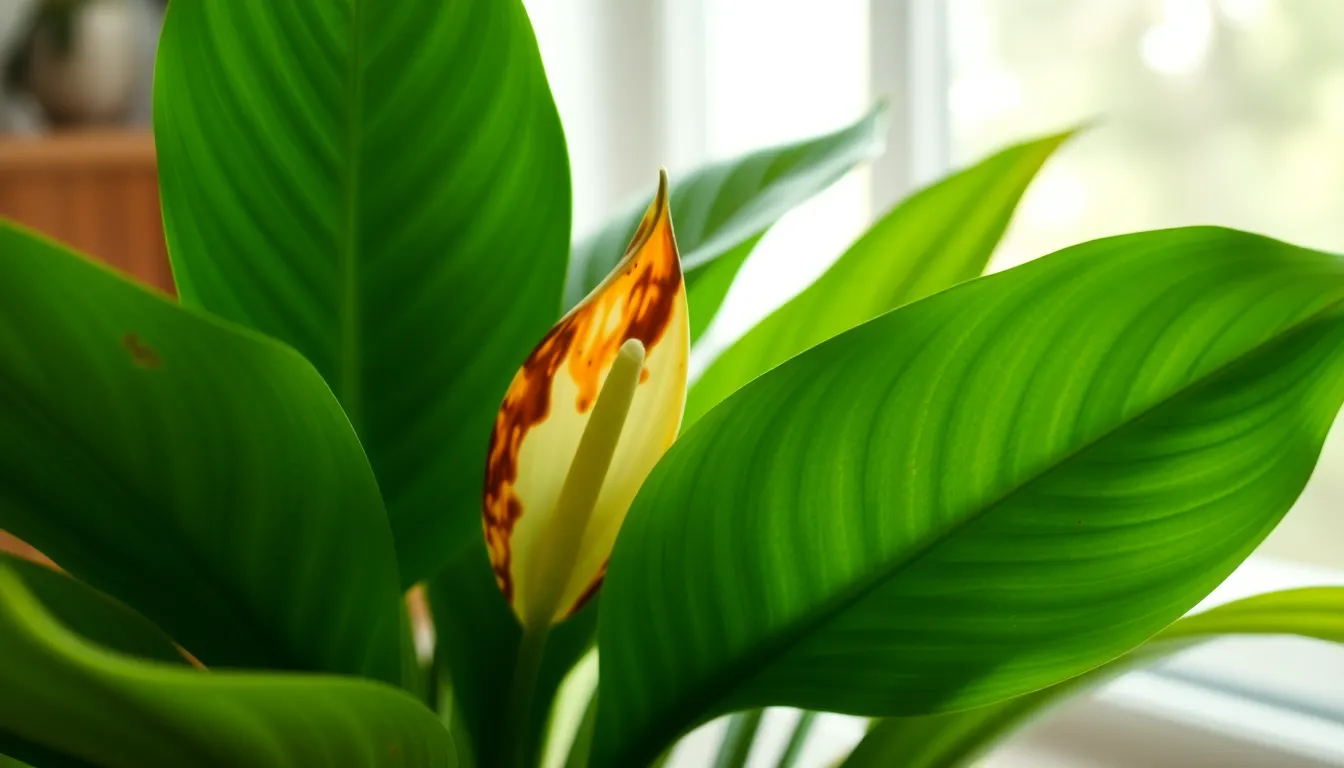
Accurate diagnosis requires systematic examination of exact symptoms and conditions affecting your peace lily.
Examining Leaf Patterns and Discoloration
Brown leaf tips or margins indicate cultural care issues rather than diseases. Uniform brown spots suggest environmental stress while scattered patterns point to biological causes.
Yellowing leaves that turn brown signal underwatering or natural aging processes. Overwatering creates brown spots that develop from root rot damage.
Leaf discoloration patterns help differentiate between various causes:
- Tip browning spreads from leaf edges inward
- Spot browning appears in random locations
- Progressive yellowing occurs before complete browning
Checking Soil and Root Conditions
Overwatering damages roots by preventing oxygen access and causing root rot. Soil stays consistently wet between watering sessions when drainage problems exist.
Underwatering creates yellowing leaves that progress to brown discoloration. Soil moisture levels drop below optimal ranges for extended periods.
Poor drainage causes waterlogging even with correct watering amounts. Pots without adequate drainage holes trap excess moisture around root systems.
Root examination reveals black or mushy roots indicating rot conditions. Healthy roots appear white or cream colored with firm texture.
Assessing Environmental Factors
Humidity levels below optimal ranges contribute to brown leaf tips in peace lilies. Dry air conditions stress plants and cause moisture loss through leaf surfaces.
Direct sunlight exposure causes leaf discoloration and burning damage. Indirect light placement prevents scorching while providing adequate illumination.
Temperature fluctuations stress plants and trigger browning responses. Consistent temperatures between 65-80°F maintain optimal growing conditions.
Fertilizer application errors create brown tips when concentrations exceed plant tolerance levels. Overfertilization burns leaf tissues while underfertilization weakens plant structure.
Fixing Watering Problems
Watering problems cause the majority of brown leaf issues in peace lilies. Correcting these moisture-related concerns restores your plant’s health and prevents future browning.
Correcting Overwatering Issues
Overwatering creates waterlogged conditions that suffocate roots and trigger brown leaf development. Stop watering immediately when you notice soggy soil or standing water in drainage trays.
Remove excess water from saucers and allow the top inch of soil to dry completely before considering another watering session. Check drainage holes to ensure water flows freely through the pot bottom.
Use a moisture meter to monitor soil conditions accurately rather than guessing when to water next. Insert the probe 2-3 inches deep into the soil to get reliable moisture readings.
Replace severely waterlogged soil if root rot has developed, evidenced by black or mushy root sections. Cut away damaged roots with sterile pruning shears before repotting in fresh, well-draining potting mix.
Addressing Underwatering Problems
Underwatering causes leaves to yellow first before progressing to brown edges and crispy textures. Water thoroughly when the top inch of soil feels completely dry to your fingertip.
Soak the soil until water drains from the bottom holes, ensuring the entire root system receives adequate moisture. Empty drainage trays after 30 minutes to prevent the opposite problem of overwatering.
Check soil moisture weekly by inserting your finger into the top layer rather than relying on fixed watering schedules. Peace lilies in larger pots or during growing seasons require more frequent moisture checks.
Monitor leaf recovery over 7-14 days after correcting underwatering issues, as healthy new growth indicates improved watering practices.
Establishing a Proper Watering Schedule
Create a moisture-based watering routine instead of following calendar dates for optimal peace lily care. Test soil dryness weekly by pressing your finger into the top inch of potting medium.
Water thoroughly when soil feels dry at finger depth, allowing excess water to drain completely from pot holes. Adjust checking frequency based on seasonal changes, plant size, and indoor humidity levels.
| Factor | Watering Adjustment |
|---|---|
| Summer months | Check moisture 2x per week |
| Winter months | Check moisture every 10 days |
| Large mature plants | Water more frequently |
| Small young plants | Water less frequently |
| High humidity rooms | Extend time between waterings |
| Low humidity rooms | Increase watering frequency |
Document watering dates and soil conditions in a plant care journal to identify patterns and refine your moisture management approach over time.
Adjusting Light Conditions
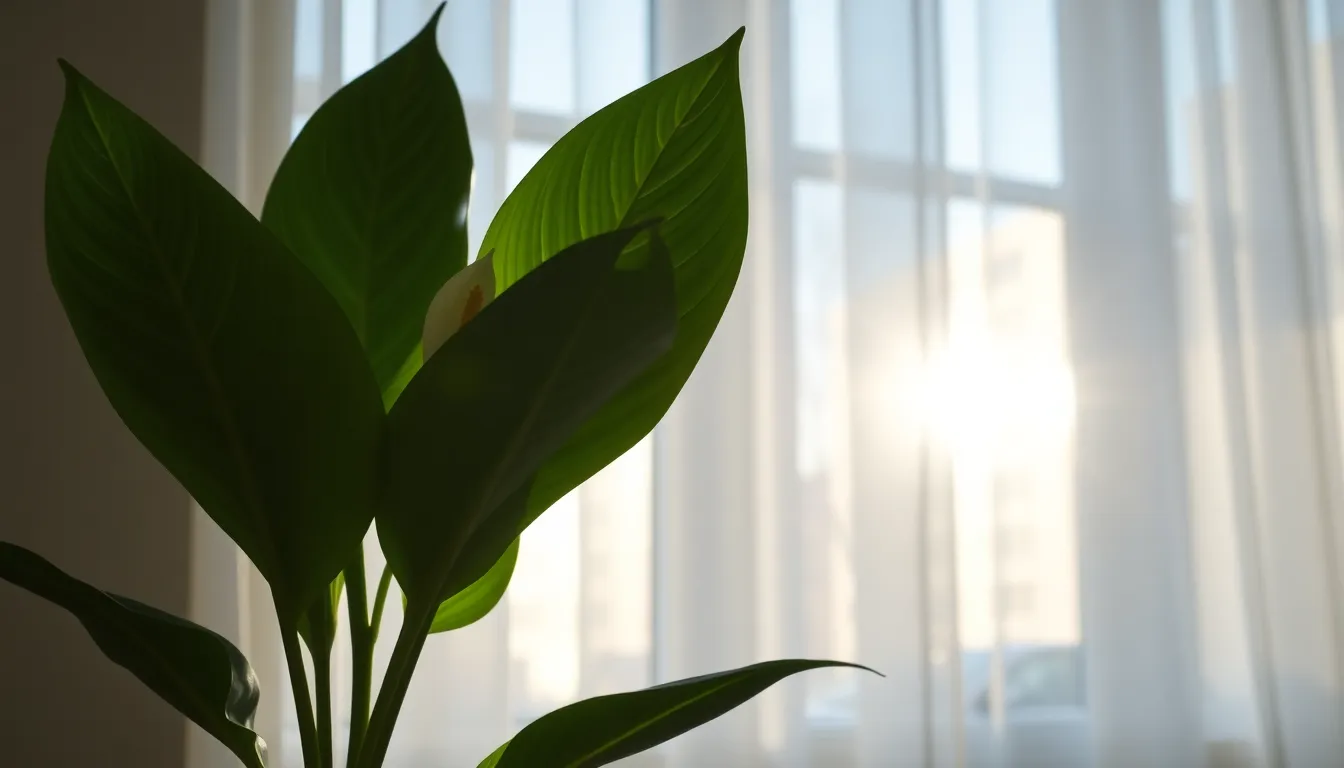
Direct sunlight exposure ranks among the top environmental factors causing peace lily leaves to turn brown. Proper light positioning prevents sun scorch damage and maintains healthy foliage.
Moving Your Peace Lily to Optimal Lighting
Bright indirect light creates the ideal growing environment for peace lilies without causing leaf damage. East-facing windows provide gentle morning sunlight followed by filtered light throughout the day. West-facing windows work equally well when positioned 3-4 feet from the glass to reduce intensity.
North-facing windows offer consistent indirect light without risk of direct sun exposure. Rooms with particularly bright north-facing exposure can support healthy peace lily growth year-round. South-facing windows require careful placement at least 6 feet away from the glass or behind a light-filtering barrier.
Filtered light conditions prevent the brown tips and leaf scorch that occur with direct sun exposure. Peace lilies develop optimal chlorophyll production when receiving 1000-2000 foot-candles of indirect light. Positioning plants where they receive morning or late afternoon light while avoiding midday sun exposure maintains leaf health.
Protecting from Direct Sunlight Damage
Sheer curtains effectively filter harsh sunlight while maintaining adequate brightness for photosynthesis. White or light-colored sheers reduce light intensity by 30-50% without blocking necessary illumination. Installing adjustable curtains allows for seasonal light management as sun angles change throughout the year.
Shade cloths provide additional protection during peak sunlight hours between 10 AM and 4 PM. 30% shade cloth reduces light intensity while preserving the quality needed for healthy growth. Temporary shade answers include positioning the plant behind taller houseplants or furniture during intense sunlight periods.
Light meters help monitor actual light levels reaching your peace lily throughout different seasons. Readings between 200-400 foot-candles indicate insufficient light leading to poor growth. Measurements exceeding 2500 foot-candles suggest excessive light that can cause browning and require immediate repositioning.
Physical barriers such as frosted window film create permanent light diffusion without reducing room brightness significantly. Moving plants 2-3 feet back from windows during summer months prevents sun scorch while maintaining adequate illumination for photosynthesis.
Improving Humidity Levels
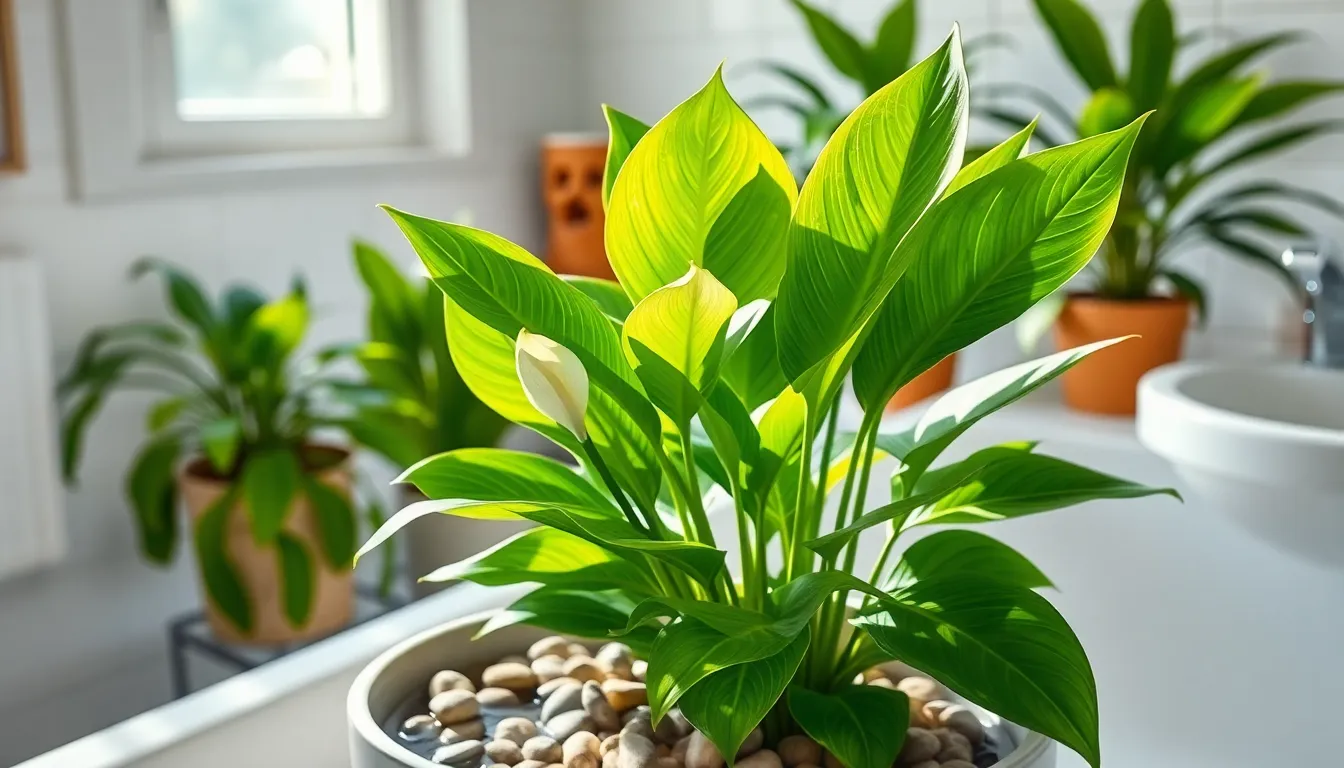
Low humidity levels commonly cause peace lily leaves to develop brown tips and edges. Maintaining humidity levels between 40-60% creates the optimal environment for healthy leaf development.
Increasing Humidity Around Your Plant
Grouping plants together naturally increases local humidity through collective transpiration. Position your peace lily near other houseplants to create a microclimate with elevated moisture levels.
Room humidifiers provide consistent humidity control throughout the growing area. Digital models allow precise adjustments based on seasonal changes and indoor heating conditions.
Bathroom placement offers naturally higher humidity from shower steam and water usage. East-facing bathroom windows provide ideal bright indirect light while maintaining moisture levels.
Avoiding heat sources prevents rapid moisture loss from both soil and leaves. Keep peace lilies away from heating vents, radiators, and direct sunlight that accelerates water evaporation.
Using Humidity Trays and Misting Techniques
Humidity trays filled with water and pebbles create localized moisture zones around your plant. Place the pot on top of pebbles above water level to prevent root contact with standing water.
| Tray Method | Water Level | Pebble Depth | Refill Frequency |
|---|---|---|---|
| Small pot (4-6 inches) | 0.5 inches | 1 inch | Every 3-4 days |
| Medium pot (8-10 inches) | 0.75 inches | 1.5 inches | Every 5-7 days |
| Large pot (12+ inches) | 1 inch | 2 inches | Weekly |
Misting leaves with distilled water supplements ambient humidity during dry periods. Spray early morning to allow leaf surfaces to dry before evening temperatures drop.
Fine mist spray bottles deliver gentle moisture without oversaturating leaf surfaces. Target the undersides of leaves where stomata absorb moisture most effectively.
Weekly misting schedules work best during winter months when indoor heating reduces natural humidity. Reduce frequency during humid summer conditions to prevent fungal issues.
Addressing Fertilizer Burns
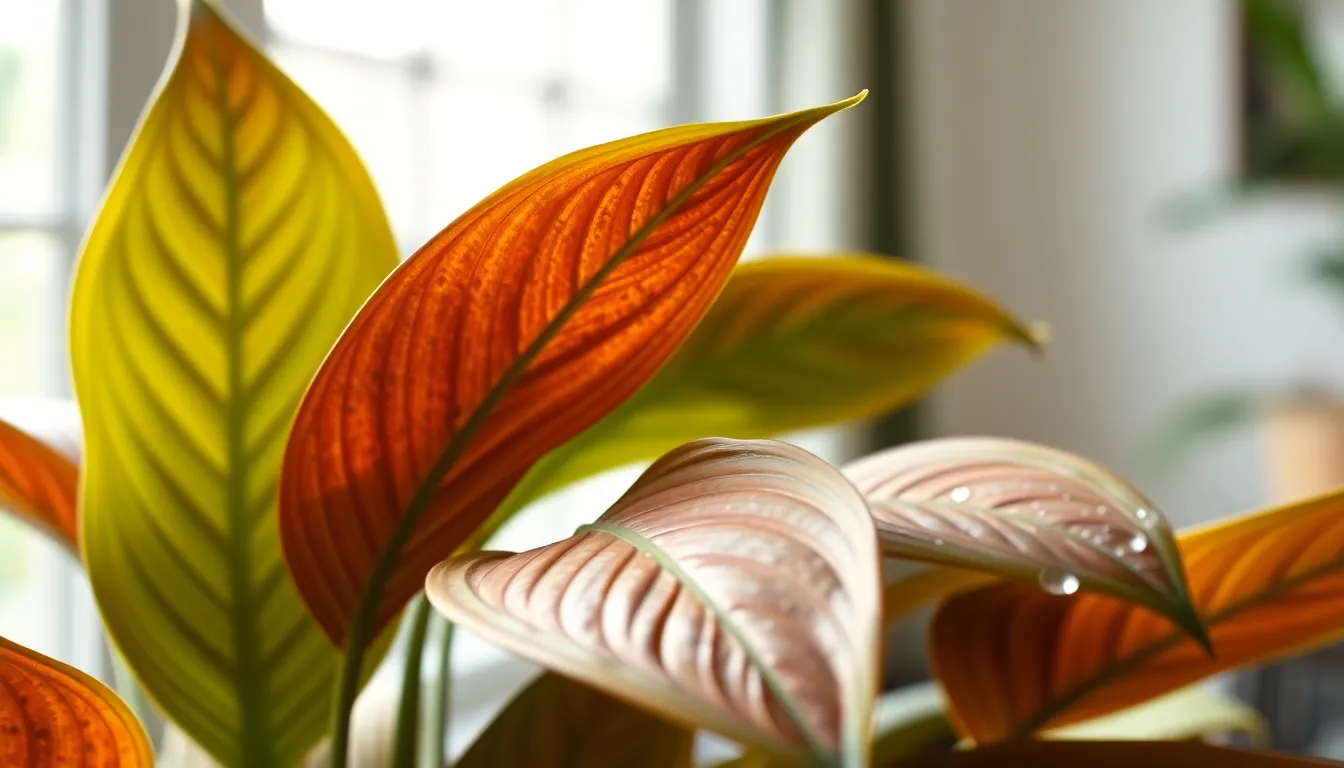
Excessive fertilization creates chemical stress that manifests as distinct browning patterns on peace lily foliage. Fertilizer burns occur when salt concentrations from synthetic nutrients accumulate in soil, overwhelming the plant’s natural absorption capacity.
Identifying Over-Fertilization Symptoms
Brown or yellowing leaves concentrated at leaf tips indicate fertilizer burn damage rather than other environmental stressors. These symptoms appear as crisp, dry edges that progress inward from the leaf margins. White crusty deposits on soil surfaces signal salt buildup from excessive fertilizer applications.
Fresh green foliage displaying sudden brown patches suggests recent over-fertilization events. Wilting occurs even though adequate soil moisture when root systems suffer chemical burns from concentrated nutrients. Stunted growth patterns emerge as damaged roots struggle to absorb water and essential minerals effectively.
Flushing Excess Fertilizer from Soil
Water the peace lily thoroughly with 2-3 times the pot volume to dissolve and remove accumulated fertilizer salts from the growing medium. Allow water to drain completely through drainage holes, carrying dissolved chemicals away from root zones. Repeat this flushing process 2-3 times over 24 hours for severe fertilizer burn cases.
Remove any visible white salt deposits from soil surfaces using a small spoon or similar tool. Replace the top 1-2 inches of potting mix with fresh, unfertilized growing medium to eliminate surface salt concentrations. Monitor drainage water clarity to confirm successful salt removal from the container system.
Creating a Balanced Feeding Schedule
Feed peace lilies with balanced fertilizer every 6-8 weeks during spring and summer months when active growth occurs naturally. Dilute liquid fertilizers to quarter strength (25% of package recommendations) to prevent nutrient overload in container environments. Stop all fertilization during fall and winter dormancy periods when plant metabolism slows significantly.
Apply fertilizer only to moist soil to prevent root burn from concentrated nutrients contacting dry root surfaces. Document feeding dates and plant responses to establish personalized care schedules based on individual growth patterns. Use organic alternatives like compost tea or fish emulsion for gentler nutrient delivery that reduces burn risks.
| Fertilizer Schedule | Spring/Summer | Fall/Winter |
|---|---|---|
| Frequency | Every 6-8 weeks | No feeding |
| Concentration | 25% strength | N/A |
| Application method | Moist soil only | N/A |
Treating Water Quality Issues
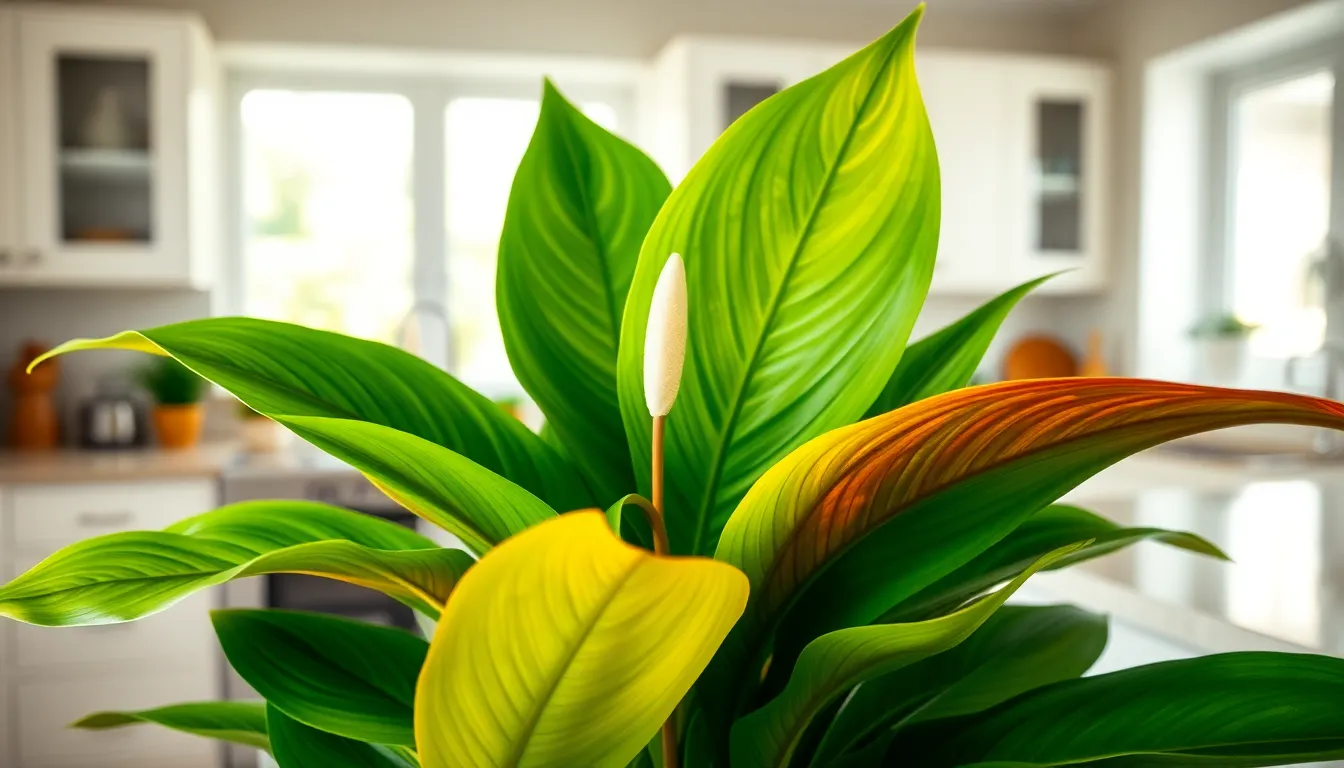
Water quality problems create important stress for peace lilies and contribute to brown leaf development. Chemicals commonly found in tap water damage plant tissues over extended periods.
Using Filtered or Distilled Water
Filtered water eliminates harmful chemicals that accumulate in peace lily tissues and cause browning patterns on foliage. Standard tap water contains chlorine concentrations between 0.2-4.0 parts per million, which stress sensitive houseplants like peace lilies over time.
Distilled water provides the purest option for peace lily hydration since it removes all dissolved minerals and chemicals. Purchase distilled water from grocery stores when filtered options are unavailable, though this method costs more for regular plant care.
Water filtration systems remove 85-95% of chlorine and fluoride from municipal water supplies. Install countertop or pitcher-style filters to process water before each watering session. Carbon-based filters work most effectively for removing chlorine compounds that damage plant cells.
Reverse osmosis systems eliminate virtually all contaminants but require professional installation and ongoing maintenance. These systems produce water with total dissolved solids below 10 parts per million, creating optimal conditions for peace lily growth.
Dealing with Chlorine and Fluoride Damage
Chlorine damage appears as brown tips and edges that progress inward from leaf margins over 2-4 weeks of exposure. Municipal water systems add chlorine at concentrations of 0.5-2.0 parts per million to prevent bacterial growth, but these levels harm peace lily foliage.
Let tap water sit in open containers for 24-48 hours to allow chlorine to evaporate naturally. Fill watering containers after each use so treated water remains available for the next watering session. This method reduces chlorine content by 80-90% without additional equipment costs.
Fluoride accumulation causes distinctive browning patterns that start at leaf tips and create yellow halos around damaged areas. Many municipalities add fluoride at 0.7-1.2 parts per million, and these compounds do not evaporate like chlorine.
Activated carbon filters remove chlorine effectively but cannot eliminate fluoride compounds from water. Use reverse osmosis filtration or purchase distilled water when fluoride levels exceed 1.0 parts per million in your local water supply.
Existing damage from chemical exposure requires immediate leaf removal to prevent bacterial infections. Cut affected leaves at the base using sterile pruning shears, removing all brown and yellowing tissue. New growth emerges within 3-4 weeks when water quality improves and other care conditions remain optimal.
Pruning and Removing Brown Leaves
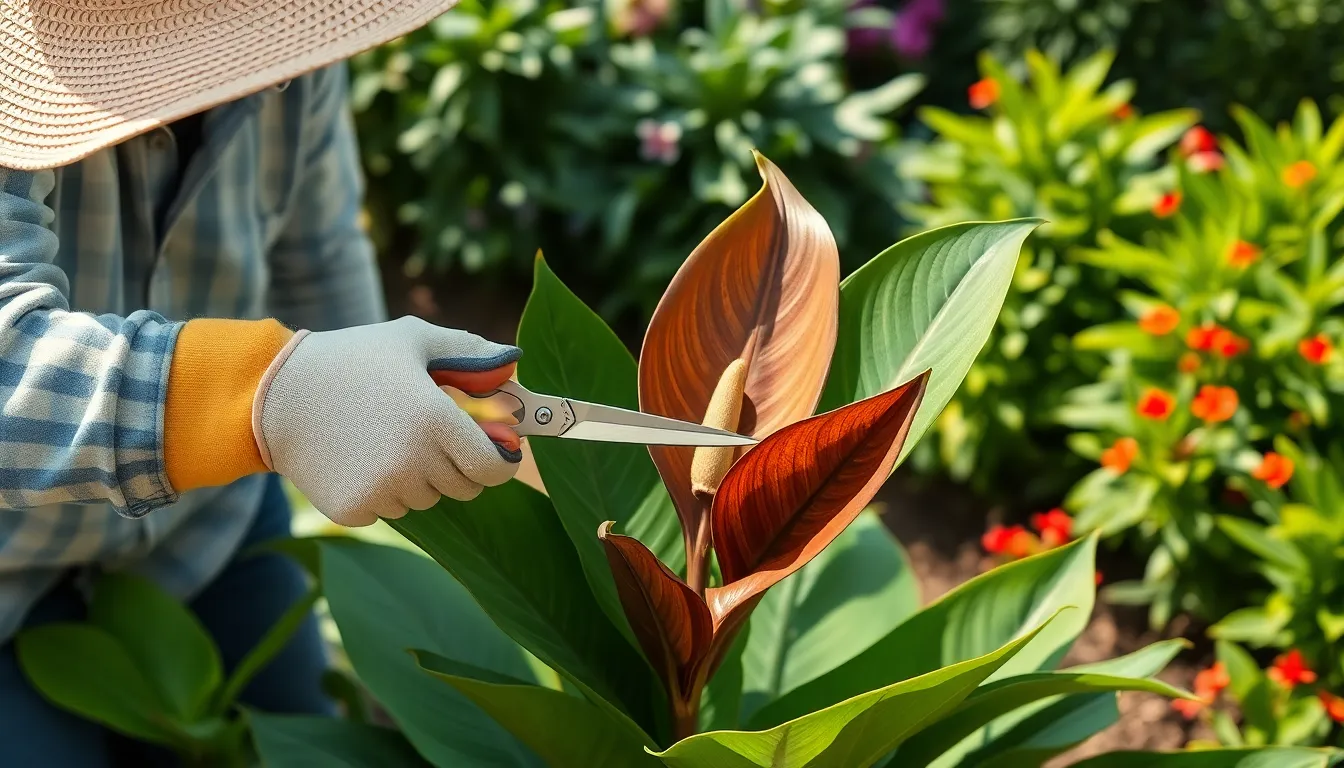
Removing brown leaves prevents further decay and promotes healthy growth in peace lilies. Strategic pruning techniques protect the plant from spreading infections while encouraging new foliage development.
Safe Leaf Removal Techniques
Clean, sharp tools eliminate the risk of tissue damage and disease transmission during pruning operations. We make cuts at the base of the leaf stem using sterilized pruning shears, avoiding any tearing or crushing of plant tissues. Position the cutting blade close to the main stem without damaging adjacent healthy foliage.
Remove entire brown leaves rather than trimming portions, as partial removal leaves entry points for bacterial infections. Target leaves showing complete browning first, followed by those with important brown areas covering more than 50% of the leaf surface. Dispose of removed foliage immediately to prevent pest attraction and disease spread.
Handle peace lily stems gently during the removal process to avoid root disturbance. Support the base of the plant with one hand while cutting with the other to maintain stability. Complete all pruning tasks during morning hours when plants experience less stress from temperature fluctuations.
Sterilizing Cutting Tools
Alcohol answers at 70% concentration effectively eliminate pathogens from pruning tools between cuts. We dip cutting blades in rubbing alcohol before each pruning session and between different plants to prevent cross-contamination. Allow tools to air dry for 30 seconds after sterilization before making contact with plant tissue.
Bleach answers using 1 part bleach to 9 parts water provide alternative sterilization for heavily contaminated tools. Rinse metal surfaces thoroughly with clean water after bleach treatment to prevent corrosion damage. Replace cutting tool alcohol or bleach answers every 2-3 pruning sessions to maintain effectiveness.
Store sterilized tools in clean containers between uses to preserve sanitary conditions. Wipe tool surfaces with clean cloths after each sterilization cycle to remove residual moisture and chemical residues.
When to Prune vs When to Wait
Immediate pruning becomes necessary when brown leaves result from overwatering or underwatering conditions that require swift intervention. We remove affected foliage within 24-48 hours of identifying water-related browning to prevent root rot progression and bacterial infections.
Wait for natural leaf aging processes when browning appears gradually on older lower leaves without accompanying symptoms like yellowing or wilting. Monitor these leaves for 7-10 days to distinguish between normal senescence and underlying care issues before making removal decisions.
Temperature fluctuations between 65°F-85°F and humidity levels below 50% trigger stress-related browning that benefits from immediate pruning intervention. Pest infestations from aphids, spider mites, or mealybugs require prompt leaf removal combined with targeted treatment applications to prevent colony establishment.
Prune during active growing seasons when peace lilies recover faster from tissue removal stress. Delay extensive pruning during winter dormancy periods unless emergency situations like severe overwatering or pest outbreaks demand immediate action.
Preventing Future Brown Leaf Problems
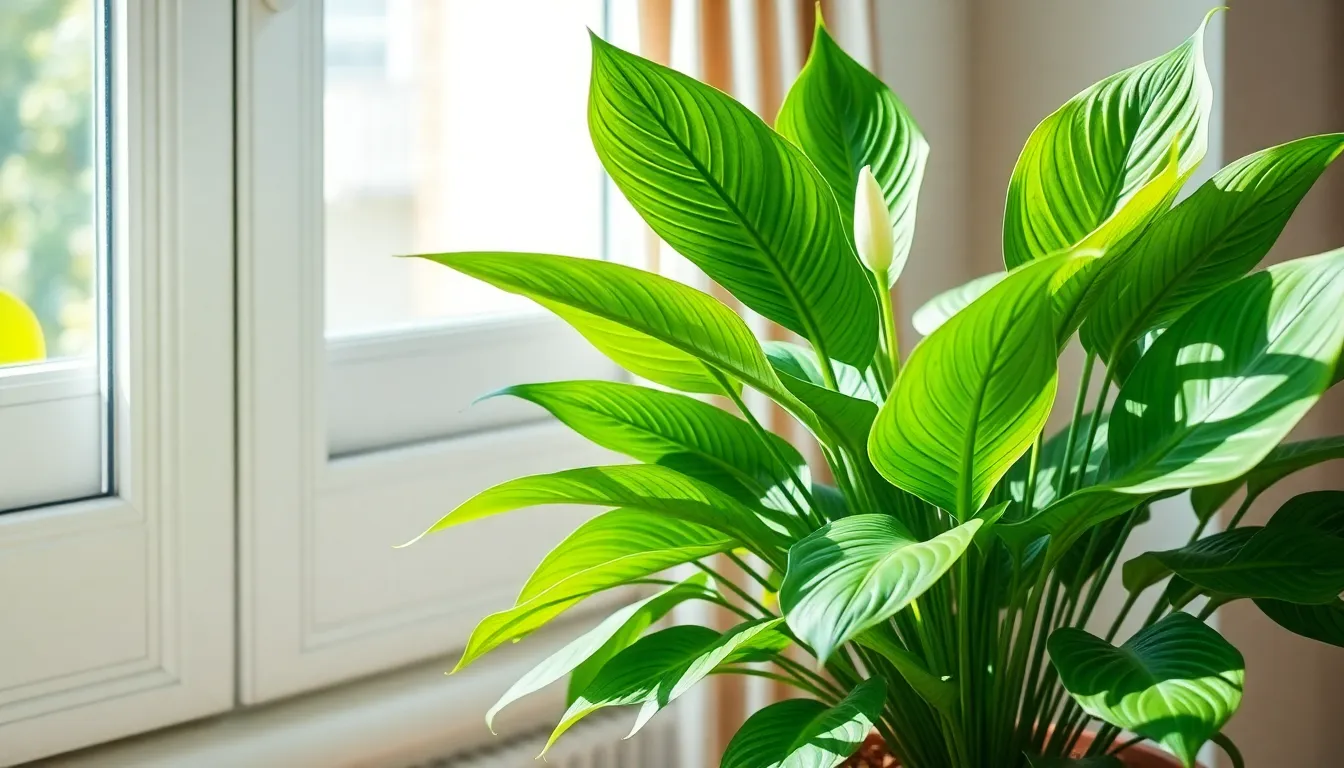
Maintaining healthy peace lily foliage requires consistent attention to environmental factors and care practices. We prevent brown leaf development by addressing root causes before symptoms appear.
Creating Ideal Growing Conditions
Soil drainage forms the foundation of healthy peace lily growth. We use well-draining potting mix to prevent waterlogged conditions that suffocate roots and cause browning. Quick-draining soil allows excess water to escape while retaining adequate moisture.
Temperature stability between 65°F and 85°F protects leaves from stress-induced browning. We position peace lilies away from heating vents, air conditioning units, and drafty windows that create temperature fluctuations. Consistent temperatures eliminate thermal shock that damages leaf tissues.
Humidity levels of 50-60% prevent brown tips and edges from developing. We maintain optimal moisture levels using humidifiers, grouping plants together, or placing humidity trays beneath containers. Adequate humidity eliminates moisture stress that causes characteristic brown margins.
Indirect sunlight placement protects foliage from scorching damage. We locate peace lilies near east or north-facing windows where bright light filters through without direct exposure. Proper lighting prevents sun damage while supporting healthy photosynthesis.
Balanced fertilization every 6-8 weeks during warmer months supplies essential nutrients without causing chemical burns. We dilute liquid fertilizers to half strength and apply during active growth periods only. Controlled feeding prevents nutrient buildup that creates brown leaf tips.
Regular Maintenance Tips
Weekly moisture monitoring prevents both overwatering and underwatering issues. We check the top inch of soil before each watering session to determine actual moisture needs. Consistent monitoring eliminates guesswork that leads to watering errors.
Monthly pest inspections catch aphids, fungus gnats, mealybugs, and spider mites before infestations cause brown spotting. We examine leaf undersides, soil surfaces, and stem joints for early signs of pest activity. Regular inspections prevent pest-related browning damage.
Immediate brown leaf removal stops decay from spreading to healthy foliage. We use clean, sharp pruning shears to cut affected leaves at the base of their stems. Prompt removal prevents bacterial infections that accelerate browning.
Biennial repotting refreshes soil quality and prevents root binding that restricts water uptake. We repot every two years using fresh, well-draining potting mix unless root rot requires immediate attention. Regular repotting maintains optimal growing conditions.
Water quality testing identifies harmful chemicals that accumulate in leaf tissues over time. We use filtered or distilled water to eliminate chlorine, fluoride, and mineral buildup that causes brown edges. Clean water prevents chemical damage to sensitive foliage.
Seasonal Care Adjustments
Growing season watering increases accommodate higher metabolic demands during spring and summer months. We water more frequently when temperatures rise and growth accelerates, typically every 5-7 days. Active growth periods require consistent moisture availability.
Winter watering reduction matches decreased plant activity during cooler months. We extend watering intervals to 10-14 days when growth slows and water uptake decreases. Reduced watering prevents root rot during dormant periods.
Dry season humidity supplementation counteracts low indoor moisture levels during heating months. We use room humidifiers, misting schedules, or humidity groupings to maintain 50-60% relative humidity. Additional moisture prevents stress-induced browning during dry periods.
Cold weather draft protection shields plants from temperature extremes that damage leaves. We relocate peace lilies away from windows, doors, and heating sources during winter months. Stable positioning eliminates cold stress that triggers brown leaf development.
Lighting adjustments for shorter days maintain adequate photosynthesis during winter months. We reposition plants closer to available light sources or supplement with grow lights when natural illumination decreases. Consistent lighting prevents stress-related browning during darker seasons.
Troubleshooting Common Issues
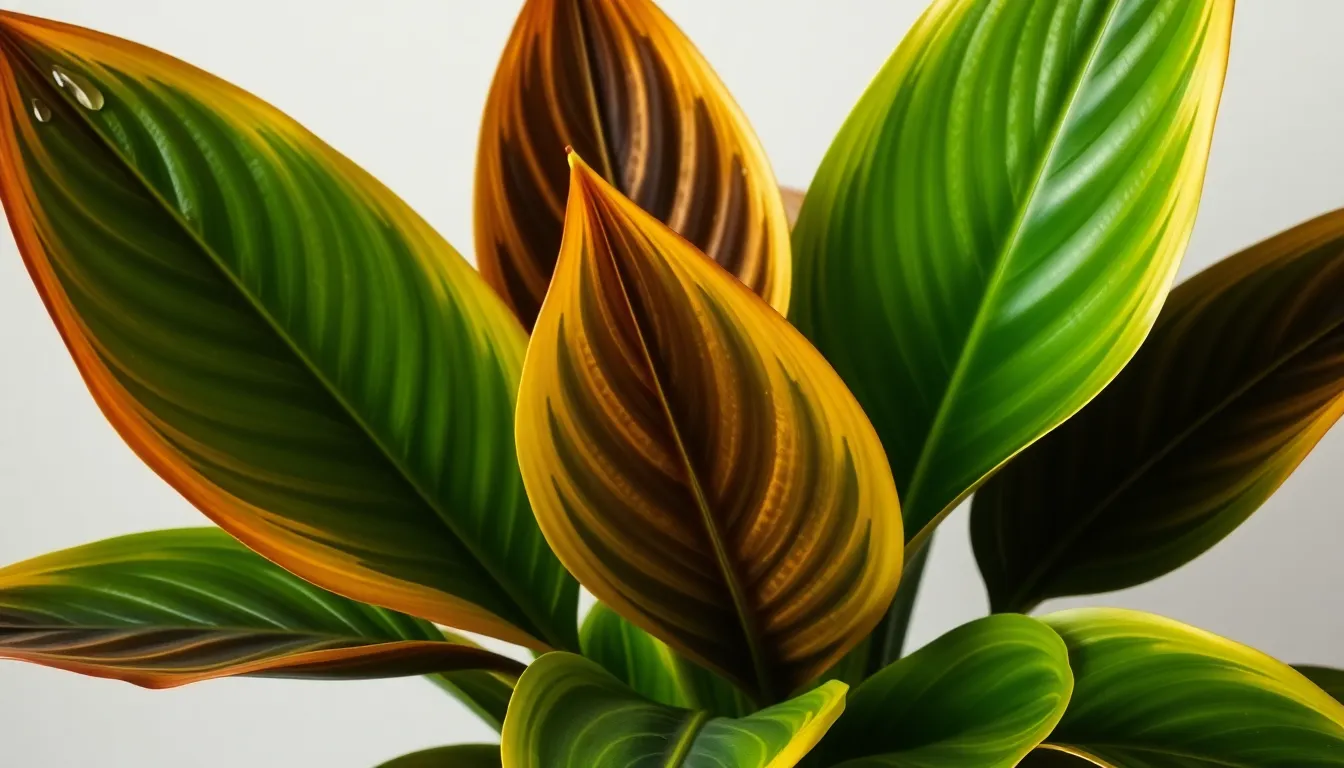
We identify exact patterns in peace lily leaf browning to determine the exact cause and treatment approach.
Brown Tips vs Completely Brown Leaves
Brown tips develop when peace lilies experience overwatering or underwatering stress. Overwatering creates waterlogged conditions that suffocate roots and limit nutrient uptake to leaf edges. Underwatering causes moisture stress that manifests as crispy brown margins along leaf tips and edges.
Completely brown leaves result from severe underwatering conditions where leaves progress through yellowing before turning entirely brown. This progression indicates prolonged water stress that damages leaf tissue beyond recovery. We observe this pattern when soil remains dry for extended periods exceeding 2-3 weeks.
Yellow-Brown vs Dark Brown Discoloration
Yellow-brown discoloration signals natural aging or moderate stress conditions affecting peace lily foliage. Underwatering typically produces this coloration pattern as leaves transition from yellow to brown over 7-10 days. Temperature fluctuations between 60°F-90°F can also trigger yellow-brown changes in leaf tissue.
Dark brown discoloration indicates severe overwatering and root rot conditions requiring immediate intervention. Root rot produces dark brown or black patches that spread rapidly across leaf surfaces. We recognize this pattern by its distinct dark coloration and soft texture compared to lighter brown stress markings.
When Brown Leaves Indicate Serious Problems
Brown leaves signal serious root rot issues when accompanied by dark discoloration and soft leaf texture. Root rot from excessive watering creates anaerobic soil conditions that damage root systems within 5-7 days. We examine soil drainage and root health when observing rapid brown leaf development.
Severe environmental stress produces brown leaves when temperature drops below 65°F or exceeds 85°F for multiple days. Humidity levels below 50% combined with direct sunlight exposure create conditions that cause widespread leaf browning within 3-5 days.
Immediate attention becomes necessary when brown leaves appear alongside yellowing stems or musty soil odors. These symptoms indicate systemic plant stress requiring soil replacement and root system evaluation. We trim brown leaf portions to prevent bacterial infections from spreading to healthy plant tissue.
When to Repot Your Peace Lily
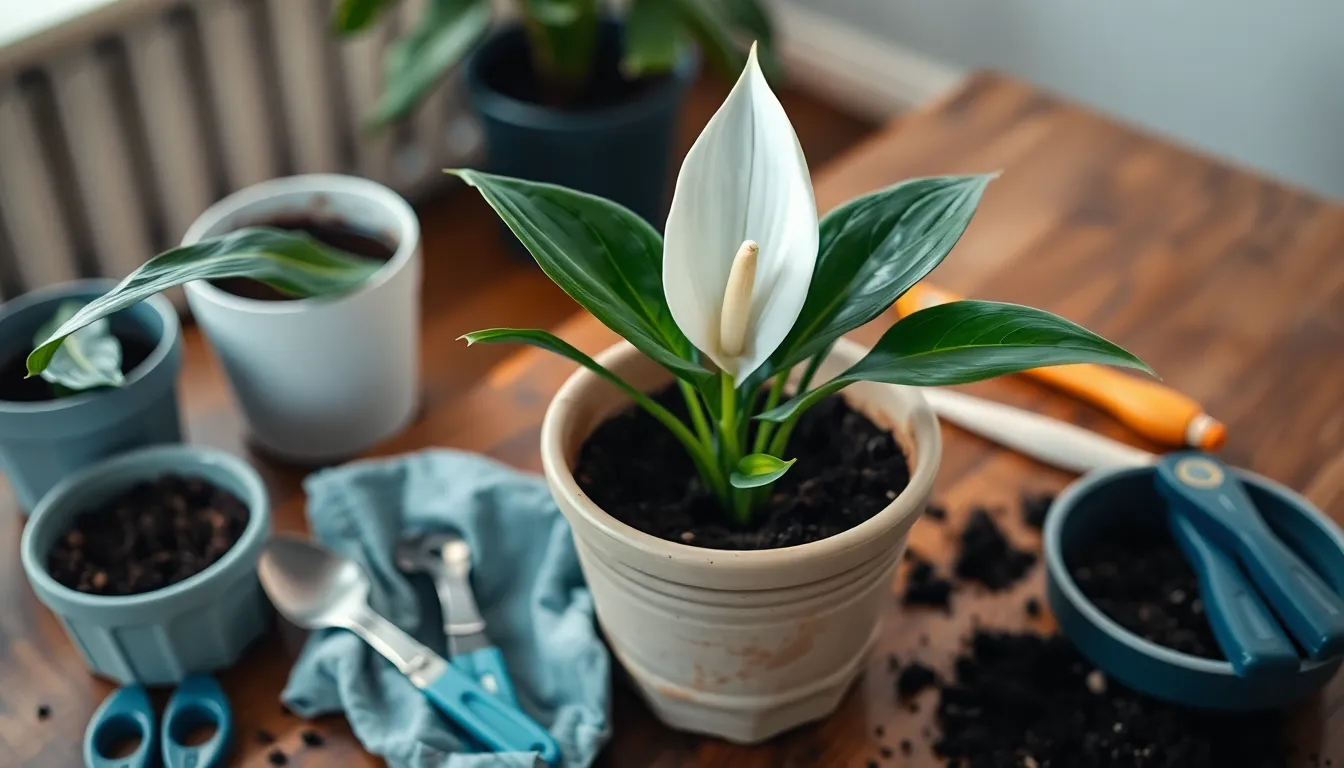
Repot your peace lily every two years unless brown leaves indicate root rot requiring immediate attention. Fresh soil becomes essential when environmental factors and care adjustments fail to resolve persistent browning issues.
Signs Your Plant Needs Fresh Soil
Visible roots growing out of drainage holes signal that your peace lily has outgrown its current container. Roots extending through the bottom or circling around the soil surface indicate cramped conditions that restrict nutrient absorption and water uptake.
Soil no longer holding water creates drainage problems that contribute to brown leaf development. Water runs straight through the pot without being absorbed, or conversely, soil becomes compacted and stays soggy for extended periods.
Plant growth slowing down even though proper watering and lighting conditions suggests nutrient depletion in the existing soil. Peace lilies require fresh organic matter and proper soil structure to maintain healthy foliage and prevent browning.
Additional indicators include soil pulling away from pot edges, white crusty deposits on the soil surface from mineral buildup, and persistent brown leaves even though correcting watering and environmental factors.
Choosing the Right Pot Size
Select a pot that is only slightly larger than the current container to prevent overwatering issues that cause brown leaves. Containers that are 1-2 inches wider in diameter provide adequate space without creating excess soil volume that retains too much moisture.
Oversized pots create waterlogged conditions because peace lilies cannot absorb water from unused soil areas. This excess moisture leads to root rot and subsequent brown leaf development, the very problem we aim to prevent through repotting.
Drainage holes remain essential regardless of pot size, as proper water flow prevents the soil saturation that damages peace lily roots. Terra cotta and ceramic pots with drainage holes offer better moisture control than plastic containers.
Repotting Step-by-Step Process
Prepare a new pot by selecting one slightly larger than the current container and ensuring adequate drainage holes. Fill the bottom with fresh, well-draining potting mix designed for houseplants.
Remove the plant carefully by turning the pot upside down and gently sliding the peace lily out. Support the stem base while loosening the root ball to minimize transplant shock.
Trim old roots if you notice circling or damaged root systems during removal. Cut away any black, mushy roots that indicate rot, as these contribute to ongoing brown leaf problems.
Add fresh soil to the new container, filling it approximately one-third full before positioning the plant. Use a high-quality potting mix that contains perlite or vermiculite for proper drainage.
Replant by placing the peace lily at the same soil level as the previous pot, avoiding burial of the stem base. Fill around the roots with fresh soil, leaving 1 inch of space at the top for watering.
Water thoroughly after repotting but allow excess water to drain completely. Monitor the plant closely for 2-3 weeks as it establishes in its new environment, watching for any signs of continued brown leaf development.
Conclusion
We’ve equipped you with comprehensive knowledge to tackle brown leaves on your peace lily and restore its vibrant health. From identifying watering issues and light problems to addressing humidity concerns and fertilizer burns you now have the tools needed for successful plant care.
Remember that consistent monitoring and gradual adjustments work better than drastic changes when treating your peace lily. Most browning issues are completely reversible with proper care and patience.
By implementing our proven strategies for watering soil management lighting and environmental control you’ll prevent future leaf browning while promoting healthy new growth. Your peace lily will reward your attentive care with lush green foliage and beautiful blooms for years to come.
Frequently Asked Questions
Why are my peace lily leaves turning brown?
Brown leaves on peace lilies typically indicate watering issues, low humidity, direct sunlight exposure, or poor water quality. Overwatering causes waterlogged soil and root suffocation, while underwatering leads to brown leaf edges. Environmental factors like temperature fluctuations, chemical buildup from tap water, and fertilizer burns can also cause browning.
How do I fix overwatering in my peace lily?
Stop watering immediately when soil feels soggy. Ensure proper drainage by checking that water flows freely from drainage holes. Use a moisture meter to accurately assess soil conditions. Allow the top inch of soil to dry before watering again, and establish a moisture-based watering schedule rather than a fixed routine.
What’s the best lighting for peace lilies to prevent brown leaves?
Peace lilies thrive in bright, indirect light. Position them near east or north-facing windows, avoiding direct sunlight which causes leaf scorch. Use sheer curtains to filter harsh light, and consider using a light meter to monitor optimal conditions. Direct sun exposure is a common cause of browning leaves.
How can I increase humidity for my peace lily?
Group plants together to create a microclimate, use room humidifiers for consistent control, or place your peace lily in bathrooms with naturally higher humidity. Create humidity trays with water and pebbles, and avoid placing plants near heat sources that cause moisture loss. Misting can supplement but shouldn’t replace other methods.
Should I use tap water for my peace lily?
Filtered or distilled water is best for peace lilies. Tap water contains chlorine and fluoride that can damage leaves over time, causing brown tips and edges. If using tap water, let it sit for 24 hours to allow chlorine to evaporate, or consider using a water filter to remove harmful chemicals.
How do I safely remove brown leaves from my peace lily?
Use clean, sharp pruning shears to cut brown leaves at the base of the stem. Remove entire brown leaves rather than trimming portions to prevent infection entry points. Sterilize tools between cuts, and dispose of removed foliage to prevent bacterial spread. Act immediately when browning appears to prevent further damage.
When should I repot my peace lily?
Repot peace lilies every two years or when you notice roots growing from drainage holes, soil that doesn’t retain water, or slowed growth despite proper care. Choose a pot only slightly larger than the current one to prevent overwatering issues. Fresh soil helps prevent nutrient depletion and root rot.
Can fertilizer cause brown leaves on peace lilies?
Yes, over-fertilization causes fertilizer burn, resulting in brown leaf tips and white crusty deposits on soil. Flush soil thoroughly with water to remove excess salts, and replace the top layer of potting mix. Fertilize only every 6-8 weeks during growing season using diluted liquid fertilizer.
How often should I water my peace lily?
Water when the top inch of soil feels dry, typically every 1-2 weeks depending on humidity and temperature. Use the finger test or a moisture meter rather than following a strict schedule. Seasonal changes affect watering frequency – plants need less water in winter and more during active growth periods.
What are signs of root rot in peace lilies?
Root rot symptoms include musty soil odor, consistently soggy soil, yellowing stems, and dark brown or black roots. Leaves may turn yellow then brown, and the plant appears weak despite adequate light and nutrients. If suspected, repot immediately, trim affected roots, and improve drainage to prevent recurrence.

