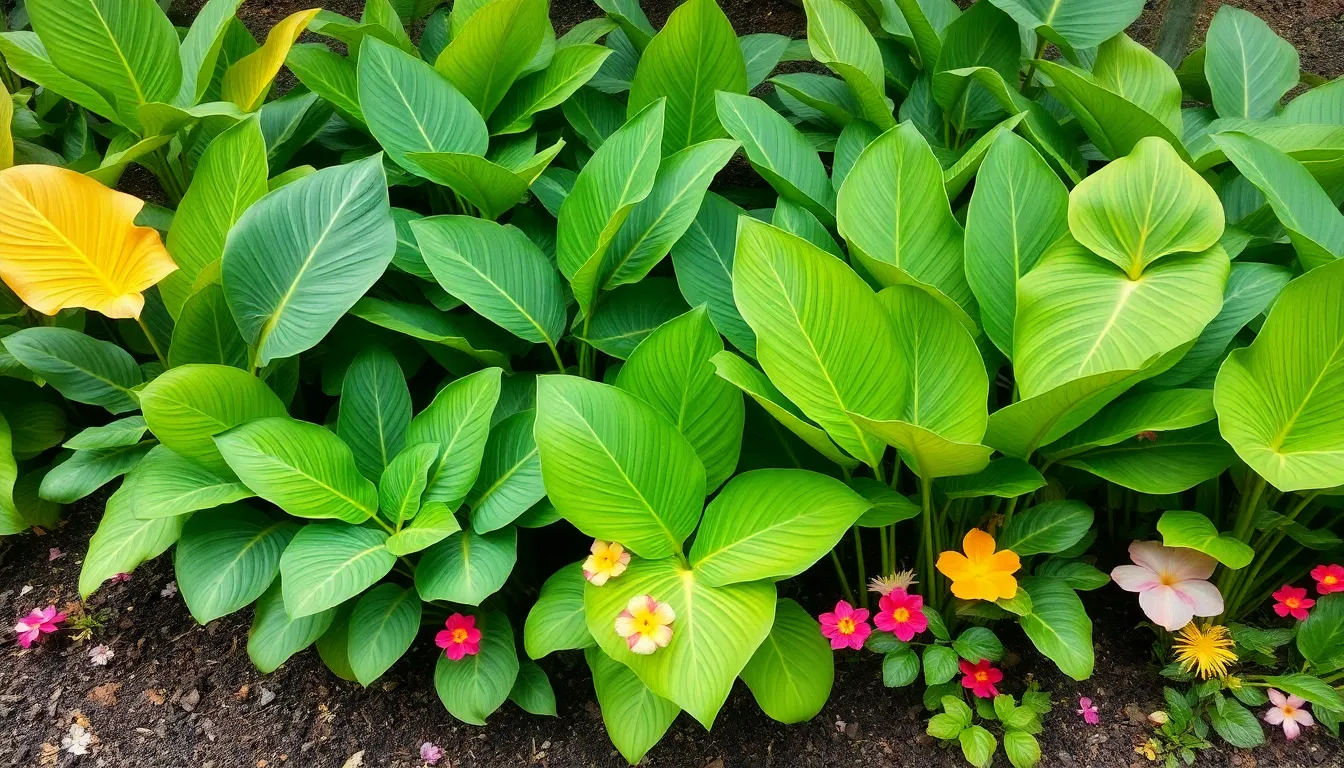
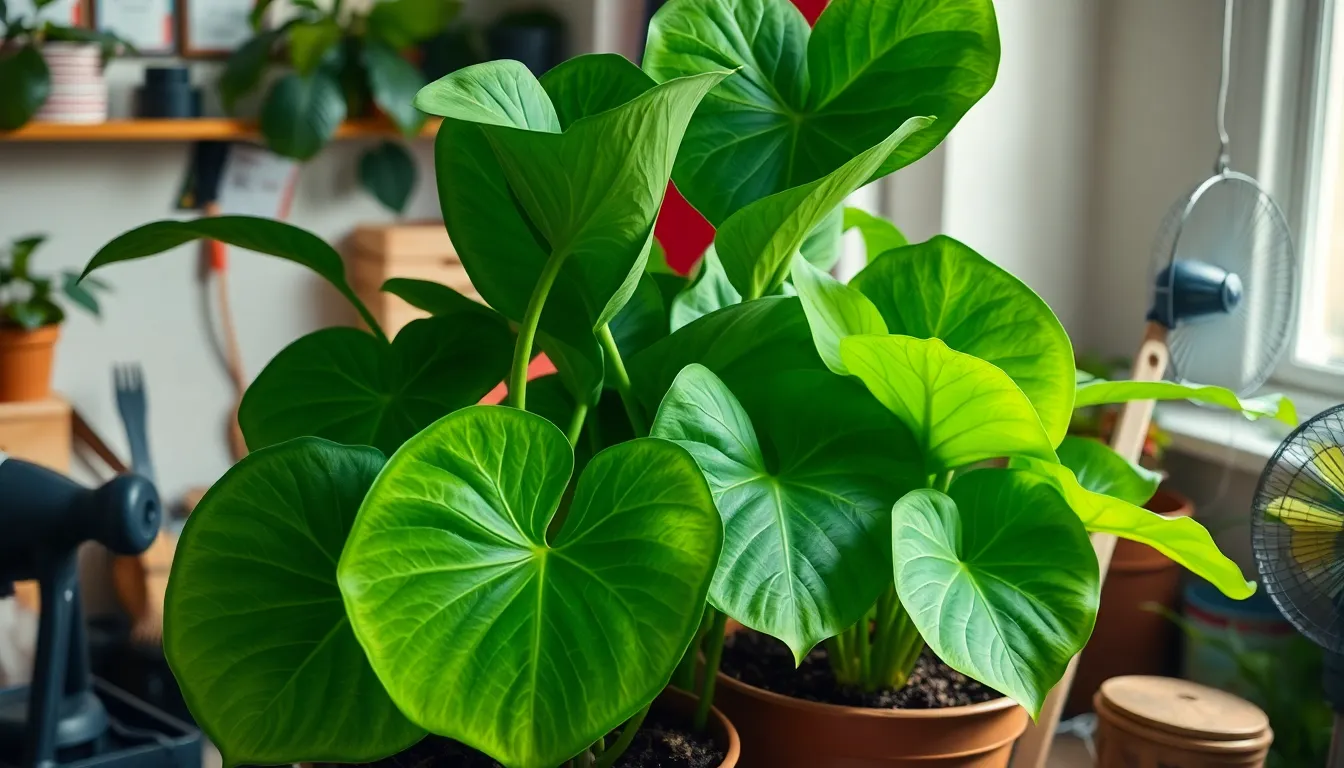
Elephant ears make stunning additions to any garden with their massive tropical foliage and dramatic presence. We’ve discovered that propagating these gorgeous plants isn’t just possible – it’s surprisingly straightforward and incredibly rewarding.
Whether you’re looking to expand your current collection or share these magnificent plants with fellow gardeners, we’ll show you exactly how to multiply your elephant ears successfully. From division techniques to bulb propagation, there are several proven methods that’ll have you growing new plants in no time.
The best part? You don’t need to be an experienced gardener to achieve excellent results. With our step-by-step guidance, you’ll master the art of elephant ear propagation and enjoy watching your plant family flourish throughout the growing season.
Materials and Tools Needed
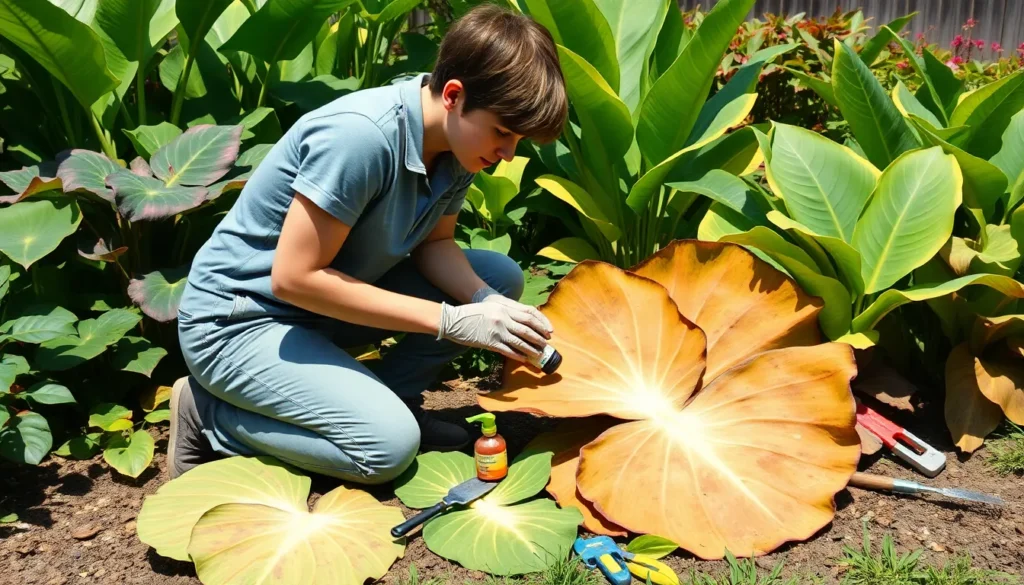
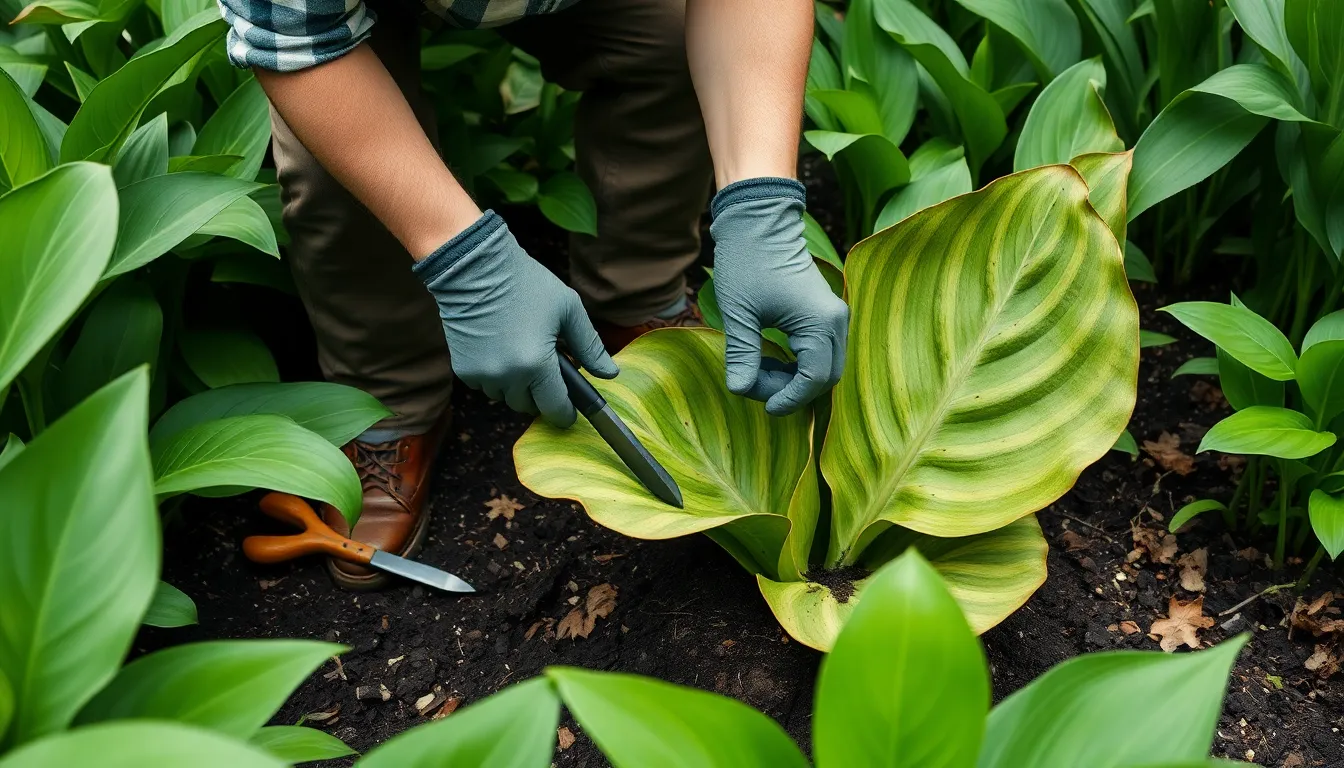
Sterilized knife or garden shears serve as the primary cutting tools for elephant ear propagation. We recommend using rubbing alcohol or a 10% bleach solution to disinfect these tools before each cut to prevent disease transmission between plants.
Clean containers provide the foundation for successful propagation work. Garden centers sell 4-inch to 6-inch pots that work perfectly for individual divisions, while seed trays accommodate multiple smaller sections when propagating from bulb cuttings.
Well-draining potting mix creates the optimal growing environment for new elephant ear plants. Commercial potting mixes containing perlite, vermiculite, and peat moss offer the balanced drainage and moisture retention these plants require during establishment.
Rooting hormone powder accelerates root development in freshly cut divisions. Products containing 0.1% indole-3-butyric acid (IBA) deliver consistent results when applied to cut surfaces before planting.
Essential tools for elephant ear propagation include:
- Garden gloves protect hands from potential skin irritation caused by elephant ear sap
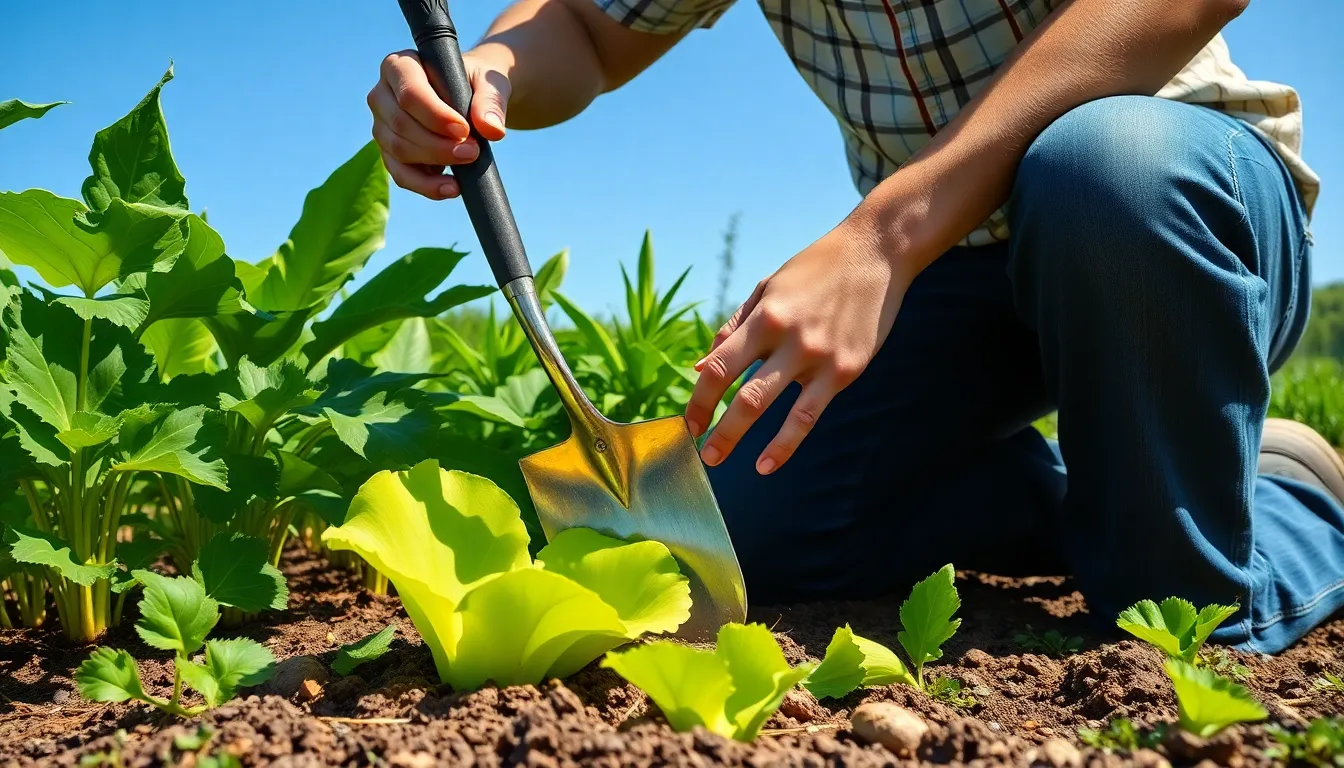
- Small hand trowel assists with digging around parent plants and filling containers
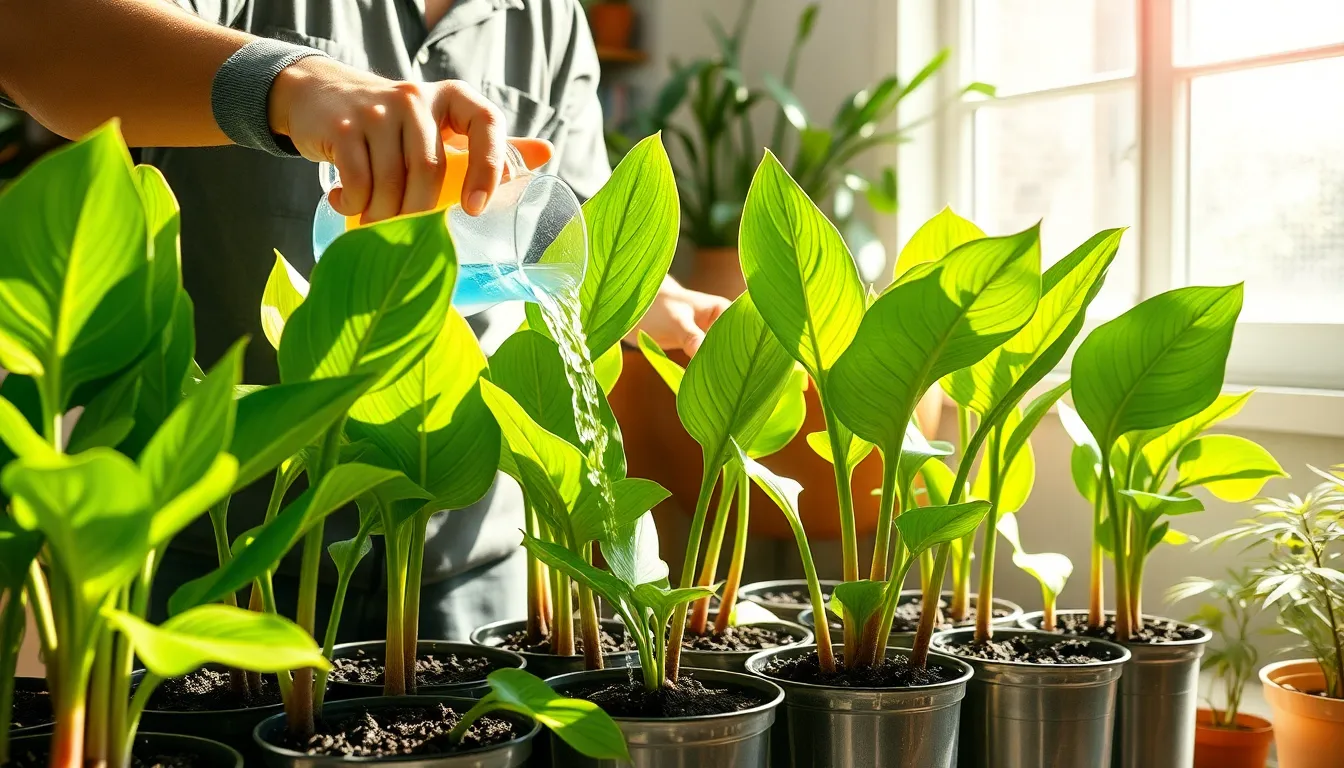
- Watering can with fine rose attachment provides gentle moisture without disturbing newly planted divisions
- Plant labels help track different varieties and propagation dates
- Measuring tape ensures proper spacing when planting multiple divisions
Paper towels become necessary for drying cut surfaces before applying rooting hormone. We allow cut areas to air dry for 2-3 hours, which prevents rot and promotes healthy callus formation.
Fungicide powder offers additional protection against root rot in humid propagation environments. Products containing thiram or captan work effectively when dusted on cut surfaces alongside rooting hormone.
Understanding Elephant Ear Plants
Elephant ear plants cover several genera including Colocasia and Alocasia, recognized for their dramatic foliage that transforms garden spaces with tropical appeal. These plants offer straightforward propagation opportunities that make expanding your collection both achievable and rewarding.
Types of Elephant Ears
Colocasia varieties feature edible tubers and serve dual purposes in ornamental and culinary applications. Their heart-shaped leaves point downward and these plants thrive in consistently moist conditions.
Alocasia species focus primarily on decorative value with upward-pointing leaves that create striking architectural elements. These ornamental plants produce smaller tubers compared to Colocasia varieties.
Both genera respond well to division methods and tuber separation techniques. Colocasia plants typically produce more offset tubers for propagation while Alocasia varieties generate fewer but equally viable divisions.
Best Time to Propagate
Spring through early summer provides optimal conditions for elephant ear propagation when plants enter active growth phases. This timing allows new divisions 4-6 months to establish robust root systems before dormancy periods begin.
Temperature ranges between 70-85°F create ideal environments for root development during propagation activities. Consistent warmth accelerates the establishment process and reduces transplant shock in newly divided plants.
Avoid propagation during late fall or winter months when plant metabolism slows significantly. Dormant plants lack the energy reserves needed for successful root generation and establishment.
Method 1: Propagating Through Division
Division stands as the most reliable method for propagating elephant ears, yielding mature plants faster than other techniques. This approach works particularly well during the early spring or fall seasons when tubers remain dormant yet ready for separation.
Preparing the Parent Plant
Select a healthy parent plant during optimal timing periods of early spring or fall for best division results. Water the plant deeply 24 hours before propagation to loosen soil and minimize root damage during the extraction process.
Gather these essential tools before beginning:
- Clean, sharp cutting carry out (knife or spade)
- Fungicide powder to prevent tuber decay
- Fresh potting mix with good drainage properties
- Individual pots sized appropriately for new divisions
Sterilize all cutting tools with rubbing alcohol to eliminate disease transmission risks between plant divisions.
Dividing the Bulbs or Tubers
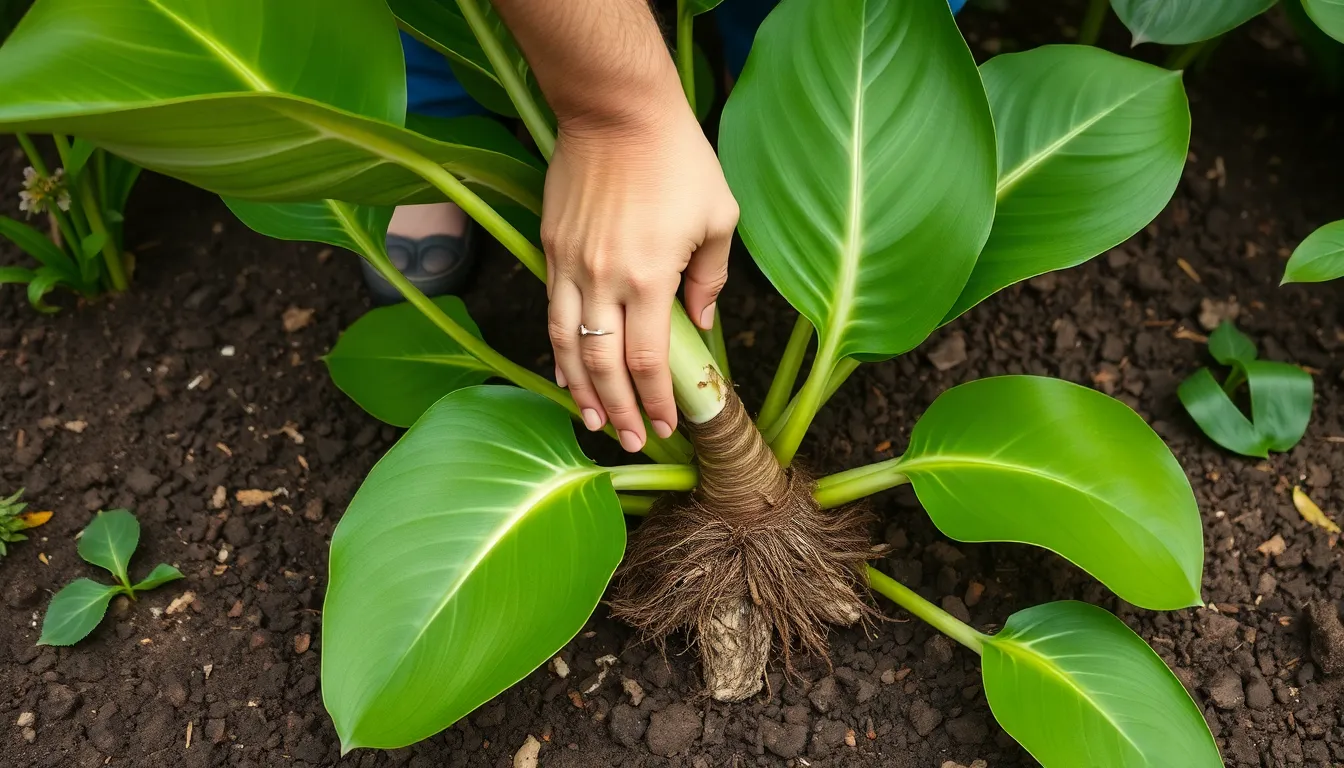
Remove the parent plant carefully from its container or dig around the garden base to expose the root system. Gently shake off excess soil to reveal the tuber structure and identify natural separation points.
Inspect the root system for healthy offsets growing at the main plant’s base. These small plantlets indicate ready division opportunities for successful propagation.
Separate tubers by cutting or breaking apart the root ball at natural division points. Each division requires at least one growth bud (eye) and ideally 3-5 healthy leaves for optimal establishment success.
Cut surfaces cleanly using sterilized tools to create smooth edges that heal properly and resist infection.
Planting the Divisions
Allow cut surfaces to air dry for 2-3 days before planting to form protective calluses that prevent rot development. Apply fungicide powder to all cut areas during this drying period for additional protection.
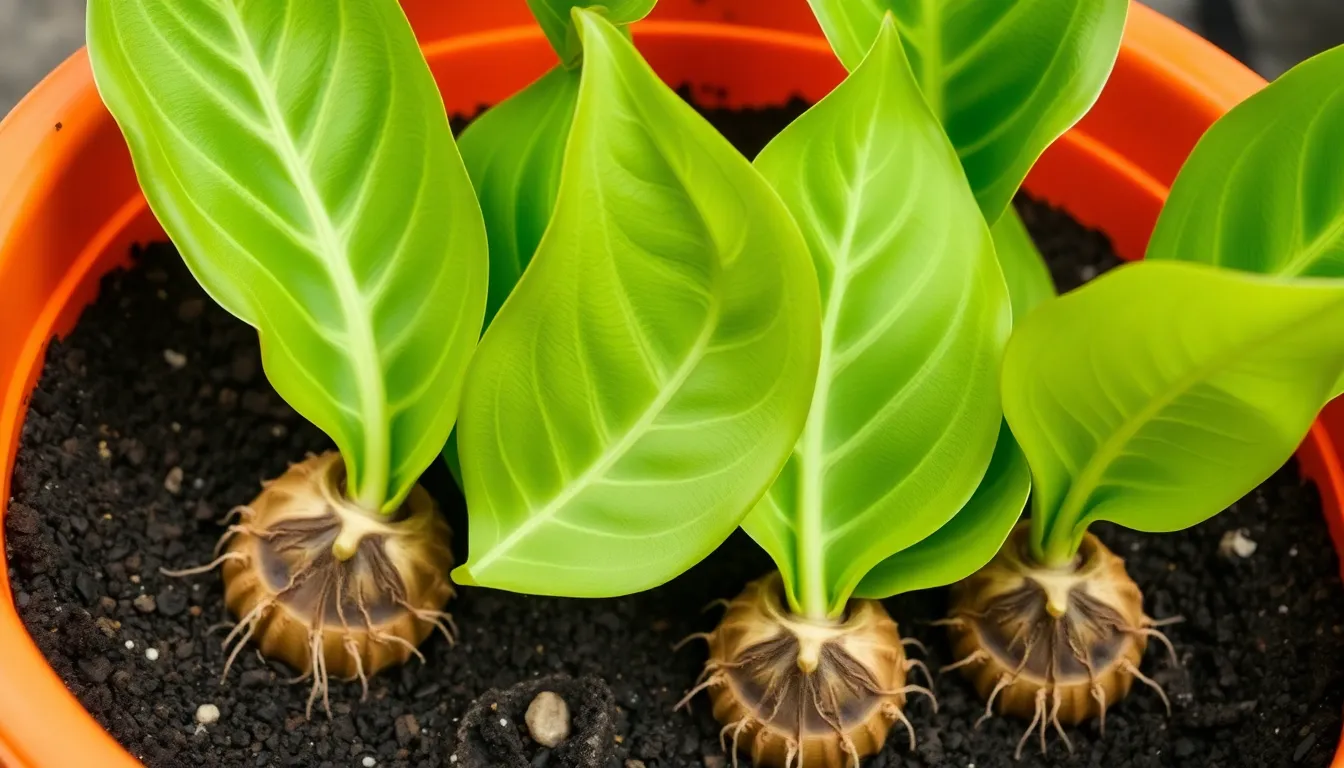
Plant each division in well-draining potting mix or prepared garden soil at the same depth as the original plant. Position growth buds facing upward to ensure proper sprouting direction.
Water thoroughly after planting to settle soil around roots and eliminate air pockets. Maintain consistent soil moisture without waterlogging during the establishment period.
Monitor new plants for mold or disease signs, particularly in humid environments. Remove infected material immediately to prevent spread to healthy divisions.
Provide bright, indirect light and maintain regular watering schedules until plants display robust growth indicators. Fertilize every 2-4 weeks during the growing season to support healthy development and strong root establishment.
Method 2: Propagating from Offsets
Offset propagation provides another effective approach for multiplying elephant ear plants. Offsets develop naturally around the base of mature elephant ears, creating ready-to-transplant divisions that maintain genetic consistency with the parent plant.
Identifying Healthy Offsets
Healthy offsets appear as miniature versions of the parent plant with their own small roots and leaves attached to the main plant’s base. These small plantlets grow connected by a short stem to the primary root system and typically measure 3-6 inches in height when ready for separation.
Look for offsets that display:
- Established root systems visible at the base
- 2-3 healthy leaves showing vibrant green coloration
- Firm attachment to the parent plant without signs of rot
- Active growth indicated by new leaf emergence
Examine the connection point where the offset joins the main plant. Strong offsets maintain a thick connecting stem approximately 0.5-1 inch in diameter that shows no signs of decay or disease.
Separating Offsets from the Main Plant
Gentle separation preserves both the offset and parent plant’s health during the division process. Grasp the offset firmly at its base and apply gentle rocking motions until the connection loosens naturally.
When offsets resist easy removal:
- Use sterilized cutting tools to sever the connecting stem cleanly
- Cut as close to the parent plant as possible while maintaining offset roots
- Make clean cuts to prevent tissue damage and disease entry
- Preserve the entire root system attached to each offset
Allow freshly cut surfaces to air dry for 2-3 hours before proceeding with planting. Apply fungicide powder to cut areas to prevent bacterial and fungal infections during the establishment period.
Planting the Offsets
Well-draining soil mix ensures successful offset establishment and prevents root rot in newly transplanted divisions. Combine equal parts peat moss, compost, and perlite to create an optimal growing medium that retains moisture while allowing excess water drainage.
Select containers that accommodate the offset’s root system with 2-3 inches of growing space on all sides. Plant offsets with their root ball positioned 1 inch below the soil surface to provide adequate coverage while preventing stem rot.
Post-planting care requirements include:
- Water thoroughly until excess drains from container holes
- Provide indirect sunlight for the first 2-3 weeks
- Maintain soil moisture without creating waterlogged conditions
- Monitor daily for signs of new growth or stress
New growth typically appears within 10-14 days when offsets receive proper care and environmental conditions. Fertilize established offsets with balanced liquid fertilizer diluted to half strength every 2 weeks during active growing periods.
Method 3: Water Propagation
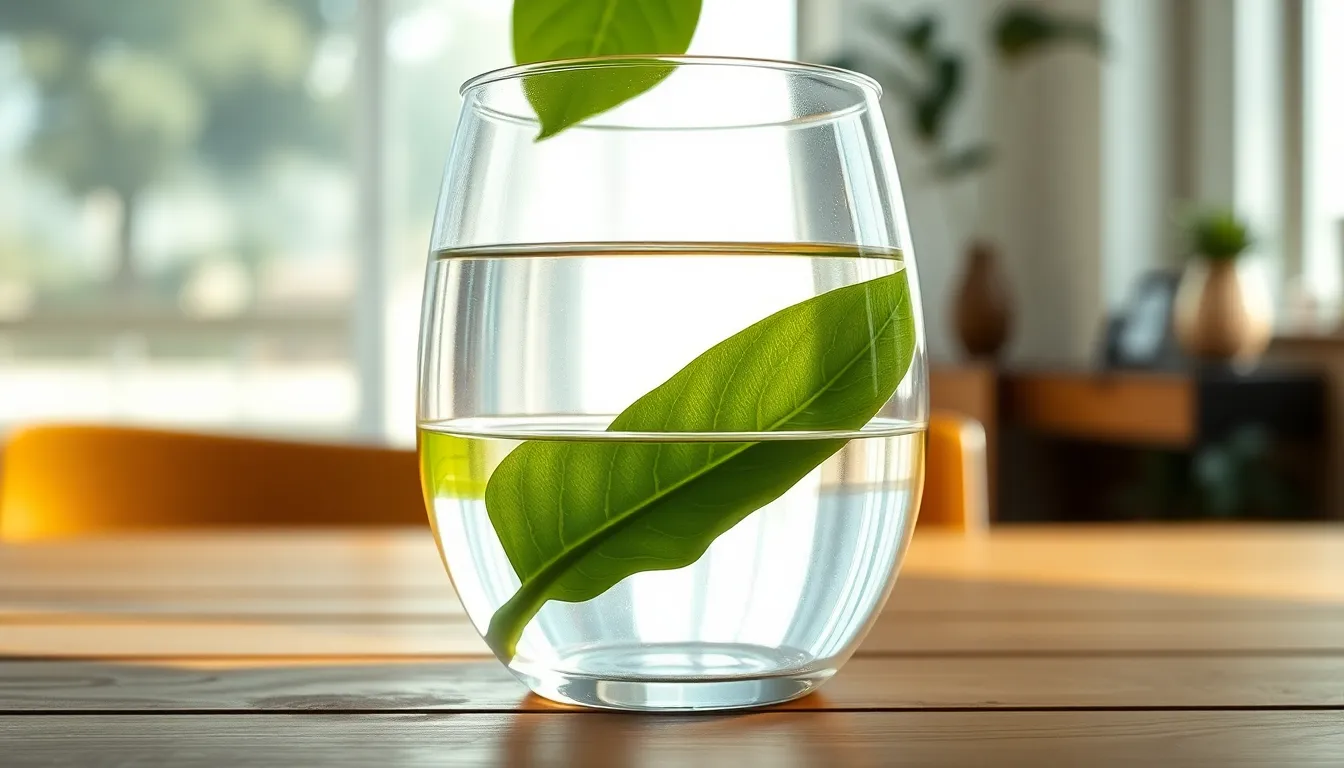
Water propagation offers the simplest approach for rooting elephant ear cuttings while allowing complete visibility of root development. This technique works exceptionally well for Alocasia, Colocasia, and Xanthosoma varieties due to their natural ability to thrive in moist environments.
Setting Up Water Propagation
Select a healthy elephant ear plant with visible tubers or established root systems for optimal cutting success. Cut a section containing at least one growth node or “eye” from the parent plant using sterilized garden shears. The cutting must include this growth point since new plants develop exclusively from these nodes.
Fill a clear glass container or vase with room temperature water to enable easy root observation. Submerge only the bottom portion of the cutting in water while keeping any leaves or upper growth above the waterline. Complete submersion causes rapid rot and kills the cutting within days.
Position the container in an area receiving bright, indirect sunlight throughout the day. Direct sunlight heats the water excessively and promotes harmful algae growth that damages developing roots.
Monitoring Root Development
Change the water every 2-3 days to prevent bacterial buildup that inhibits root formation. Fresh water maintains optimal oxygen levels necessary for healthy root development in elephant ear cuttings.
Root formation typically begins within 1-3 weeks depending on the variety and environmental conditions. Small white roots emerge from the base of the cutting and gradually extend through the water. Colocasia varieties often root faster than Alocasia species due to their higher moisture tolerance.
Monitor water levels daily and add fresh water as needed to maintain consistent submersion of the cutting base. Low water levels stress the developing roots and slow overall growth progress.
Transplanting to Soil
Transplant cuttings when roots reach 2-3 inches in length and display multiple branching points. Established root systems ensure successful transition from water to soil environments without transplant shock.
Prepare a well-draining potting mix combining equal parts peat moss, perlite, and standard potting soil. This mixture prevents waterlogged conditions while retaining adequate moisture for newly transplanted elephant ears.
Water the transplanted cutting thoroughly immediately after planting to eliminate air pockets around the roots. Maintain consistent soil moisture for the first 4-6 weeks while the plant establishes in its new growing medium. Place the container in the same lighting conditions used during water propagation to minimize environmental stress.
Preparing the Planting Medium
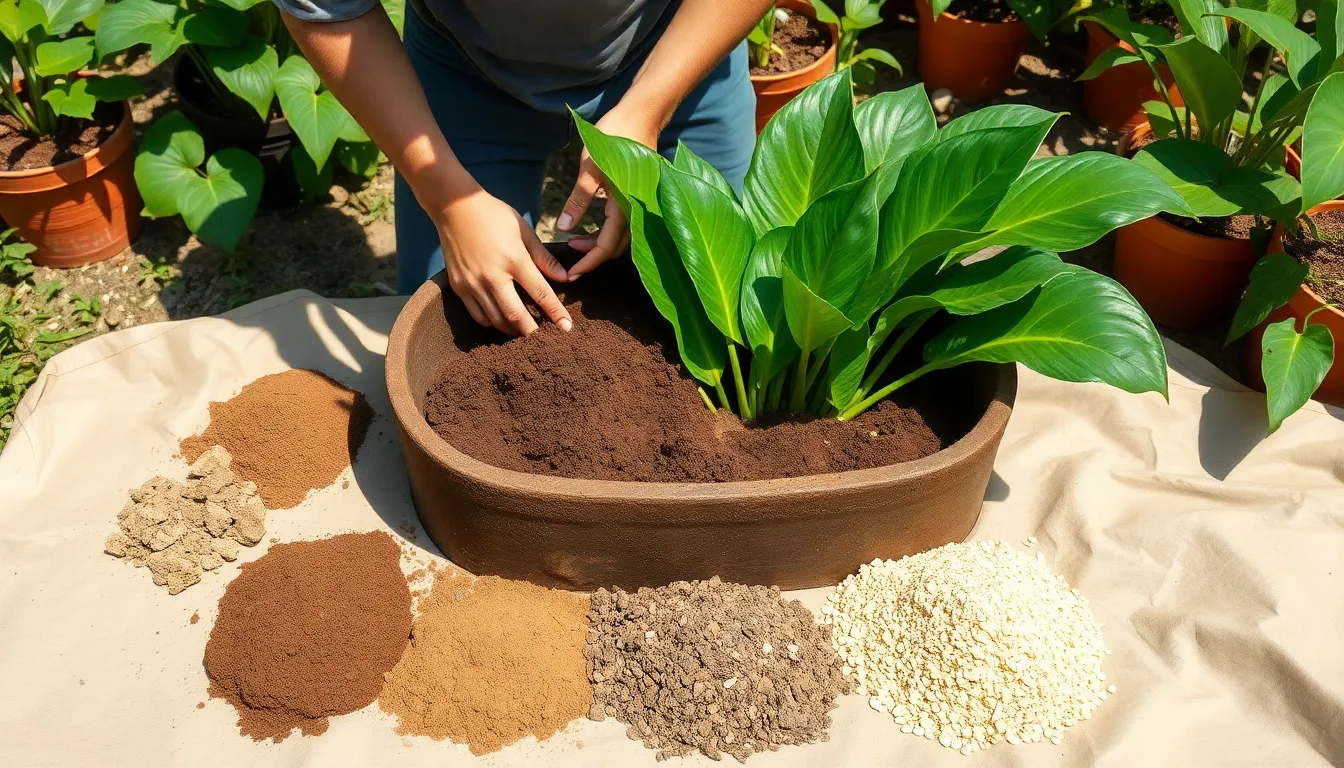
Creating the right growing environment sets the foundation for successful elephant ear propagation. Rich, humusy soil with proper drainage ensures our newly divided plants establish strong root systems quickly.
Soil Requirements
Rich, fertile soil with excellent drainage provides the optimal foundation for elephant ear propagation. Our planting medium requires a pH range between 5.5 and 7.0, which maintains the slightly acidic to neutral conditions these plants prefer.
| Soil Component | Purpose | Ratio |
|---|---|---|
| Compost or organic matter | Nutrient retention and structure | 30-40% |
| Existing garden soil | Base foundation | 40-50% |
| Perlite or coarse sand | Drainage improvement | 10-20% |
Consistent moisture without waterlogging becomes critical during the establishment phase. Adding chopped leaves or peat moss increases the humus content while improving water retention. Well-draining properties prevent root rot while maintaining the moisture levels elephant ears require for healthy growth.
Organic matter integration enhances soil structure and provides slow-release nutrients. Mix compost thoroughly into the existing soil to create a uniform growing medium. Fertile conditions support rapid establishment of our propagated divisions.
Container Selection
Large containers with drainage holes accommodate the substantial root systems elephant ears develop. Choose pots measuring at least 12 inches deep and 16 inches wide to provide adequate growing space for newly propagated plants.
Multiple drainage holes prevent water accumulation at the container bottom. Drill additional holes if the existing drainage appears insufficient for proper water flow.
Two parts cactus and succulent mix combined with one part patio mix creates an effective container growing medium. This combination provides excellent drainage while retaining enough moisture for healthy elephant ear development.
Heavy containers resist tipping as plants reach their mature size. Terra cotta or ceramic pots offer stability while allowing air circulation through their porous walls. Saucer placement beneath containers catches excess water while preventing surface staining.
Container sizing directly impacts plant growth potential. Smaller containers restrict root development and require more frequent watering during the growing season.
Caring for Newly Propagated Plants
Proper aftercare determines success when propagating elephant ears through division, offsets, or water methods. Consistent monitoring during the first 6-8 weeks establishes strong root systems and prevents transplant shock.
Watering Guidelines
Consistent moisture without waterlogging creates optimal conditions for newly propagated elephant ears. Maintain soil that feels damp to the touch but never soggy or saturated.
Check soil moisture daily by inserting your finger 1-2 inches deep into the growing medium. Water thoroughly when the top inch feels dry but the deeper layers remain slightly moist.
Apply water slowly at the base of each plant to avoid disturbing developing roots. Deep watering sessions 2-3 times per week prove more effective than frequent shallow applications.
Monitor drainage carefully during the initial recovery phase. Standing water around new divisions can cause root rot within 7-10 days.
Reduce watering frequency as plants establish stronger root systems after 4-6 weeks. Signs of proper hydration include firm leaves and steady new growth emergence.
Light Requirements
Bright indirect light optimizes growth for newly propagated elephant ears without causing leaf stress. Position plants where they receive 4-6 hours of filtered sunlight daily.
Direct morning sun for 2-3 hours benefits most varieties while avoiding intense afternoon rays. Partial shade conditions work best during the first month as plants recover from propagation stress.
Indoor propagation requires placement near east or north-facing windows. Supplement with grow lights positioned 12-18 inches above plants when natural light proves insufficient.
Watch for leaf scorch indicators including brown edges or faded coloring. Move plants to shadier locations if these symptoms appear within the first 2 weeks.
Gradually increase light exposure as new growth emerges. Established plants can tolerate full sun conditions after 6-8 weeks of proper acclimatization.
Temperature and Humidity Control
Maintaining temperatures between 70-85°F accelerates root development in newly propagated elephant ears. Consistent warmth prevents transplant shock and promotes faster establishment.
Indoor environments require minimum temperatures of 70°F during day hours and 60°F at night. Temperature fluctuations below 55°F can halt growth and damage developing root systems.
Humidity levels above 50% relative humidity support healthy leaf development. Use humidity trays filled with pebbles and water to increase moisture around container plants.
| Environmental Factor | Optimal Range | Critical Threshold |
|---|---|---|
| Daytime Temperature | 70-85°F | Below 55°F |
| Nighttime Temperature | 60-70°F | Below 50°F |
| Relative Humidity | 50-70% | Below 40% |
Group multiple plants together to create natural humidity pockets. Misting leaves lightly once daily helps maintain moisture levels without oversaturating soil.
Protect newly propagated plants from cold drafts near windows or air conditioning vents. Place space heaters nearby during cooler months to maintain consistent temperatures above 65°F.
Monitor plants for stress indicators including wilting leaves or slowed growth rates. Adjust environmental conditions within 24-48 hours to prevent permanent damage to developing root systems.
Common Propagation Mistakes to Avoid
Inadequate moisture control represents the most frequent error in elephant ear propagation. We observe countless gardeners either overwatering their divisions or allowing the soil to dry completely between waterings. Consistent moisture levels prevent root rot while supporting active growth in newly propagated plants. Soil should remain evenly moist but never waterlogged, as soggy conditions kill developing root systems within 7-10 days.
Insufficient light exposure stunts propagation success rates significantly. Bright indirect light provides the energy elephant ears require for root development and leaf production. Direct sunlight burns tender new growth, while low light conditions slow establishment by 3-4 weeks. Position newly propagated plants near east-facing windows or under filtered light for optimal results.
Inadequate post-division recovery time causes transplant shock in separated plants. We recommend allowing divided elephant ears 2-3 weeks to establish their root systems before resuming normal care routines. Fertilizing immediately after division forces plants to allocate energy toward leaf production rather than root development. Resume fertilizing only after observing new growth emergence.
Lack of fungicide application increases tuber decay rates by 40-60% in humid environments. Fresh cuts on tubers and rhizomes create entry points for fungal infections without protective treatment. Apply fungicide powder to all cut surfaces and allow them to air dry for 24-48 hours before planting. This simple step prevents costly losses during the critical establishment period.
Failure to monitor for mold development destroys stored tubers before planting season arrives. Check stored elephant ear tubers weekly for soft spots, discoloration, or fuzzy growth patterns. Remove infected sections immediately using sterilized cutting tools to prevent spread to healthy tissue. Discard severely compromised tubers rather than risking contamination of your entire collection.
Using contaminated tools spreads bacterial and fungal diseases between plants during propagation. Sterilize knives, shears, and spades with rubbing alcohol before each cut to eliminate pathogens. Clean tools between different plant varieties to prevent cross-contamination. This practice reduces disease transmission rates from 25% to less than 5% in propagation projects.
Troubleshooting Common Issues
Propagation challenges often arise during the root development phase and early establishment period. Identifying and addressing these issues quickly prevents permanent damage to our newly divided plants.
Slow or No Root Development
Insufficient moisture creates the primary barrier to root formation in elephant ear divisions. We maintain soil moisture at 70-80% capacity without creating waterlogged conditions that encourage fungal growth. Daily moisture checks using the finger test method ensure consistent hydration levels throughout the critical 2-4 week establishment period.
Poor soil quality restricts root expansion and nutrient uptake in developing plants. We use a well-draining potting mix containing 40% compost, 30% existing garden soil, and 30% perlite to create optimal growing conditions. This mixture provides proper drainage while retaining adequate moisture for root development.
Temperature fluctuations below 70°F significantly slow root formation in tropical plants like elephant ears. We maintain consistent temperatures between 70-85°F using heating mats or by relocating containers to warmer locations during cool weather periods.
Rotting Problems
Overwatering causes the most common fungal issues in elephant ear propagation projects. We water divisions only when the top inch of soil feels dry to the touch, preventing standing water around sensitive root zones. Proper watering frequency typically ranges from every 2-3 days depending on environmental conditions and container size.
Poor drainage traps excess moisture around tubers and creates ideal conditions for bacterial rot. We ensure all containers feature multiple drainage holes measuring at least 0.5 inches in diameter. Adding a 1-2 inch layer of gravel or broken pottery pieces at the container bottom improves drainage efficiency.
Fungal spores develop rapidly in humid conditions above 85% relative humidity. We apply fungicide powder to cut surfaces immediately after division and maintain air circulation around planted divisions using small fans positioned 3-4 feet away from containers.
Wilting After Transplanting
Root disturbance during the division process causes transplant shock in 60-70% of newly propagated plants. We handle root systems gently during separation and minimize soil removal from established roots. Preserving the maximum amount of existing root mass reduces recovery time from 3-4 weeks to 1-2 weeks.
Inadequate watering following transplantation prevents proper root to soil contact and establishment. We water thoroughly immediately after planting until water drains from container holes, then maintain consistent moisture for the first 10-14 days. Deep watering every 2-3 days proves more effective than frequent shallow watering for establishing strong root systems.
Environmental stress from sudden light or temperature changes intensifies wilting symptoms in recently transplanted divisions. We gradually acclimate new plants to their permanent growing conditions over 7-10 days, increasing light exposure by 1-2 hours daily until reaching full sun requirements.
Timeline: What to Expect During Propagation
Understanding the elephant ear propagation timeline helps us plan and monitor our plants’ progress effectively. The process occurs in distinct phases, each with exact timeframes and visible changes that indicate healthy development.
Initial Division or Separation Phase
Division takes 1-3 days to complete, depending on the parent plant’s size and root complexity. We begin by extracting the parent plant and identifying natural separation points where roots have already begun to diverge. Each division must contain 3-5 healthy leaves and an established root system before we proceed with planting.
Offset separation completes faster than division, typically requiring only 1-2 days for careful removal from the parent plant. The process involves gently loosening soil around offset tubers and preserving their complete root systems during extraction.
Root Establishment Period
Root development begins within 1-3 weeks after planting divisions or offsets in well-draining soil. New feeder roots emerge from existing root nodes, creating the foundation for nutrient uptake and plant stability. We observe the most important root growth during weeks 2-3 when soil temperatures remain between 70-85°F.
Water propagation shows faster initial results, with roots appearing within 7-14 days in clean, room-temperature water. These aquatic roots require an additional 1-2 weeks to reach the optimal 2-3 inch length before transplanting becomes viable.
| Propagation Method | Root Development Start | Transplant Ready |
|---|---|---|
| Division | 1-2 weeks | 2-3 weeks |
| Offset Separation | 1-3 weeks | 3-4 weeks |
| Water Propagation | 7-14 days | 2-3 weeks |
Leaf Growth and Development
New leaf emergence occurs 2-6 weeks after successful root establishment. The first signs include small shoots pushing through the soil surface or unfurling from existing growth points. Colocasia varieties typically produce leaves faster than Alocasia species due to their more aggressive growth patterns.
Each new leaf takes 1-2 weeks to fully develop and reach mature size. We expect 2-3 new leaves per month during peak growing season when temperatures and humidity remain optimal for growth.
Full Maturity Timeline
Complete plant maturity requires several months to one full year, varying significantly based on elephant ear variety and growing conditions. Colocasia reaches functional maturity in 4-6 months, producing substantial foliage and developing secondary offset tubers for future propagation.
Alocasia varieties mature more slowly, requiring 6-12 months to achieve their characteristic dramatic leaf displays. These plants focus energy on developing fewer but larger leaves compared to their Colocasia counterparts.
Environmental factors directly influence maturity timelines. Plants grown in consistently warm, humid conditions with adequate fertilization mature 2-3 months faster than those experiencing temperature fluctuations or suboptimal care conditions.
Tips for Successful Propagation
Maximizing propagation success requires attention to timing and environmental factors. These proven strategies ensure healthy establishment and vigorous growth of your newly propagated elephant ears.
Seasonal Considerations
Spring emerges as the ideal propagation window for elephant ears, coinciding with their natural growth cycle. Active growth begins during this season, providing optimal conditions for root development and establishment.
Temperature consistency matters significantly during spring propagation. Soil temperatures between 70-85°F create favorable conditions for rapid root formation and minimize transplant shock.
Dormant season propagation reduces success rates dramatically. Winter propagation attempts often fail because plants lack the metabolic energy required for root establishment. Late fall propagation similarly struggles due to declining temperatures and shortened daylight hours.
New divisions require 4-6 months to establish robust root systems before entering dormancy. Spring propagation provides this extended timeframe, allowing plants to build strength throughout the growing season.
Improving Success Rates
Clean, sharp tools prevent disease transmission between plants during the division process. Sterilize knives, pruning shears, and garden tools with rubbing alcohol or bleach solution before each cut.
Each division must contain healthy roots and at least one shoot or eye to ensure viability. Inspect divisions carefully before planting, discarding any sections showing signs of rot or damage.
Air drying cut surfaces for 1 hour prevents bacterial infections that commonly cause propagation failures. This brief drying period allows natural callus formation, creating a protective barrier against pathogens.
Gentle handling protects fragile root systems during the separation process. Avoid excessive manipulation or pulling, which can damage essential feeder roots and reduce establishment success.
Water management plays a critical role in preventing both dehydration and root rot. Maintain consistent soil moisture without creating waterlogged conditions that promote fungal growth.
Regular water changes prevent bacterial buildup when using water propagation methods. Replace the water every 2-3 days to maintain cleanliness and provide fresh oxygen to developing roots.
Proper soil moisture levels require daily monitoring during the first few weeks after planting. Check soil 1-2 inches below the surface, watering when the top layer feels dry but deeper soil remains slightly moist.
Conclusion
We’ve shown you that propagating elephant ears doesn’t have to be intimidating – it’s actually one of the more straightforward plant propagation projects you can tackle. Whether you choose division, offset separation, or water propagation, success comes down to timing your efforts with the plant’s natural growth cycle and maintaining consistent care.
The key to our propagation success lies in paying attention to the details: clean tools, proper soil preparation, and careful monitoring during those crucial first few weeks. We’ve found that patience during the root establishment phase pays off with healthier, more vigorous plants.
With these proven techniques in your gardening toolkit, you’re ready to multiply your elephant ear collection and create the lush tropical paradise you’ve been dreaming of. Start with one method that feels most comfortable to you, and soon you’ll have plenty of these stunning plants to share with fellow gardeners.
Frequently Asked Questions
When is the best time to propagate elephant ears?
The ideal time to propagate elephant ears is during spring through early summer when plants are actively growing. This timing provides 4-6 months for new divisions to establish strong root systems before dormancy. Optimal temperatures range between 70-85°F, as consistent warmth accelerates root development and reduces transplant shock. Avoid propagation during late fall or winter when plants are dormant.
What tools do I need for elephant ear propagation?
Essential tools include sterilized cutting tools (knife or garden shears), clean containers with drainage holes, well-draining potting mix, and rooting hormone powder. Additional supplies include garden gloves, small hand trowel, watering can, plant labels, measuring tape, and fungicide powder for protection against root rot. Always disinfect cutting tools to prevent disease transmission between plants.
What’s the difference between Colocasia and Alocasia elephant ears?
Colocasia varieties feature edible tubers, thrive in moist conditions, and produce more offset tubers for easier propagation. Their leaves typically point downward. Alocasia species are primarily ornamental with upward-pointing leaves and prefer slightly drier conditions. Both types respond well to division and tuber separation techniques, but Colocasia generally propagates more readily due to abundant offset production.
How long does elephant ear propagation take?
The propagation timeline varies by method. Division and offset separation take 1-3 days initially, followed by root establishment within 1-3 weeks. Water propagation shows faster root development in 7-14 days. New leaf growth appears 2-6 weeks after root establishment. Full maturity takes 4-6 months for Colocasia and 6-12 months for Alocasia, depending on environmental conditions and care.
Can I propagate elephant ears in water?
Yes, water propagation works well for elephant ears, especially Alocasia, Colocasia, and Xanthosoma varieties. Select a healthy cutting with a growth node, place in room temperature water in bright, indirect light, and change water every 2-3 days. Roots typically develop within 1-3 weeks. Once roots reach 2-3 inches, transplant into well-draining potting mix.
What type of soil is best for elephant ear propagation?
Use rich, humusy soil with proper drainage and pH between 5.5-7.0. Mix compost, existing garden soil, and perlite or coarse sand for optimal results. For containers, combine potting mix with compost and perlite. The soil should retain moisture while preventing waterlogging. Large containers with drainage holes accommodate the substantial root systems these plants develop.
What are common mistakes to avoid when propagating elephant ears?
Avoid inadequate moisture control, insufficient light exposure, and inadequate post-division recovery time, which cause transplant shock. Don’t skip applying fungicide to prevent tuber decay, and always sterilize tools to prevent disease transmission. Avoid propagating during winter dormancy when success rates drop significantly. Monitor stored tubers regularly for mold development and maintain consistent environmental conditions.
How do I care for newly propagated elephant ears?
Maintain consistent soil moisture without waterlogging by checking daily and watering slowly at the plant base. Provide bright, indirect light and gradually acclimatize to increased exposure. Keep temperatures between 70-85°F with high humidity using grouping techniques or humidity trays. Apply balanced fertilizer once new growth establishes, and monitor for signs of stress or disease during the first few weeks.

