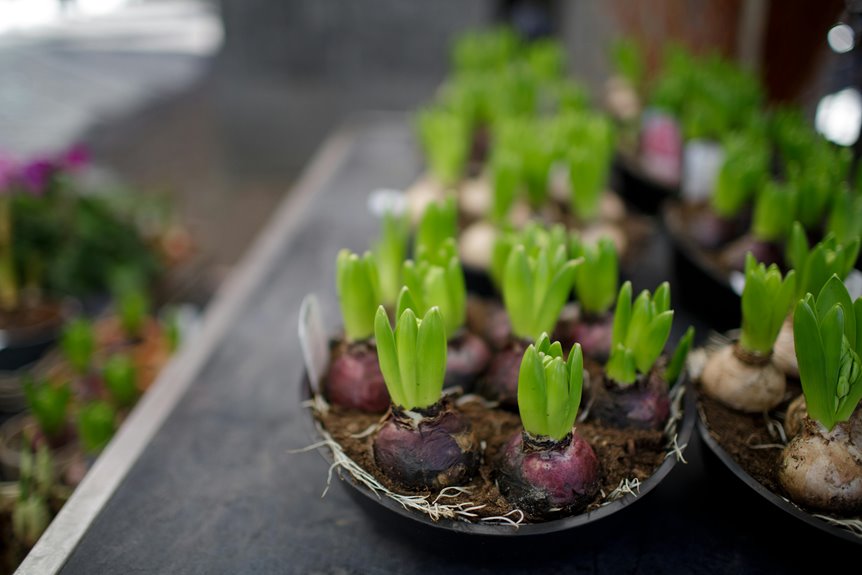
Start by selecting a firm bulb with green growth already visible. Plant it in a narrow pot with drainage holes, positioning the bulb so that one-third sits above the soil line. This setup prevents rot and gives the bulb room to develop.
Water when the top two inches of soil feel dry to the touch. Don’t water on a schedule—check the soil first. During the active growing season, fertilize at half strength every two weeks to support healthy leaf and flower development.
Remove faded flowers as soon as they drop. This stops the plant from wasting energy on seed production and keeps it looking neat.
Once outdoor temperatures stay above 50°F consistently, move your amaryllis outside to a spot with bright, indirect light. Leave it there through the summer months to build up energy reserves.
Bring the plant back inside before the first frost arrives in your area. Place it in a cool, dark location—around 50°F is ideal—and stop watering. This dormancy period lasts eight to twelve weeks and is necessary for the bulb to develop next year’s flowers.
After the dormancy period ends, repot the bulb in fresh soil with one-third above the line again. Water lightly until new growth appears, then return to your regular watering routine. The cycle restarts, and you’ll get reliable blooms each year if you follow these steps consistently.
Step 1: Choose a Healthy Amaryllis Bulb and Plant It

Before planting, pick a firm, dry bulb with bright green growth and no damage, mold, or decay. Larger bulbs produce more stalks and blooms, so size your choice based on what you want.
Get a narrow container with drainage holes—about one inch wider than your bulb and twice as tall. Fill it halfway with sterile soil that has high organic matter. Set the bulb on the soil with its roots down, leaving one-third to one-half of the bulb above the surface.
Water the pot thoroughly after planting so water drains completely. Place it in a sunny window. Your amaryllis will start sprouting within a few weeks.
Step 2: Water and Fertilize Your Amaryllis During Growth
Once your amaryllis bulb’s shoots emerge, water whenever the top 2 inches of soil feel dry to the touch. Water thoroughly but avoid letting the soil become waterlogged, which causes root rot.
During the active growth phase, apply a balanced fertilizer at half strength each time you water. This feeds the developing leaves and stems. Once flower buds start to form, switch to a fertilizer higher in phosphorus. Phosphorus promotes blooming and helps your amaryllis produce larger, more robust flowers.
Watering Schedule and Soil Moisture
Check the top two inches of soil with your finger—when they feel dry, it’s time to water. Water thoroughly until excess drains from the bottom of the pot, then stop. Soggy soil leads to root rot, so let that water drain completely away.
As new growth appears, fertilize at half strength with each watering. This supports strong development and better blooms.
Use a potting mix that drains well and is sterile. Make sure your pot has drainage holes. This combination reduces root rot risk right from the start.
Fertilizing at Half Strength
Why does your amaryllis need fertilizer during growth? Your plant requires extra nutrients to produce those blooms you’re waiting for. Once you spot new growth, start fertilizing at half-strength with each watering. Use a balanced fertilizer or one high in phosphorus to promote blooming and support healthy development.
The timing matters here. Always apply fertilizer after you water, never before. When you fertilize dry soil, the concentrated solution can burn the roots. Watering first dilutes the soil, making it safe for your plant to absorb nutrients without damage.
Keep fertilizing every time you water while new growth appears. Stop once growth slows after flowering ends. This schedule feeds your amaryllis during its active phase and lets it rest when it needs to.
High Phosphorus for Blooming
If you want amaryllis flowers to bloom, phosphorus is what you need. During active growth, switch to a fertilizer that’s high in phosphorus. This nutrient directly supports flower production instead of leaf growth.
How to Apply Phosphorus Fertilizer
- Pick a fertilizer with more phosphorus than nitrogen. Check the numbers on the label—the middle number represents phosphorus.
- Apply the fertilizer every time you water during the growth phase.
- Watch your plant over two to three weeks to see how it responds.
- If blooming seems slow, apply the fertilizer more often.
Why Phosphorus Works
Phosphorus strengthens your plant’s root system and triggers flower development. You’re feeding the blooming process directly, not just keeping the plant generally healthy. This focused approach directs your amaryllis’s energy into producing flowers rather than wasting it on extra leaves.
Step 3: Enjoy Your Blooms and Cut Faded Stems
Once your amaryllis flowers open, you have a limited time to enjoy them before they fade. Remove faded flowers as soon as they wilt. This stops the plant from making seeds, which takes energy away from the bulb. Leave the stalks in place at first—they’re still helping the plant. When the stalks turn completely yellow, cut them off at the base.
If your amaryllis is planted in soil, keep watering it regularly. Apply an all-purpose fertilizer every two to three weeks to support continued growth. The leaves that remain on the plant are doing important work. Don’t remove them yet. These leaves store energy in the bulb, which you’ll need for flowers next year. Once the leaves yellow and die back on their own, you can take them off.
Step 4: Move Your Amaryllis Outdoors in Spring and Summer

Once frost danger passes in spring, move your potted amaryllis outside. This gives the plant natural sunlight and helps it produce stronger blooms.
Find a spot with partial shade that blocks strong winds. Spend about a week gradually exposing your plant to outdoor conditions. This slow adjustment prevents shock to the plant.
Watch nighttime temperatures. If they drop below 50°F, bring your amaryllis back indoors immediately. Place it under grow lights or in a sunny window, since the plant still needs plenty of light to perform well during the outdoor season.
Outdoor Placement Benefits
As spring arrives and frost danger passes, moving your amaryllis outside is one of the best things you can do for its health and blooming cycle. Outdoor placement offers several key benefits:
Bright light exposure — Outdoor sunlight is more intense than what you can get indoors. Start by placing your amaryllis in partial shade for a few days to let it adjust. This prevents leaf burn while letting the plant gradually prepare for stronger light conditions.
Natural air circulation — Fresh outdoor breezes strengthen the stems and improve overall plant vigor. Moving air helps prevent fungal issues and builds sturdier growth.
Direct sunlight — Once acclimated, move your amaryllis to a spot that gets direct sun for at least 6 hours daily. This direct light is what triggers more robust flowering.
Summer conditions — The combination of warmth and extended daylight naturally encourages your plant to enter its blooming phase.
During hot or windy weather, monitor your watering schedule carefully. The soil will dry out faster outdoors, so check it regularly and water when the top inch feels dry. This outdoor time prepares your amaryllis to bloom well in the following season.
Timing Your Move Outside
Now that you understand why outdoor placement benefits your amaryllis, you need to know when and how to make that move. Timing matters here because moving your plant at the wrong time can stress it.
Wait until spring arrives and all frost danger has passed in your area. Check your local climate zone to find your region’s last frost date. Once you confirm that date has passed, watch your nighttime temperatures. When they stay consistently warm—above 50°F at night—your amaryllis is ready to go outside.
| Timing Factor | What to Check | Your Action |
|---|---|---|
| Season | Spring arrival | Plan your move |
| Frost danger | Last frost date | Confirm it’s passed |
| Temperature | Nighttime lows above 50°F | Wait for consistency |
| Light requirements | Sun intensity | Choose partial shade |
| Preparation | Plant readiness | Monitor new growth |
The gradual warming from spring helps your amaryllis adjust to outdoor conditions without shock. Don’t rush this step. Moving your plant too early, when frost is still possible, will damage or kill it.
Step 5: Bring Your Plant Inside Before the First Frost

Before freezing temperatures arrive in your area, you’ll need to move your amaryllis indoors to protect the bulb from damage. Watch your local frost forecast carefully, since timing matters.
Bring the plant inside before the first frost hits your region. Place it in a bright window or under a grow light right away. As temperatures drop and growth slows, gradually reduce how often you water. Keep the soil from becoming soggy during this shift.
Once indoors, watch your plant for signs of dormancy. The bulb needs time to rest and build up energy for next season. Cut off any faded flower stalks so the plant directs its resources back into the bulb instead of maintaining dead growth. With proper frost protection and careful indoor care, your amaryllis will come back reliably year after year.
Step 6: Give Your Bulb a Winter Rest to Force Next Year’s Flowers

To get your amaryllis to bloom reliably next season, you need to give the bulb a rest period. This dormancy phase lets the bulb store energy for strong flowering the following year.
| Step | Action | Duration |
|---|---|---|
| Cool Storage | Place bulb in dark location | 8–12 weeks |
| Temperature Control | Maintain 50–60°F environment | Entire period |
| Skip Watering | Don’t water during rest | Full dormancy |
Here’s what to do: Move your bulb to a cool, dark spot and keep the temperature between 50–60°F. Don’t water it at all during these 8–12 weeks. Moisture causes rot and mold growth, which will damage the bulb. Check occasionally for mildew and treat any spots you find right away.
After 8–12 weeks, take the bulb out of storage and move it back into light. Trim away any dead or brown leaves. Then start watering and fertilizing again on your normal schedule. A proper dormancy period gives you stronger blooms and more reliable flowering from year to year.
Step 7: Repot Your Amaryllis and Restart the Cycle

After your amaryllis has finished its dormancy period and you’ve removed the dead leaves, repotting gives the bulb what it needs for another growing season.
Follow these steps:
- Carefully remove the plant and root ball from its current pot. Keep the roots as intact as possible during this step.
- Select a narrow container that’s about 1 inch wider than the bulb itself. Make sure it has drainage holes in the bottom.
- Fill the pot halfway with fresh potting soil. Position the bulb so that one-third to one-half of it sits above the rim of the container.
- Water the soil thoroughly until it’s completely moist. Let any excess water drain out.
Place the repotted amaryllis in a sunny window. The bulb is now ready to begin its next growing cycle.


